The must-have accessories for your Ricoh GR III/x
Note: This post contains affiliate links. Purchases made through them may earn me a small commission at no extra cost to you, helping support the blog and future photography content.
Thank You!
Premise!
The Ricoh GR III is, for me, a miraculous camera.
It’s compact, reliable, and performs on par with cameras that cost three to four times as much.
Yes, there are some drawbacks - but I’ll go through them as I introduce the accessories that help mitigate them, or at least keep them under control.
I’ll start with the accessories I personally use on a regular basis - gear I’ve been using for months, not something I picked up last minute just to show in this blog. If you’ve followed my work on YouTube, you’ve already seen the GR III set up pretty much exactly as I’m about to describe.
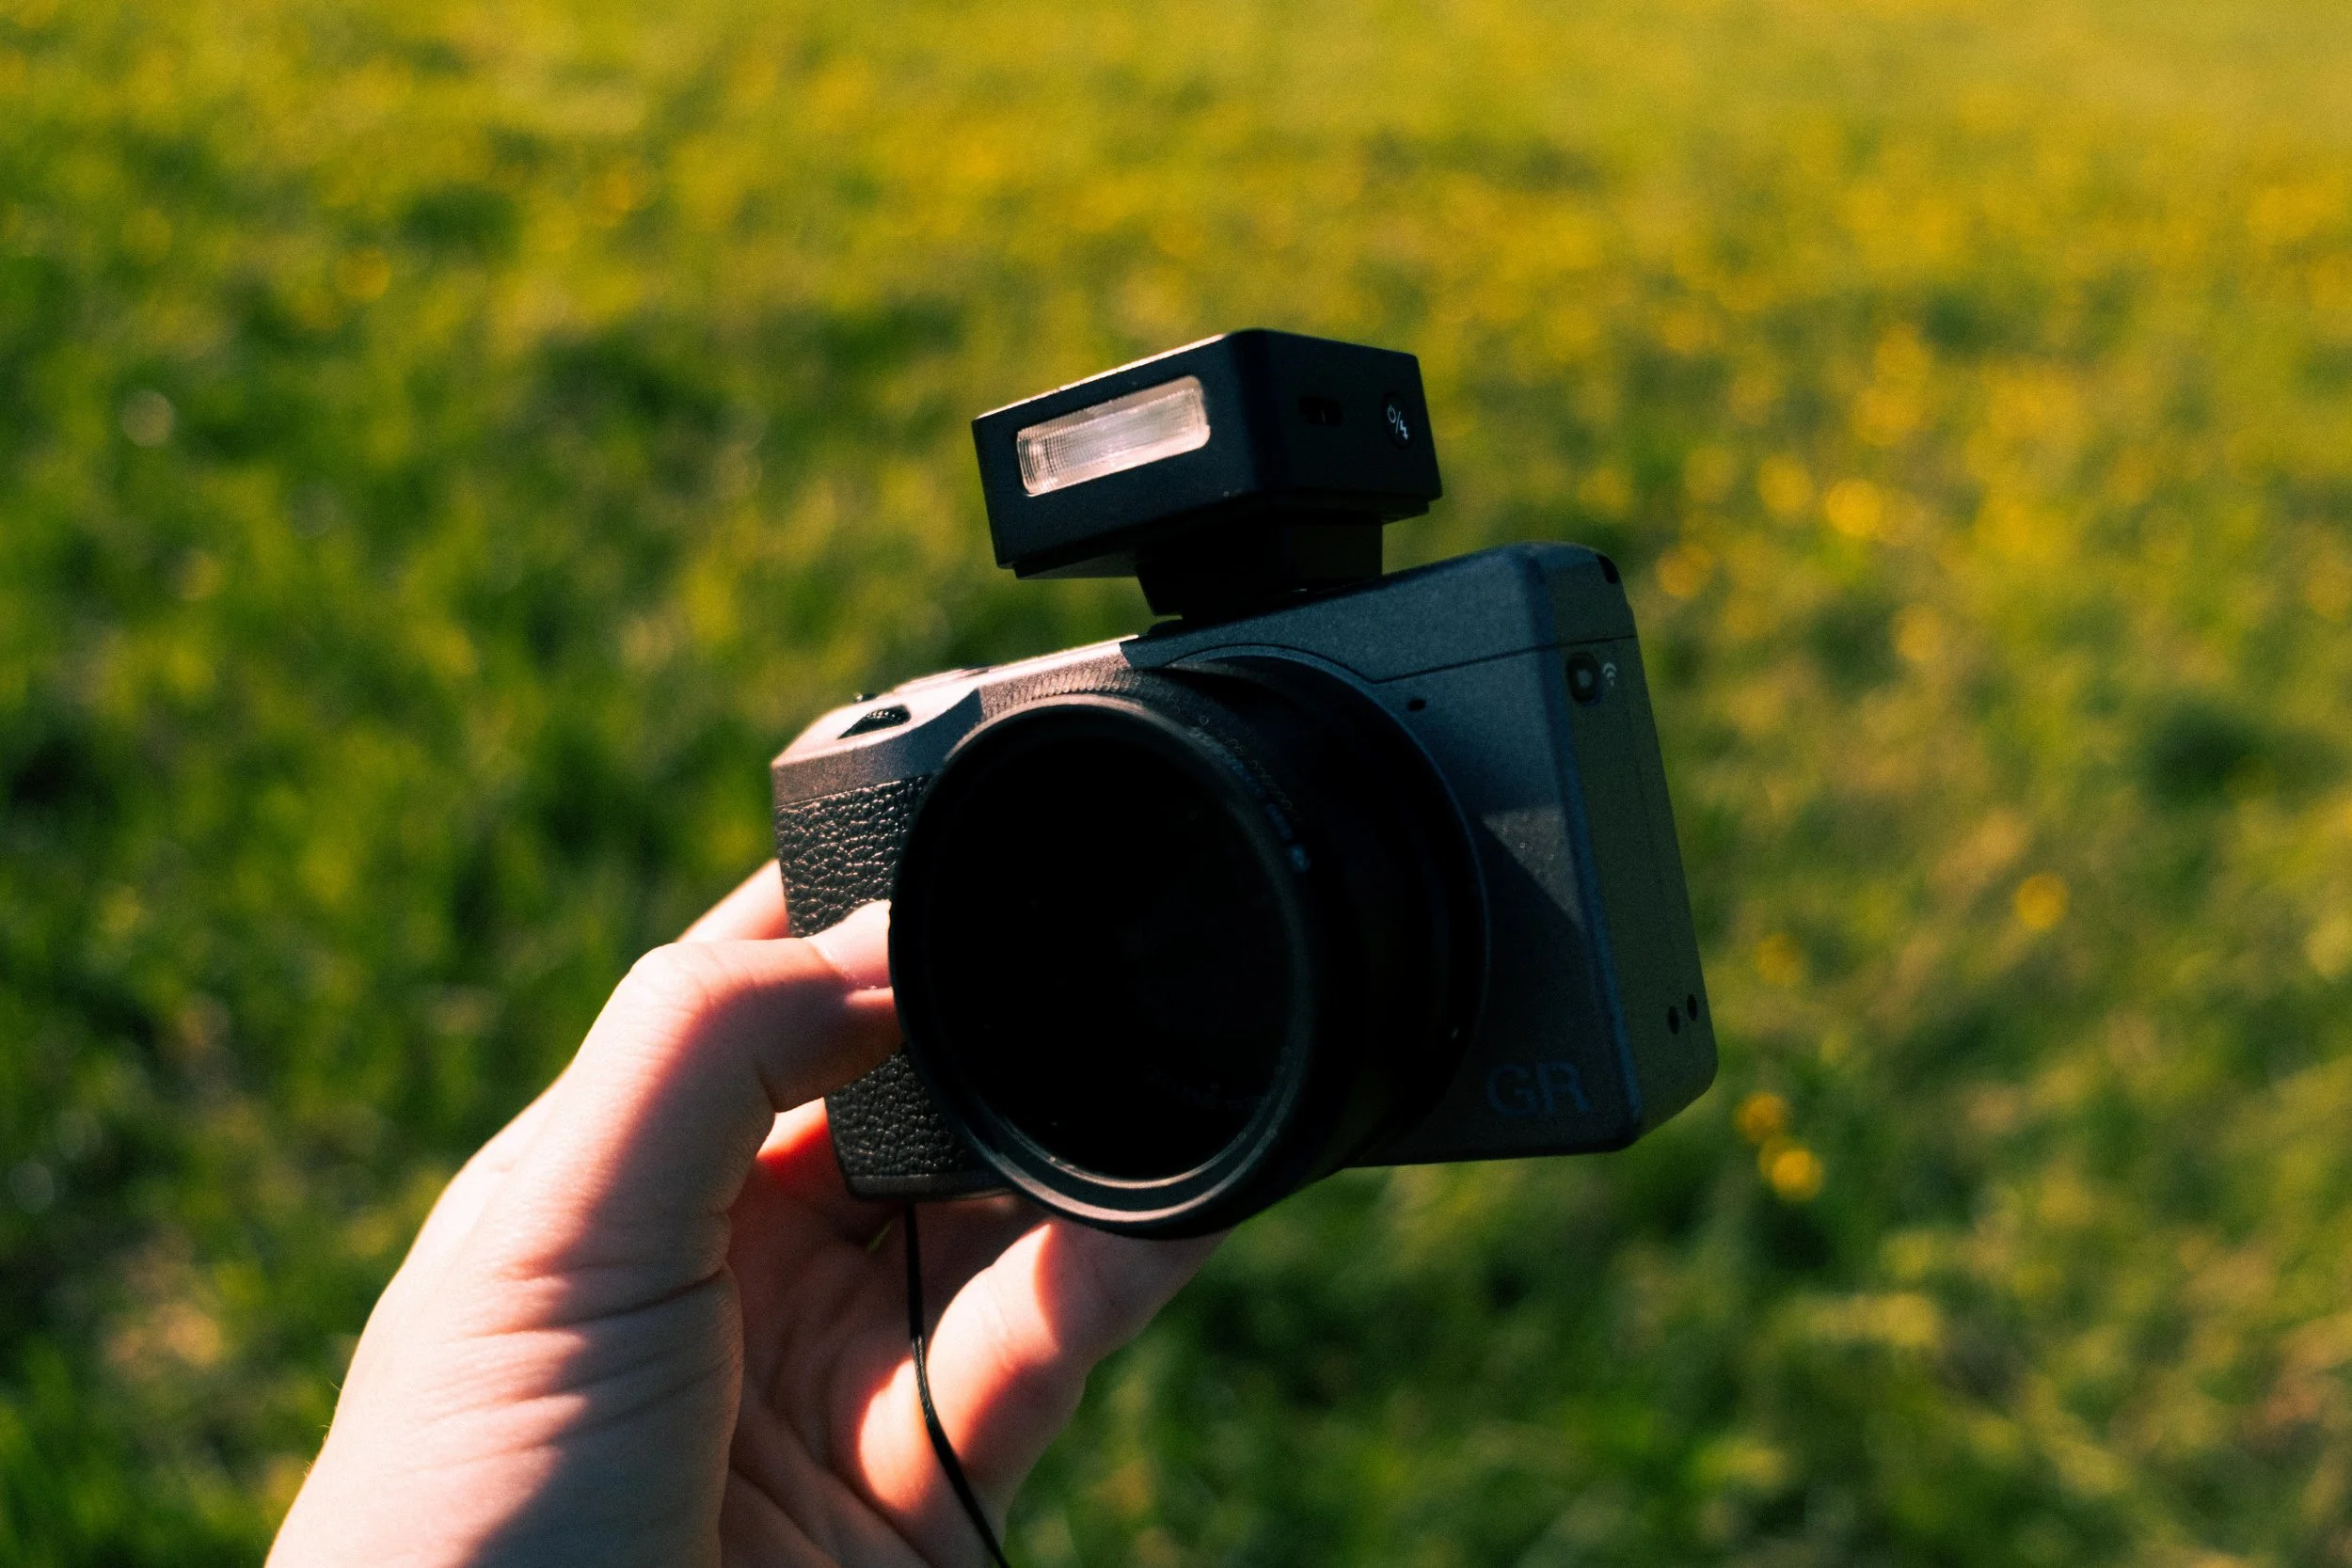
The Ricoh GR III Diary Edition.
PURCHASE IT HERE → AMAZON
Thumb Grip
Let’s start.
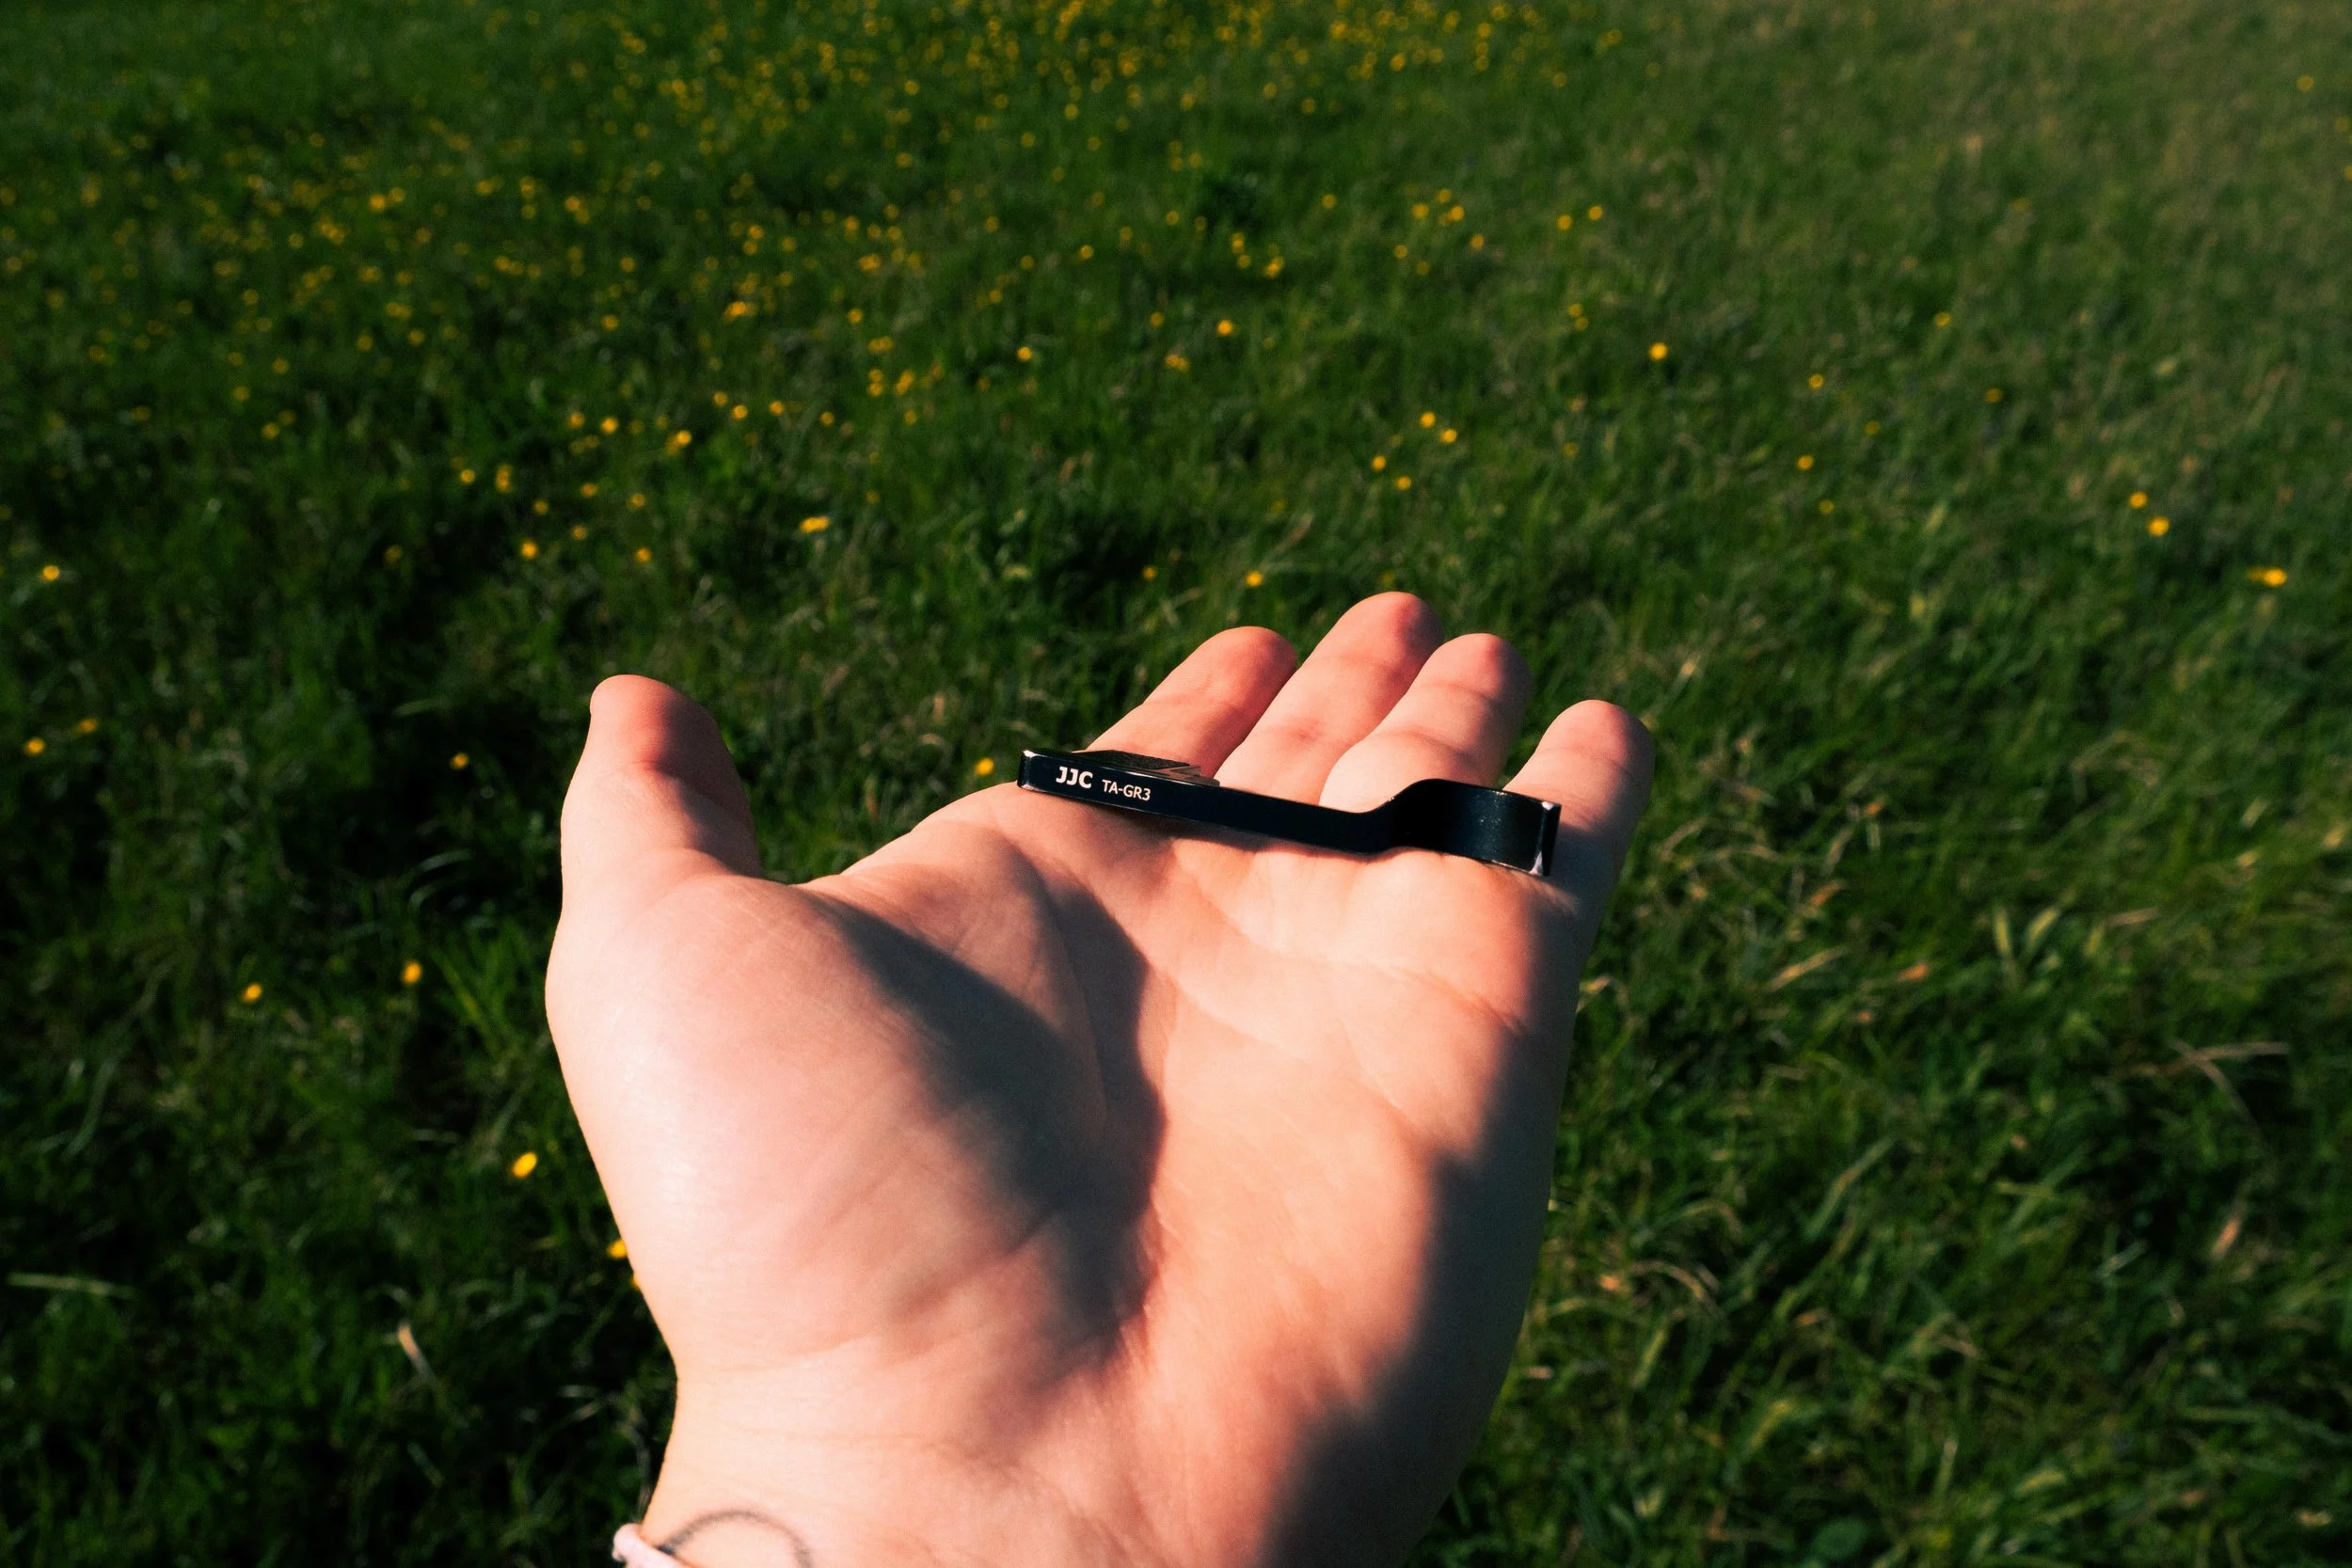
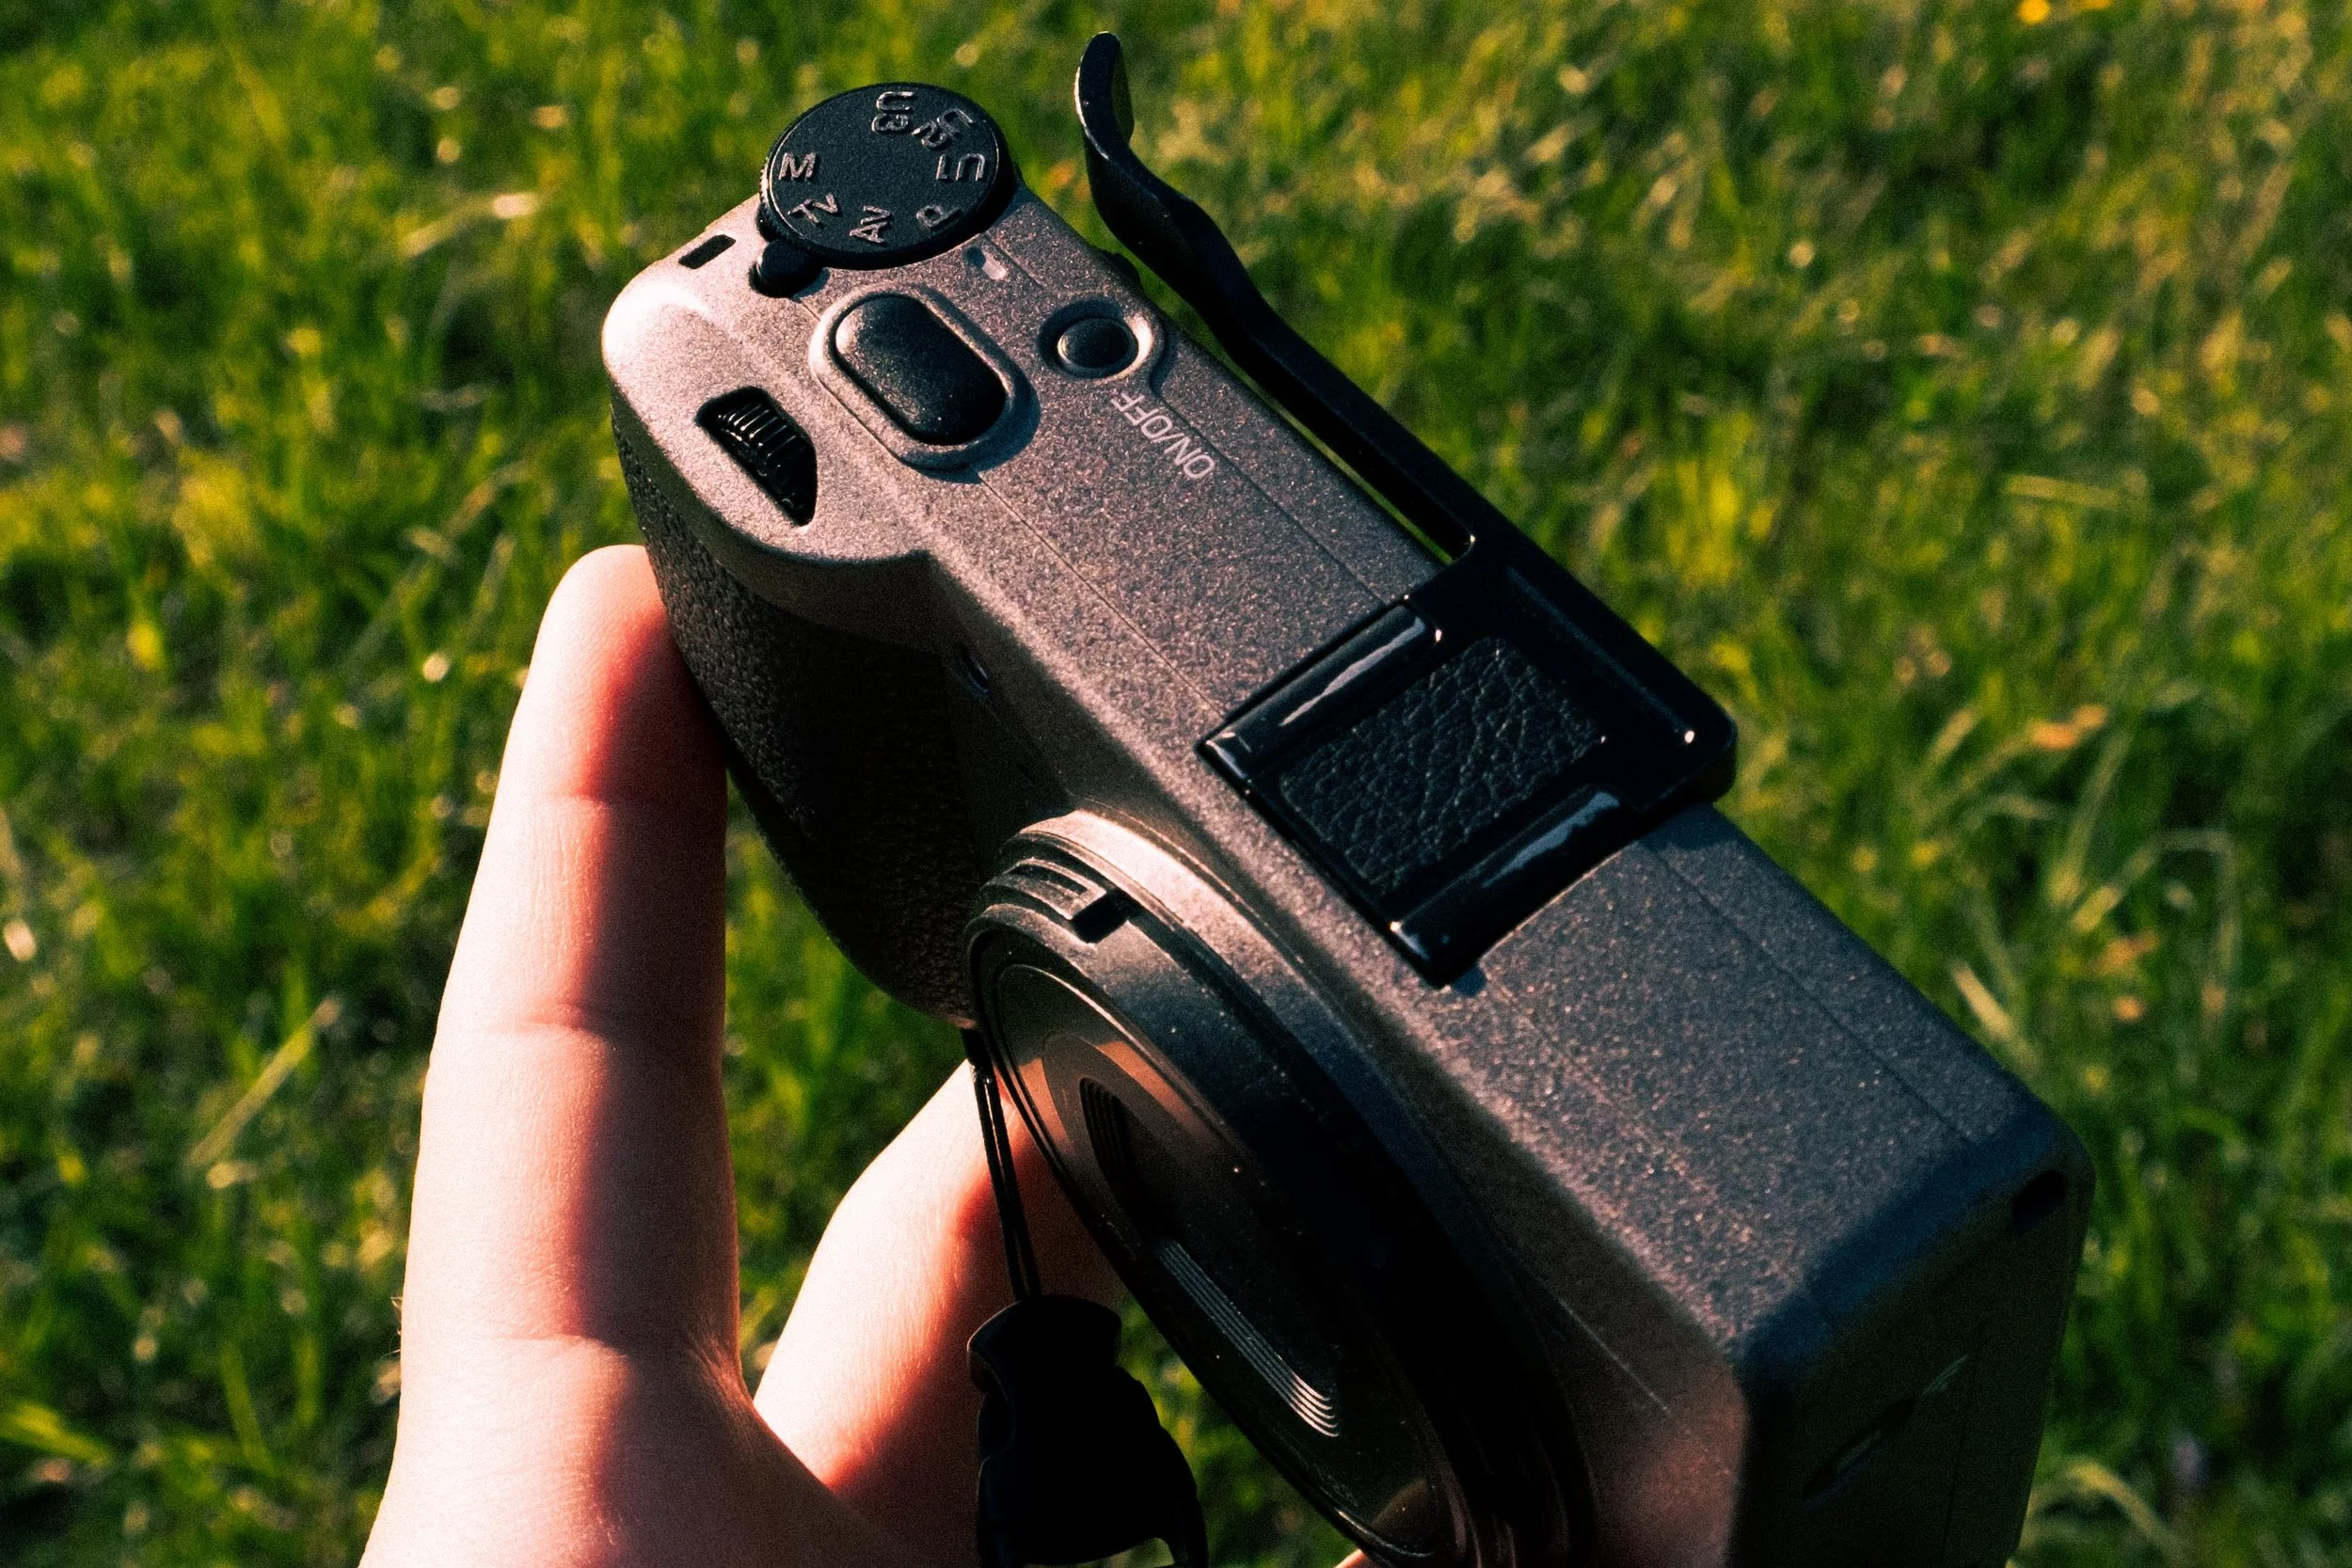
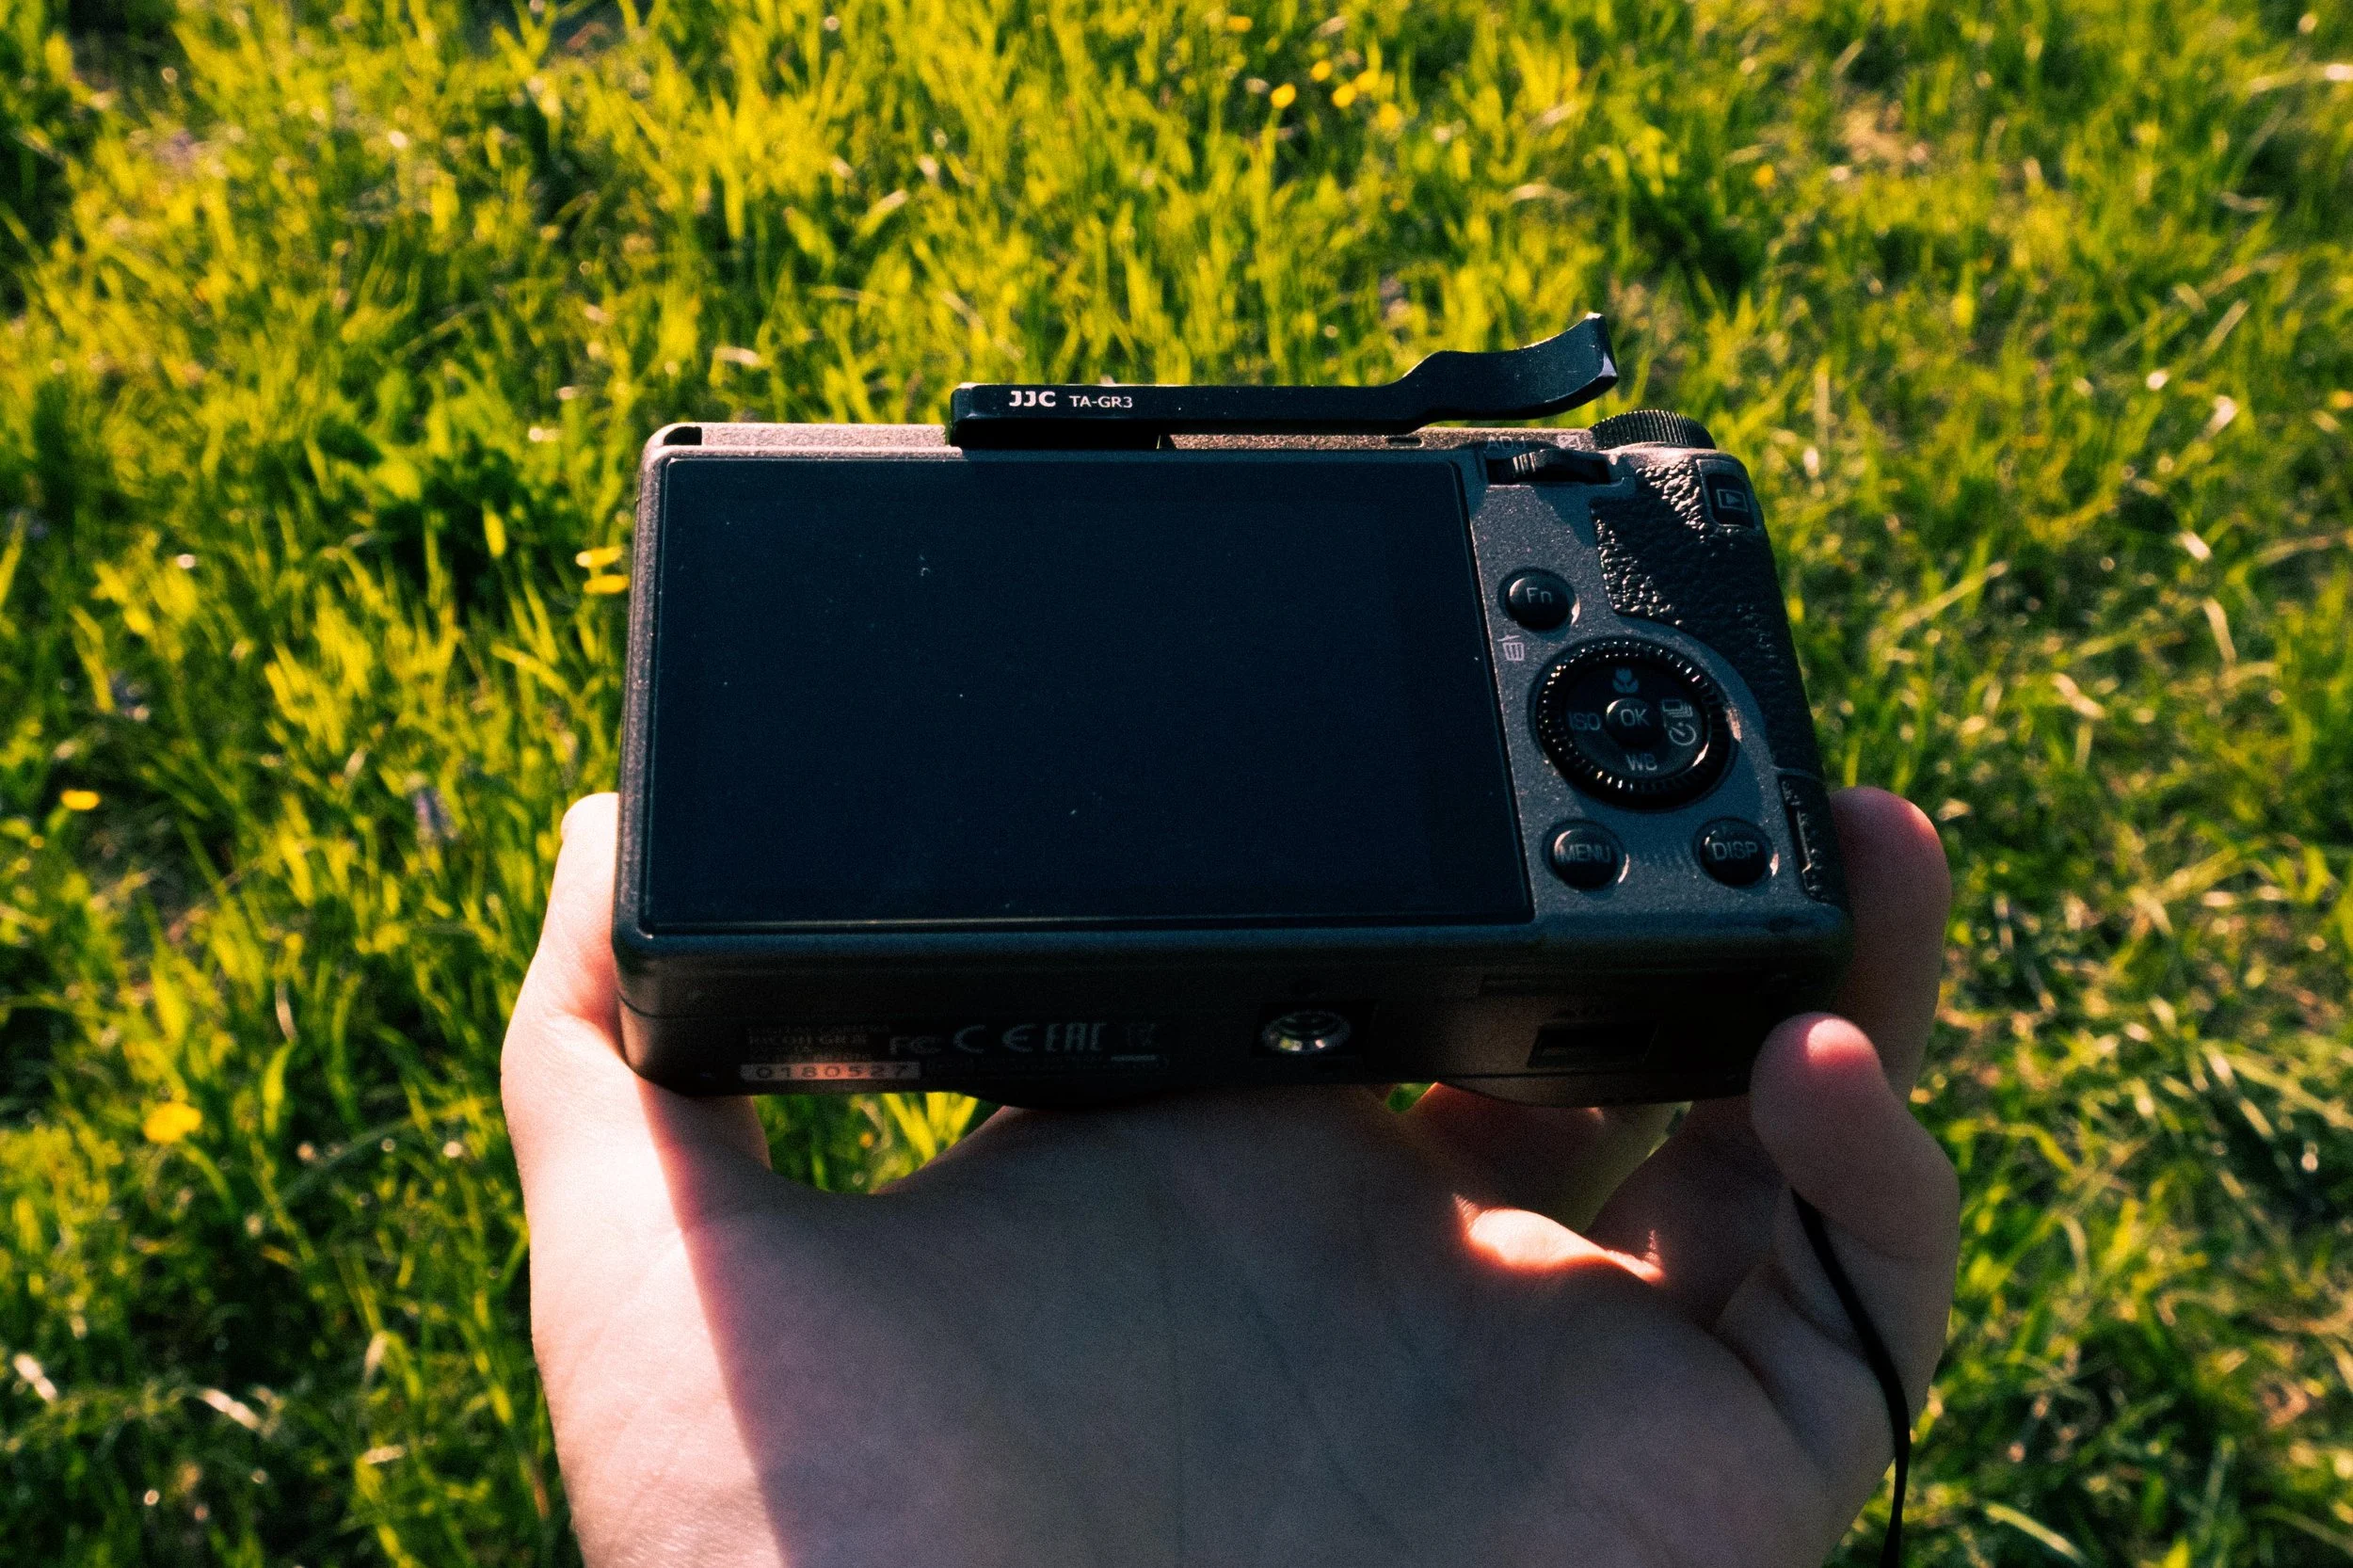
The thumb grip is ALWAYS on my Ricoh.
The camera is small, compact, and extremely light. Because of its size, the buttons and dials are quite close to each other, making it very easy to press something by mistake - especially if you don’t have tiny hands.
Even though my hands are small, I’ve often accidentally pressed the playback button mid-session or turned the wrong dial. It’s frustrating - especially on a camera designed for speed and a more aggressive shooting approach.
The GR III is lightweight, but after hours of shooting, constantly lifting your arm and moving your wrist can still become tiring. It’s natural - but I’ve found that the thumb grip helps reduce that fatigue.
First of all, mentally: you always know where your thumb is going to land. And second, it gives you a solid anchor point for more stable shots.
PURCHASE IT HERE → AMAZON
Wrist Strap
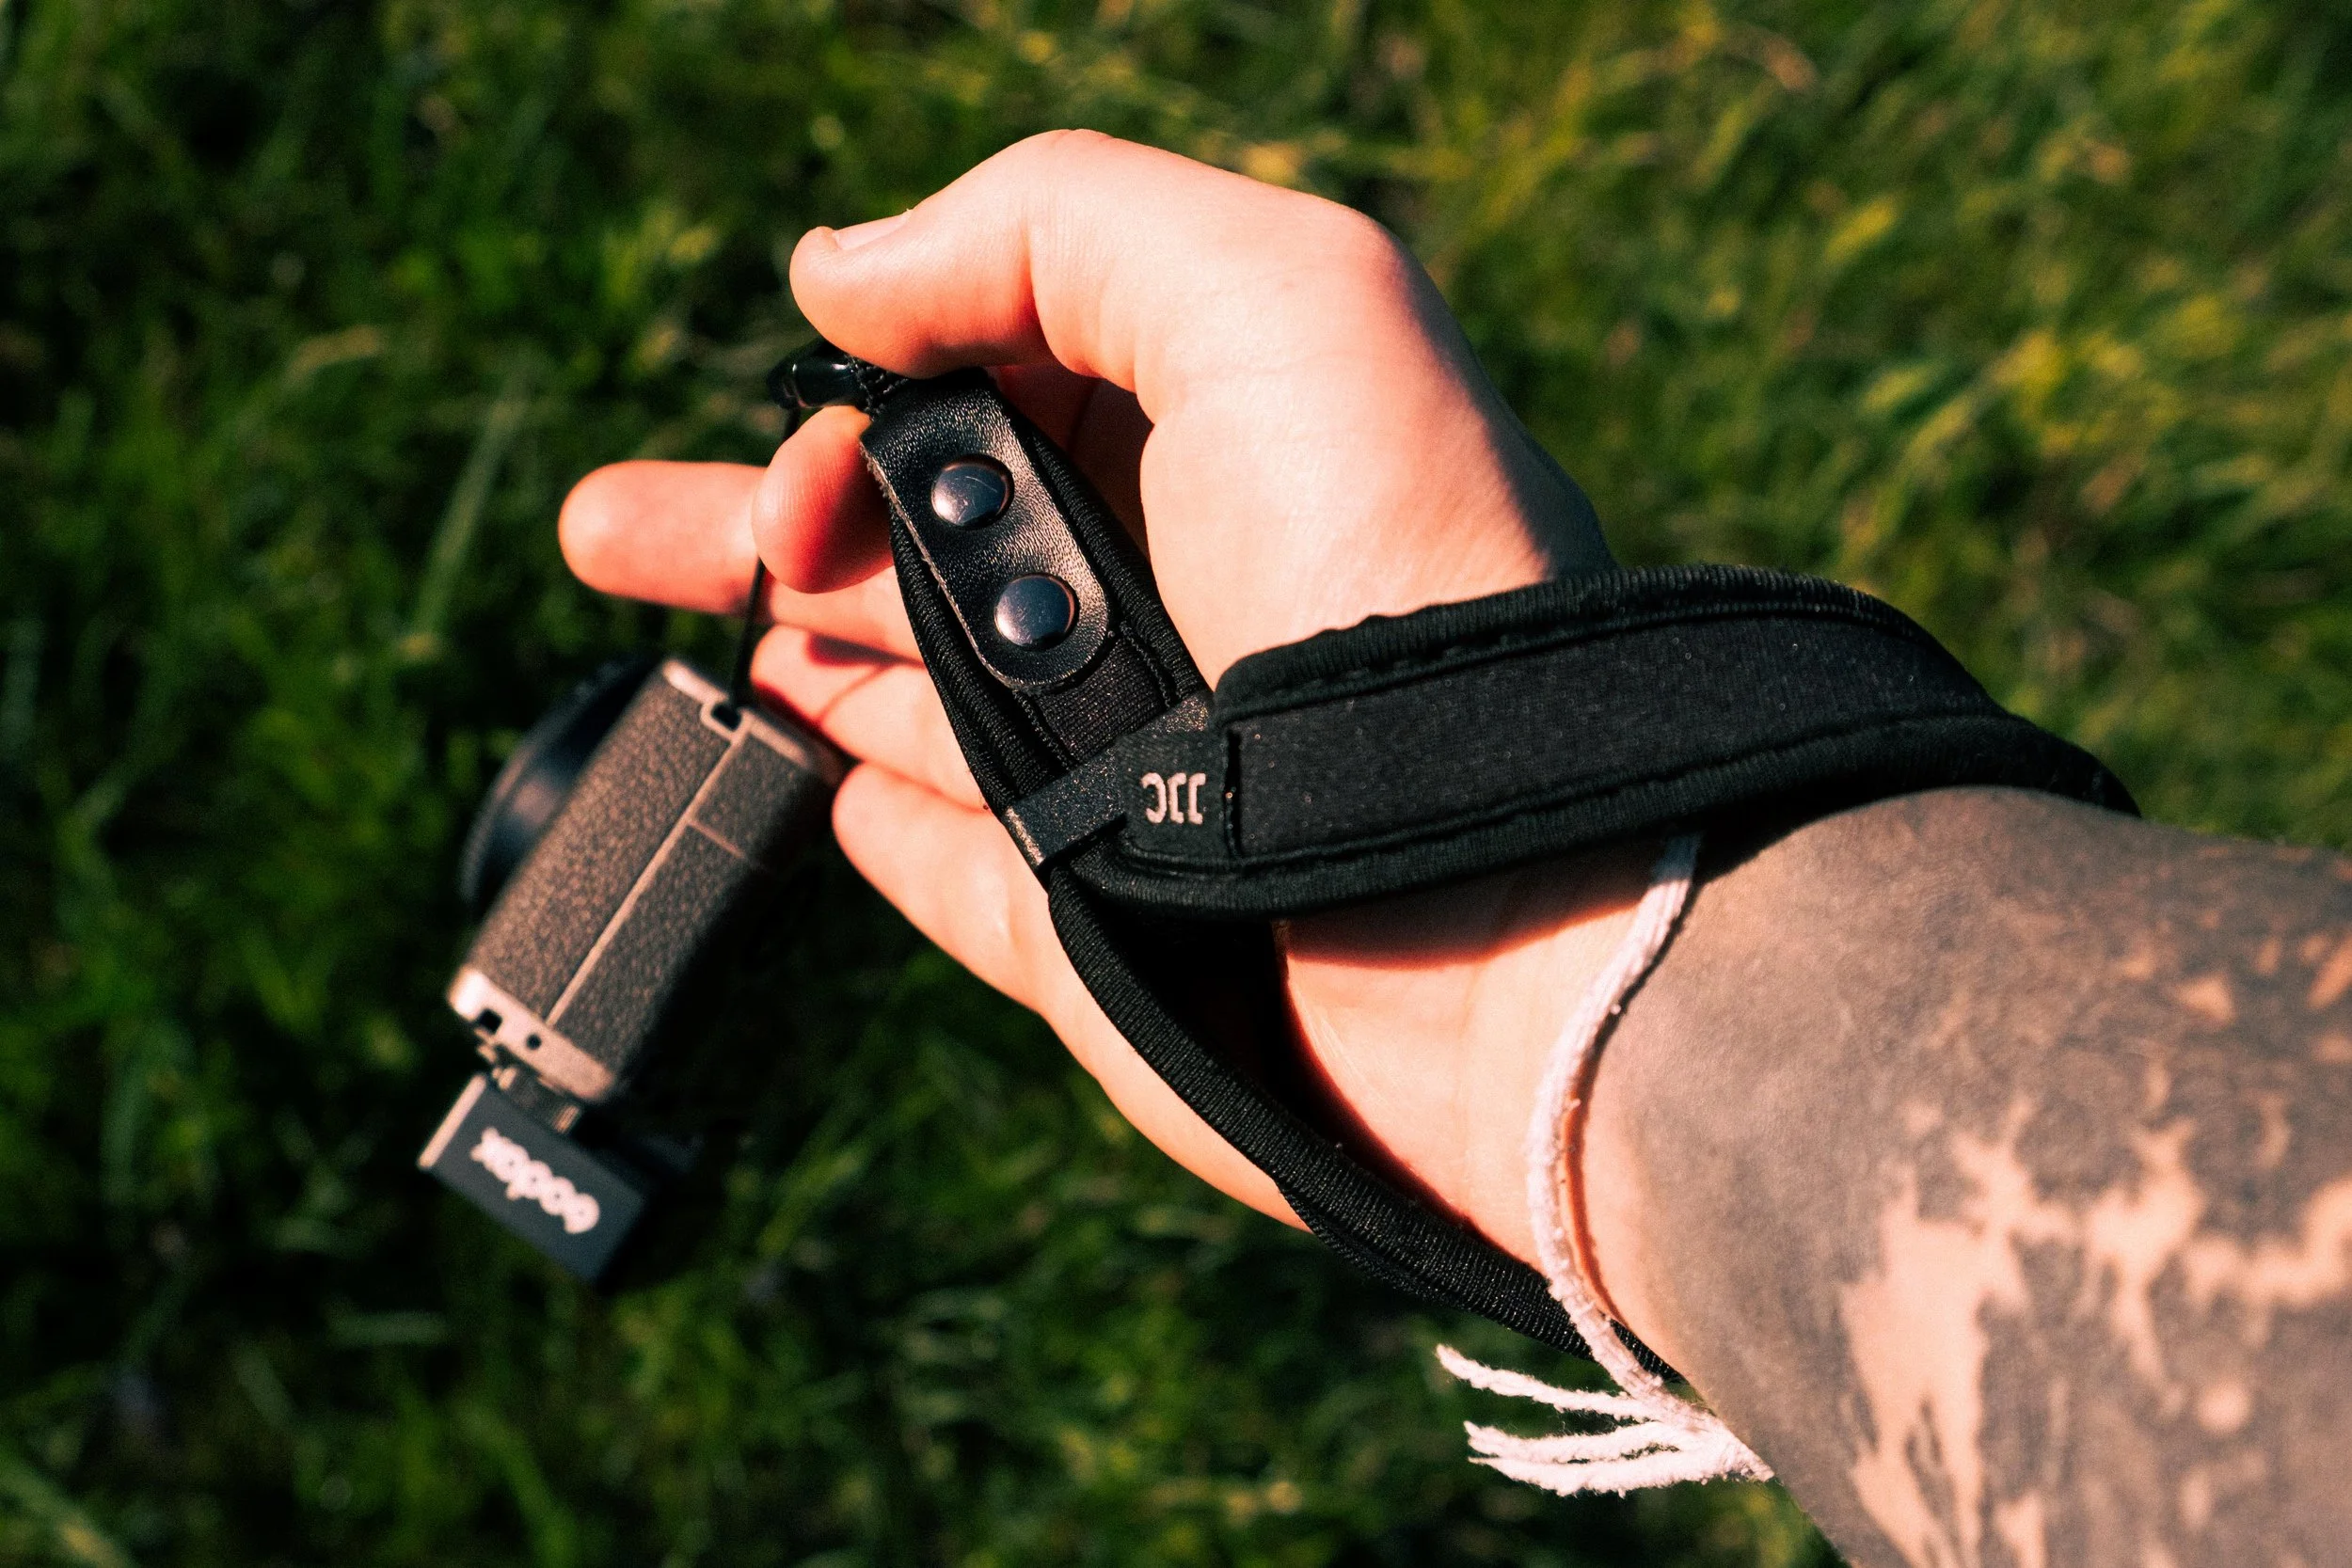
The camera comes with a wrist strap… but honestly, I think it’s poorly made. It’s basically just a thin lace, and it never gave me any real sense of security.
Here’s why:
It’s not adjustable. That means it might be too loose (making the camera easy to drop or steal) or too tight (making it unusable).
It’s so thin that sometimes you don’t even feel it on your wrist - which can lead to accidents. Trust me, I’ve been there.
So I recommend upgrading to a better one: soft, adjustable, and secure. It makes the camera feel firmly attached to your wrist.
PURCHASE IT HERE → AMAZON
How I avoid dust on the sensor
A big concern about this camera is the dust on the sensor.
Personally, I haven’t experienced it (yet), but I decided to take precautions anyway.
When the GR lens extends, it creates a sort of vacuum effect, which can pull dust inside.
My solution:
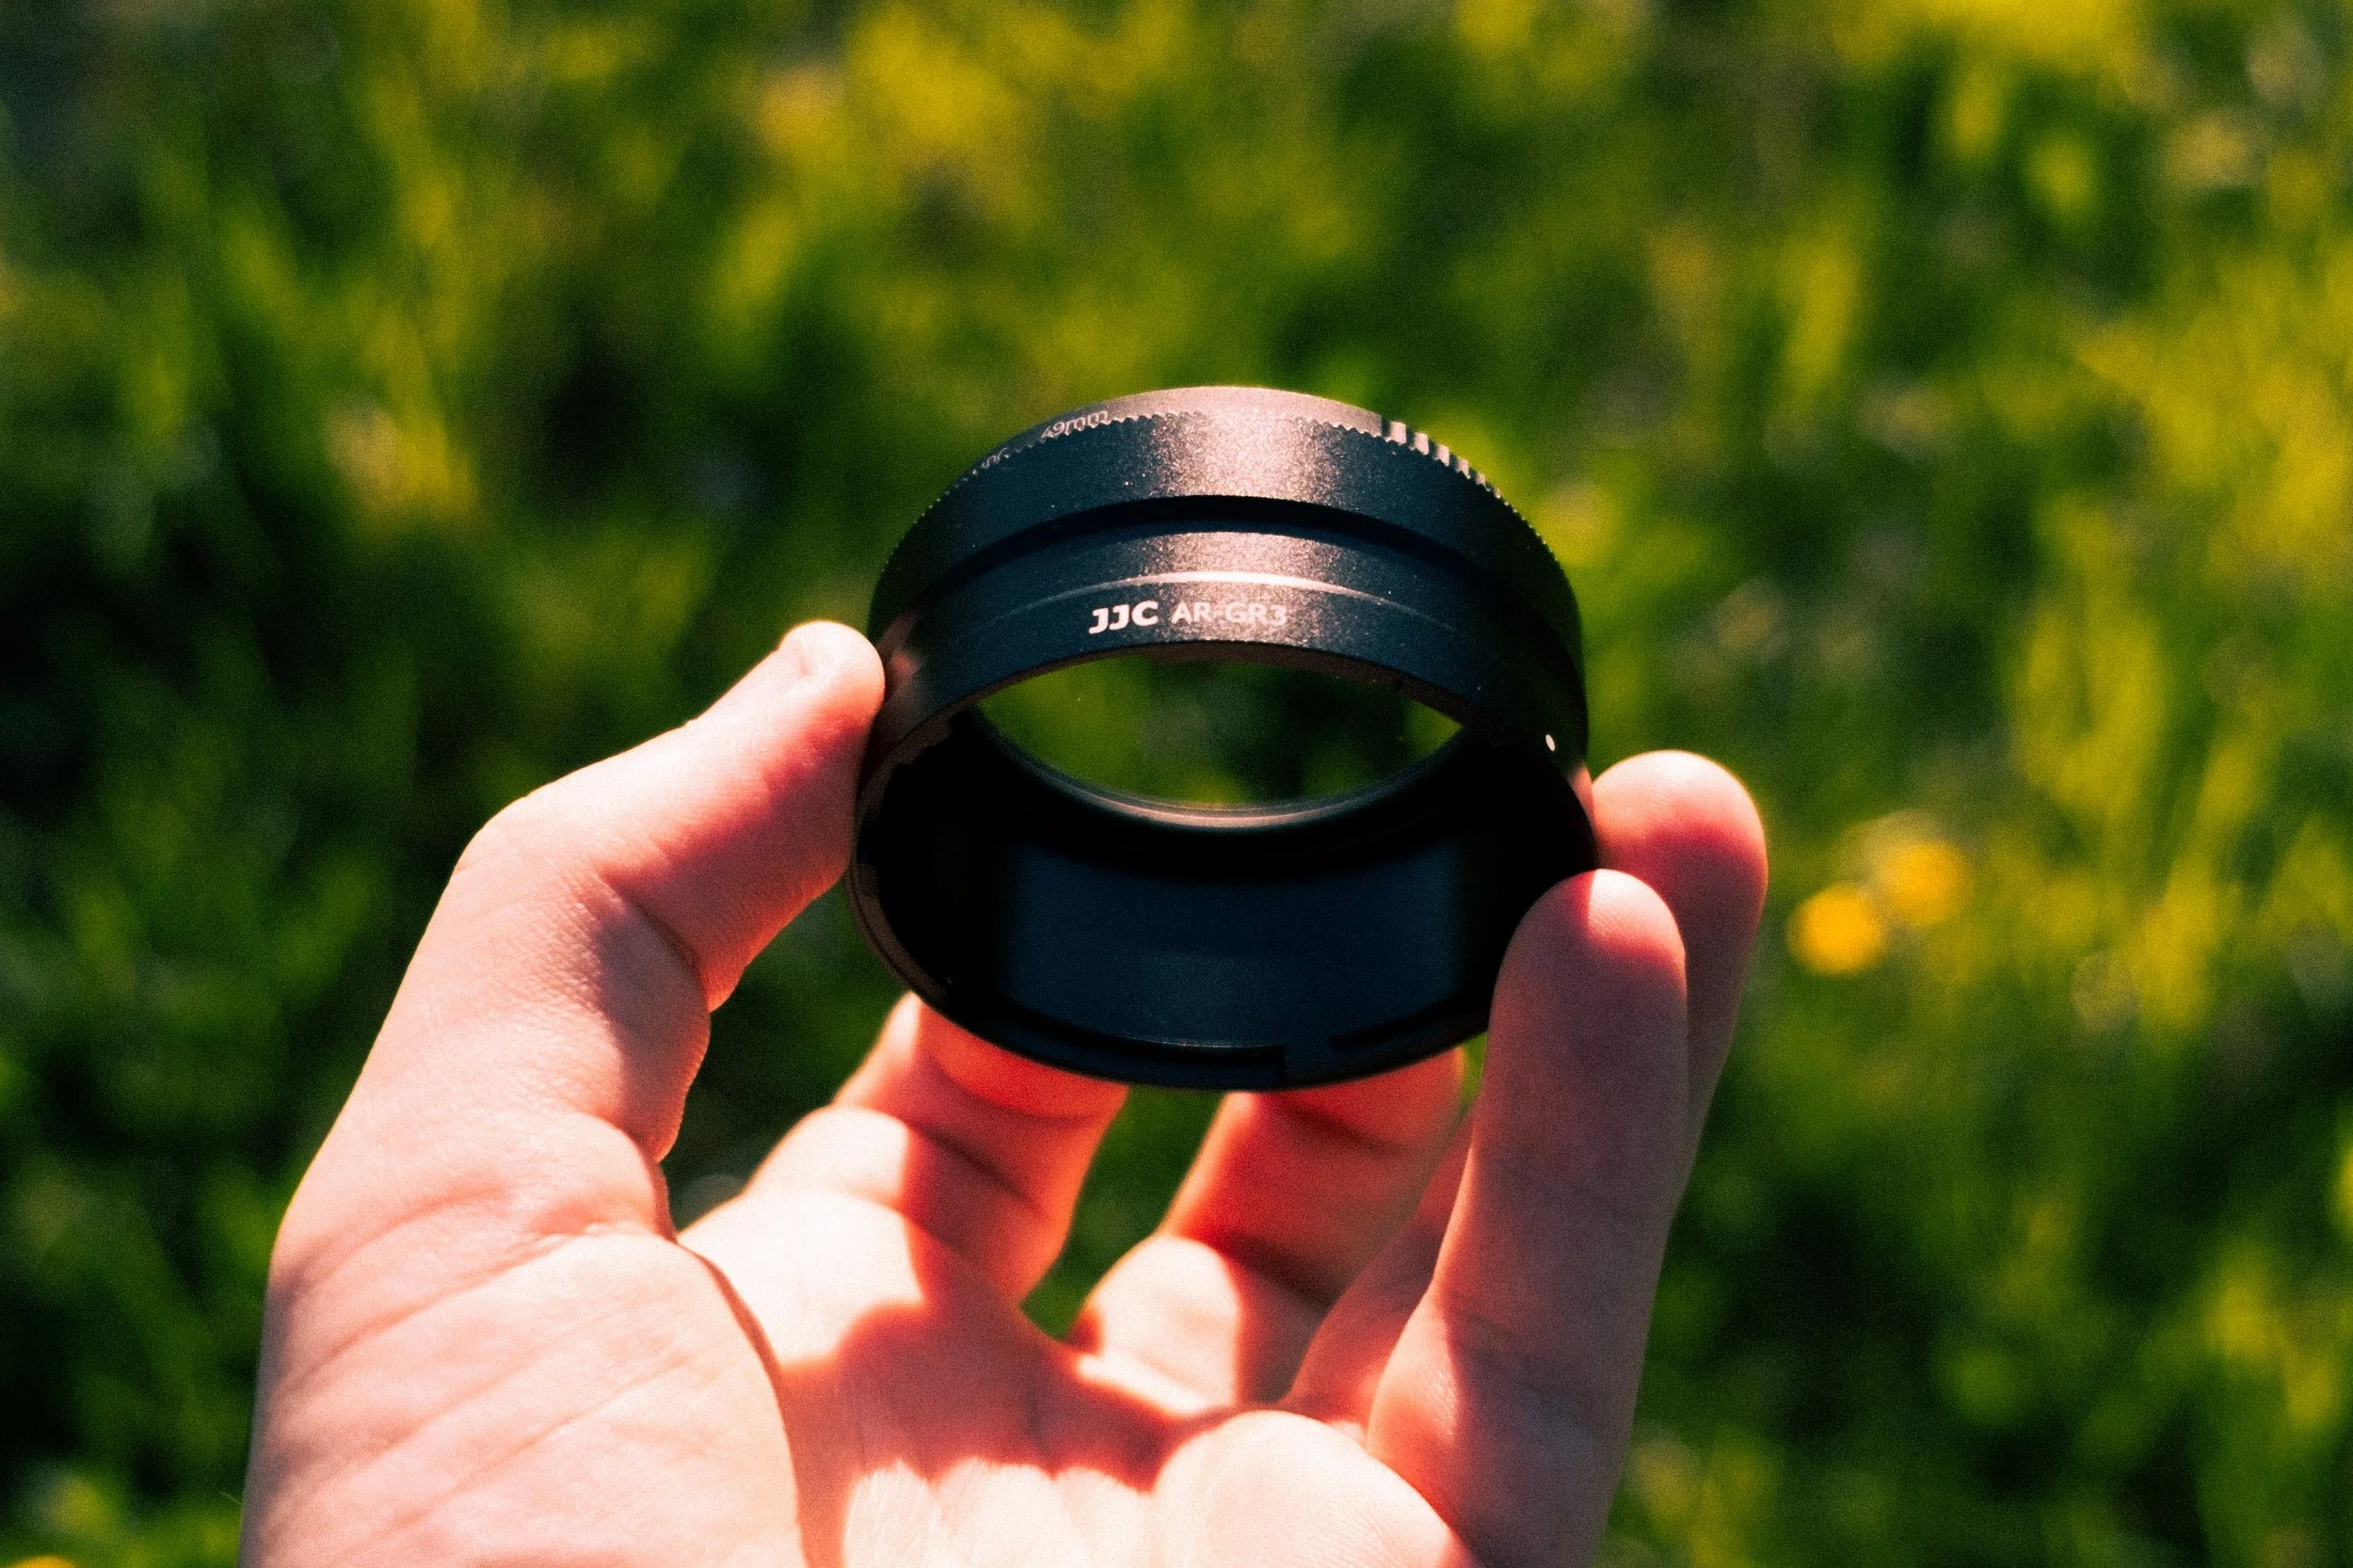
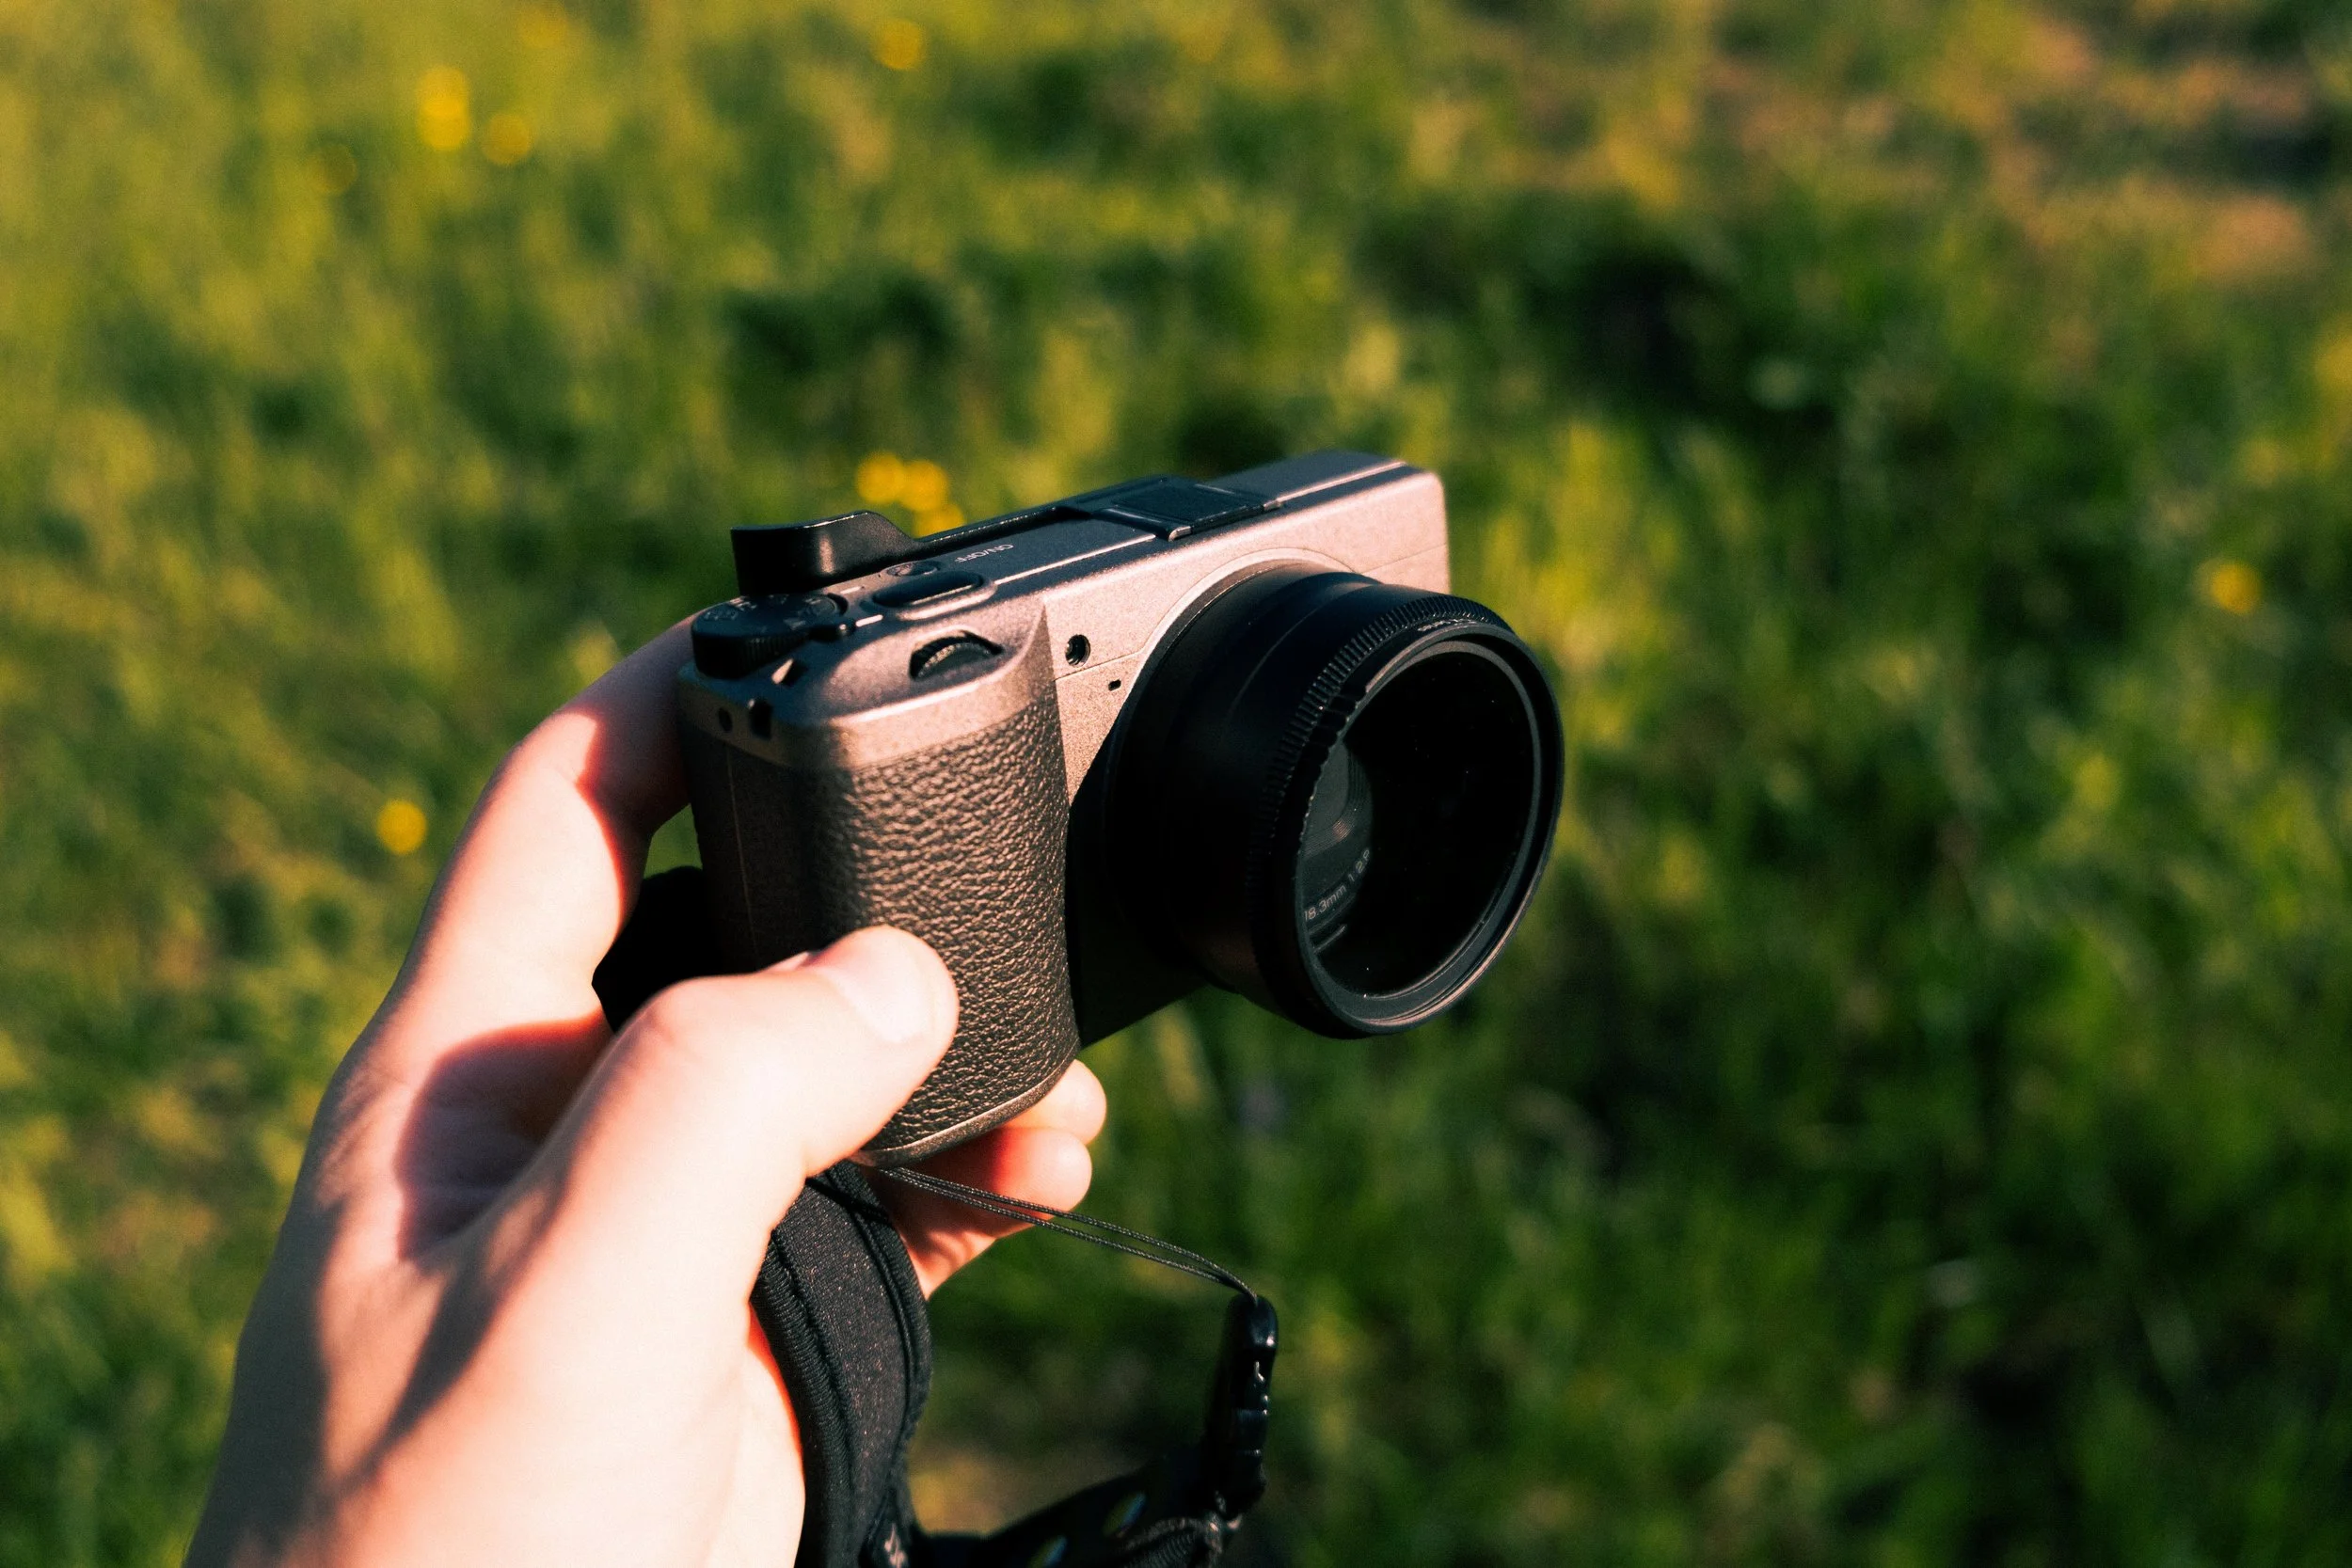
An adapter ring
An UV filter
Yes, this makes the camera less pocketable - but still much smaller than most cameras in its category.
It also protects the lens mechanism, which in my case actually broke once after a fall in Madrid.
Flash
During my month in Asia, I experimented with everything - slow shutter, very slow shutter, vintage lenses… and flash.
In some parts of the world, flash is more accepted, simply because photography itself is more accepted.
That said, I personally like some of the results, but it’s not my favorite approach. Flash puts you in a very particular mental state - hard to describe.
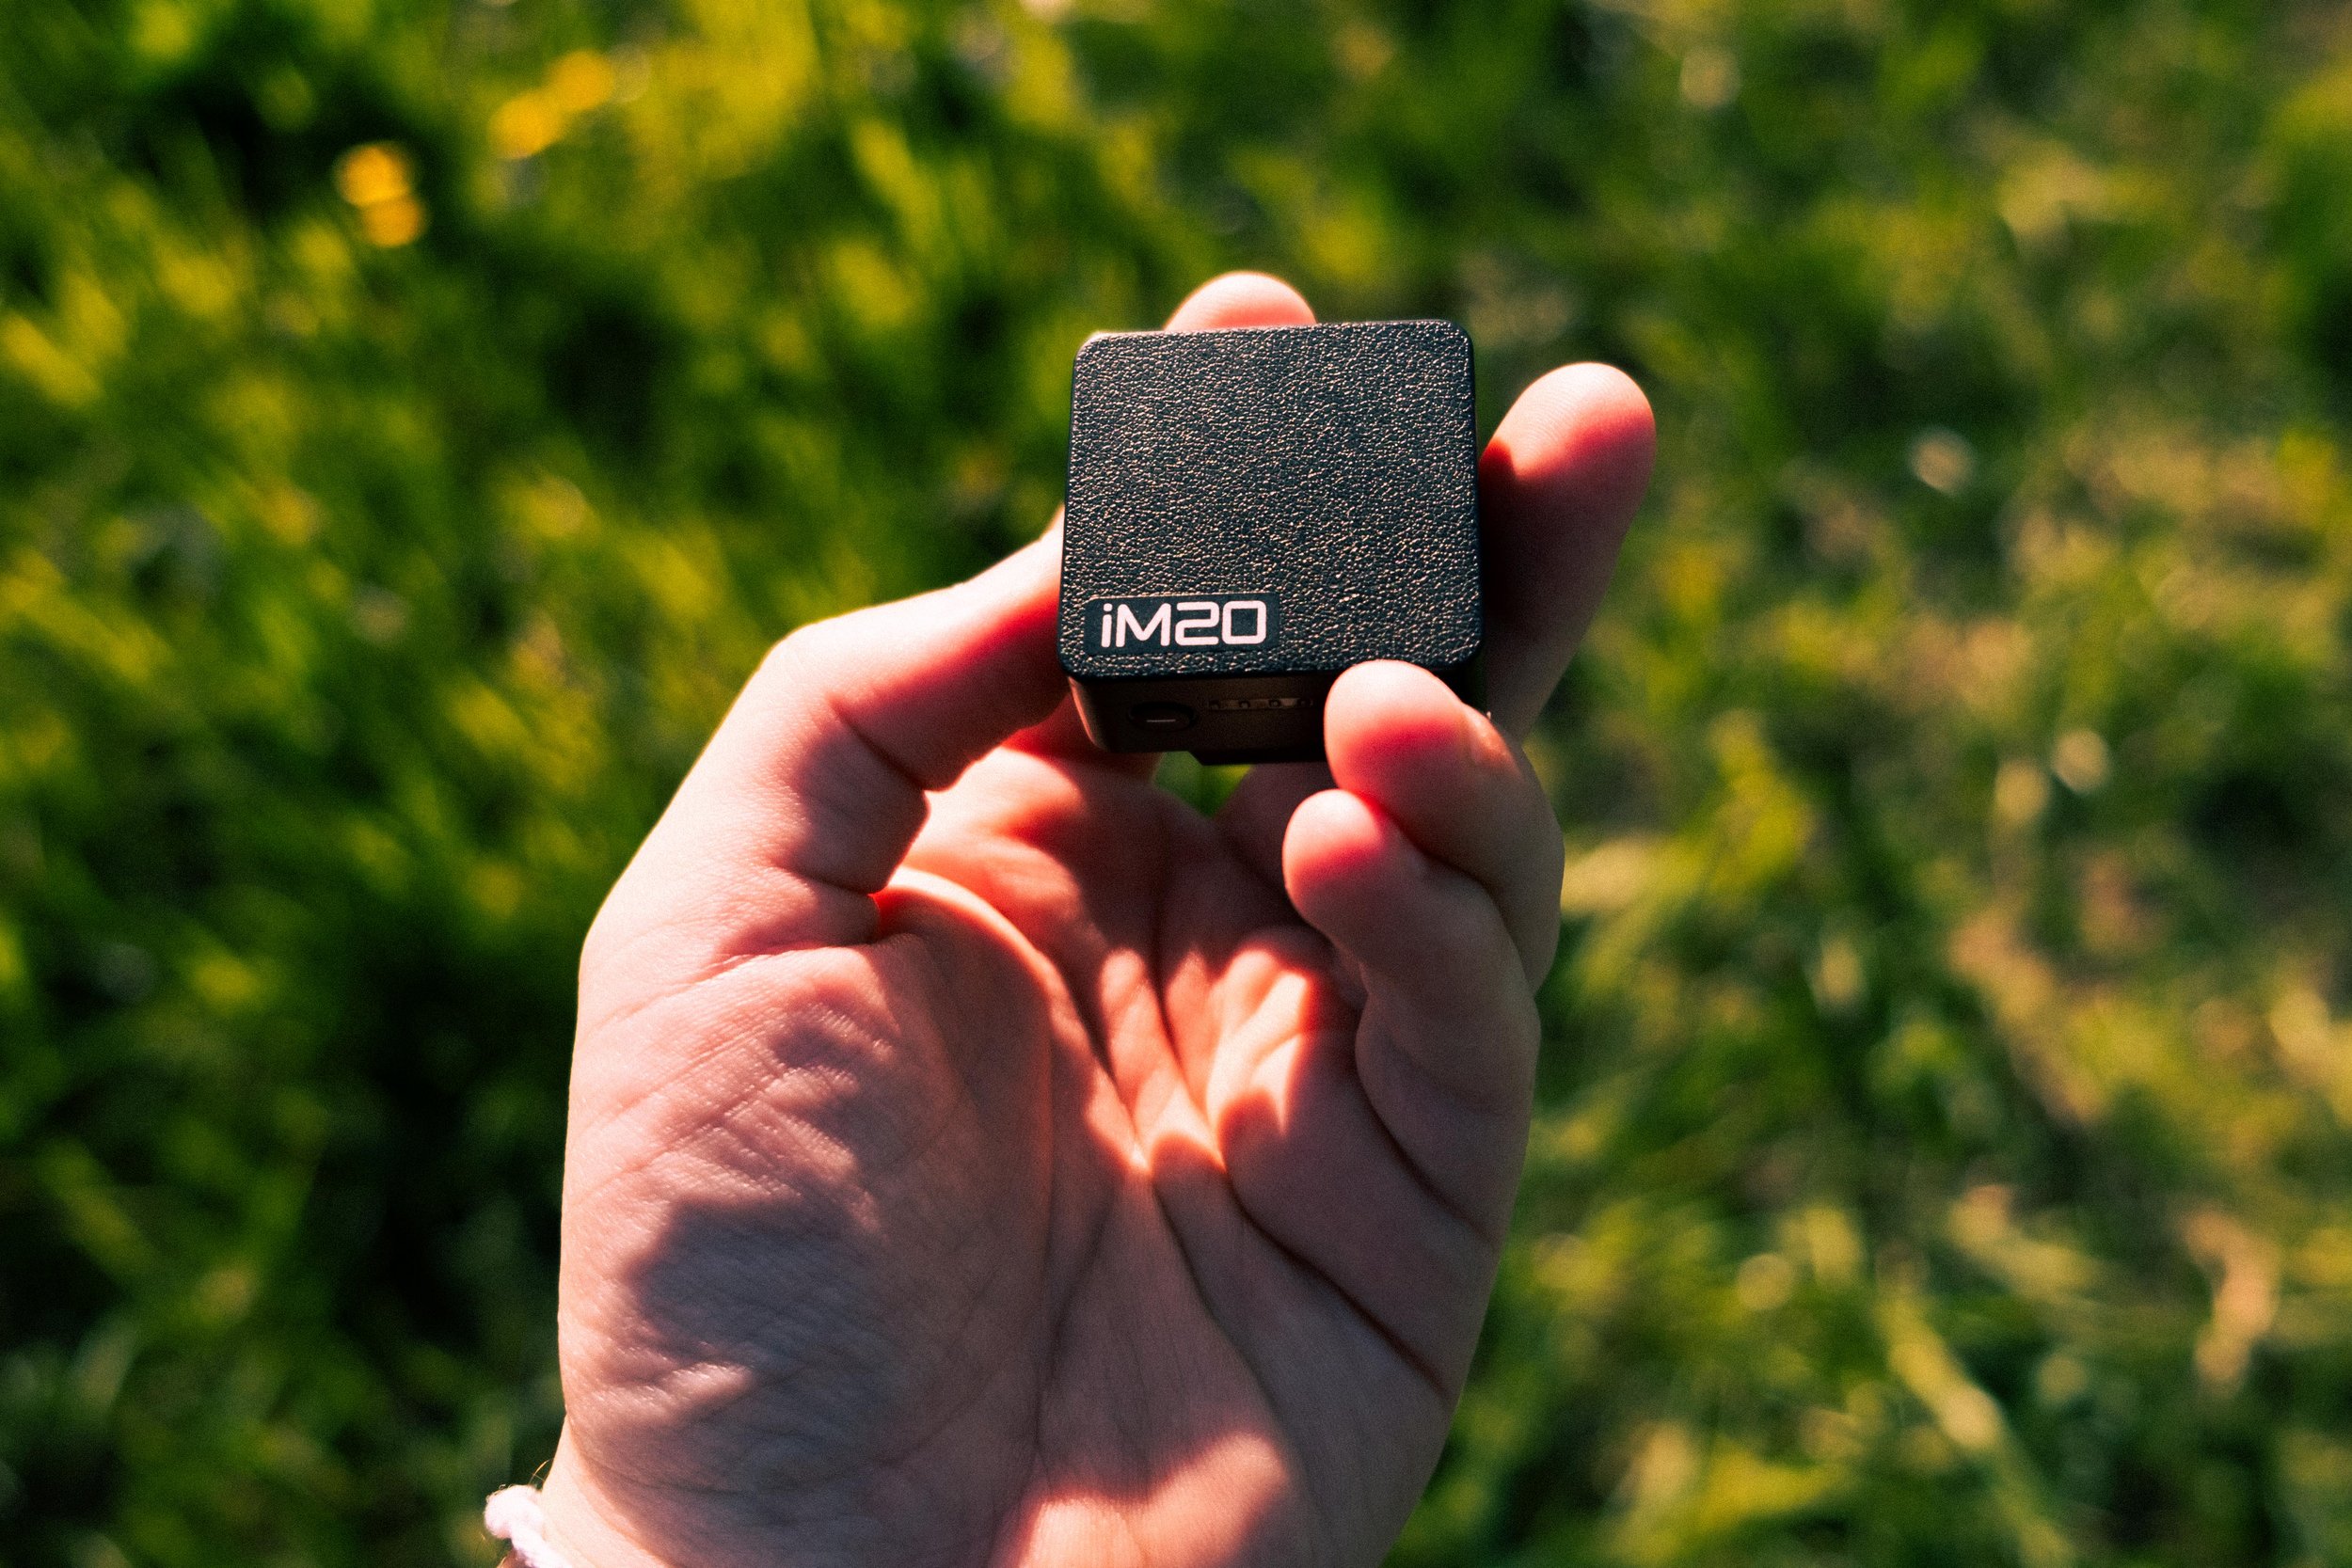
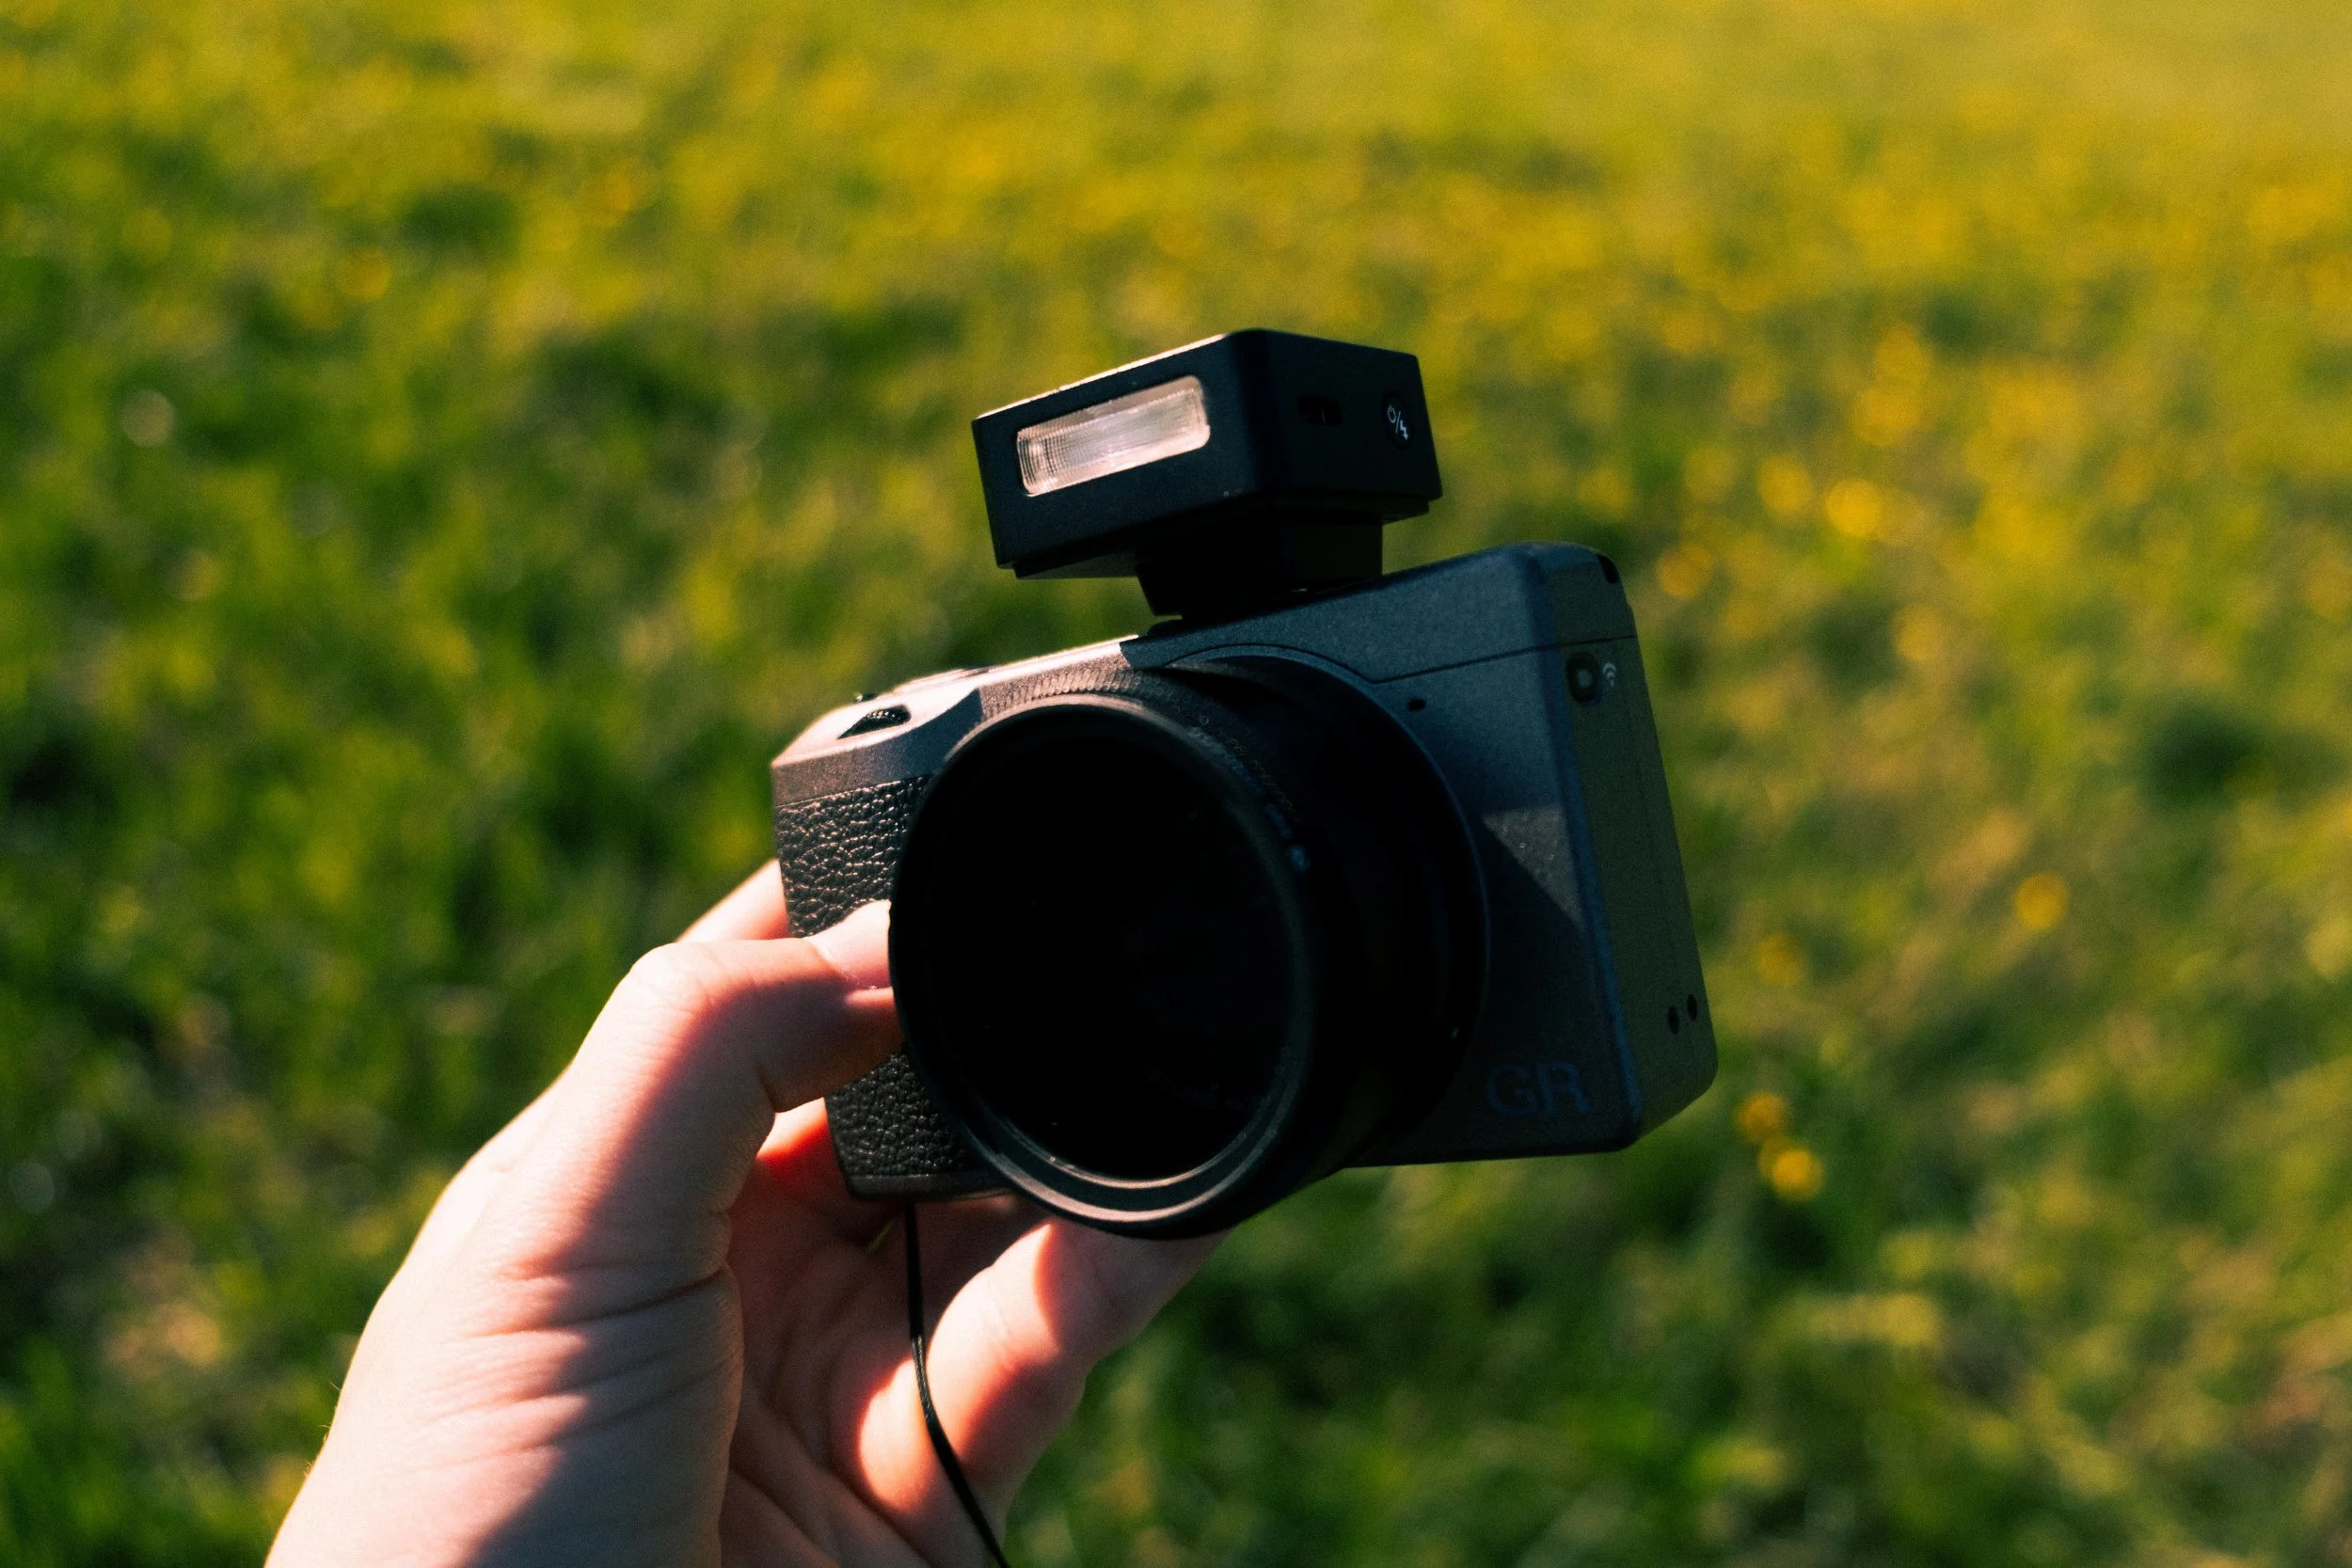
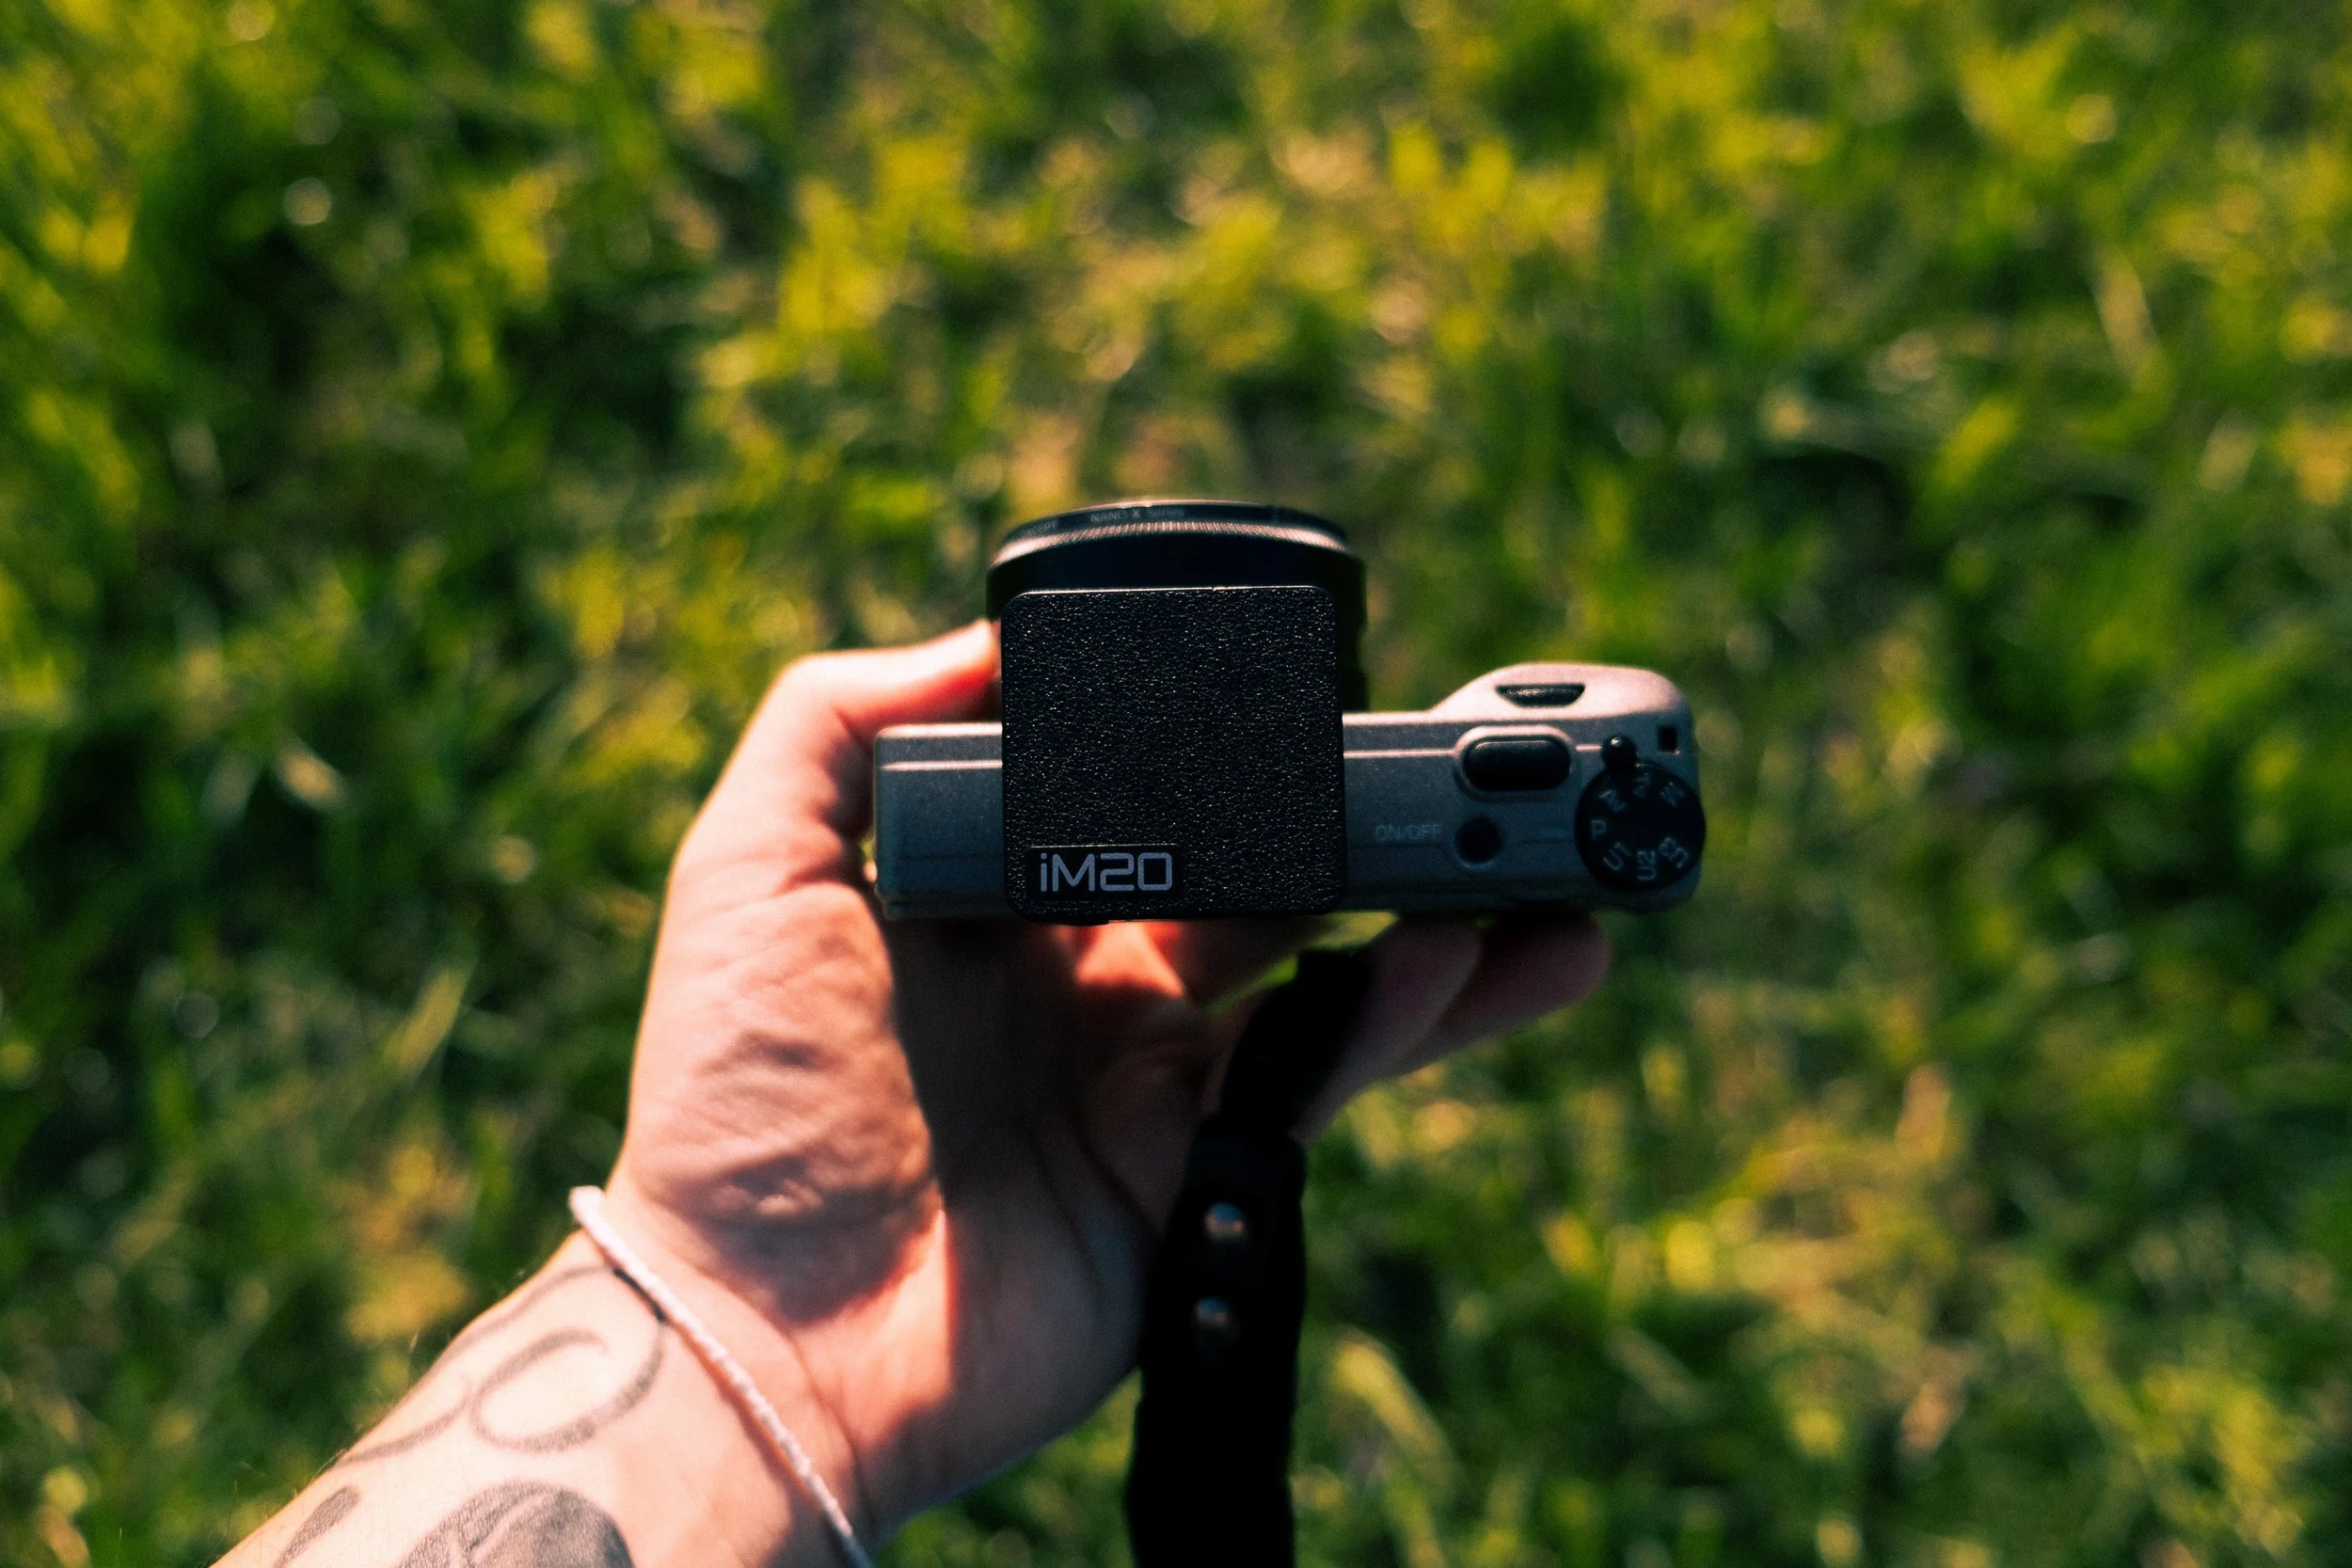
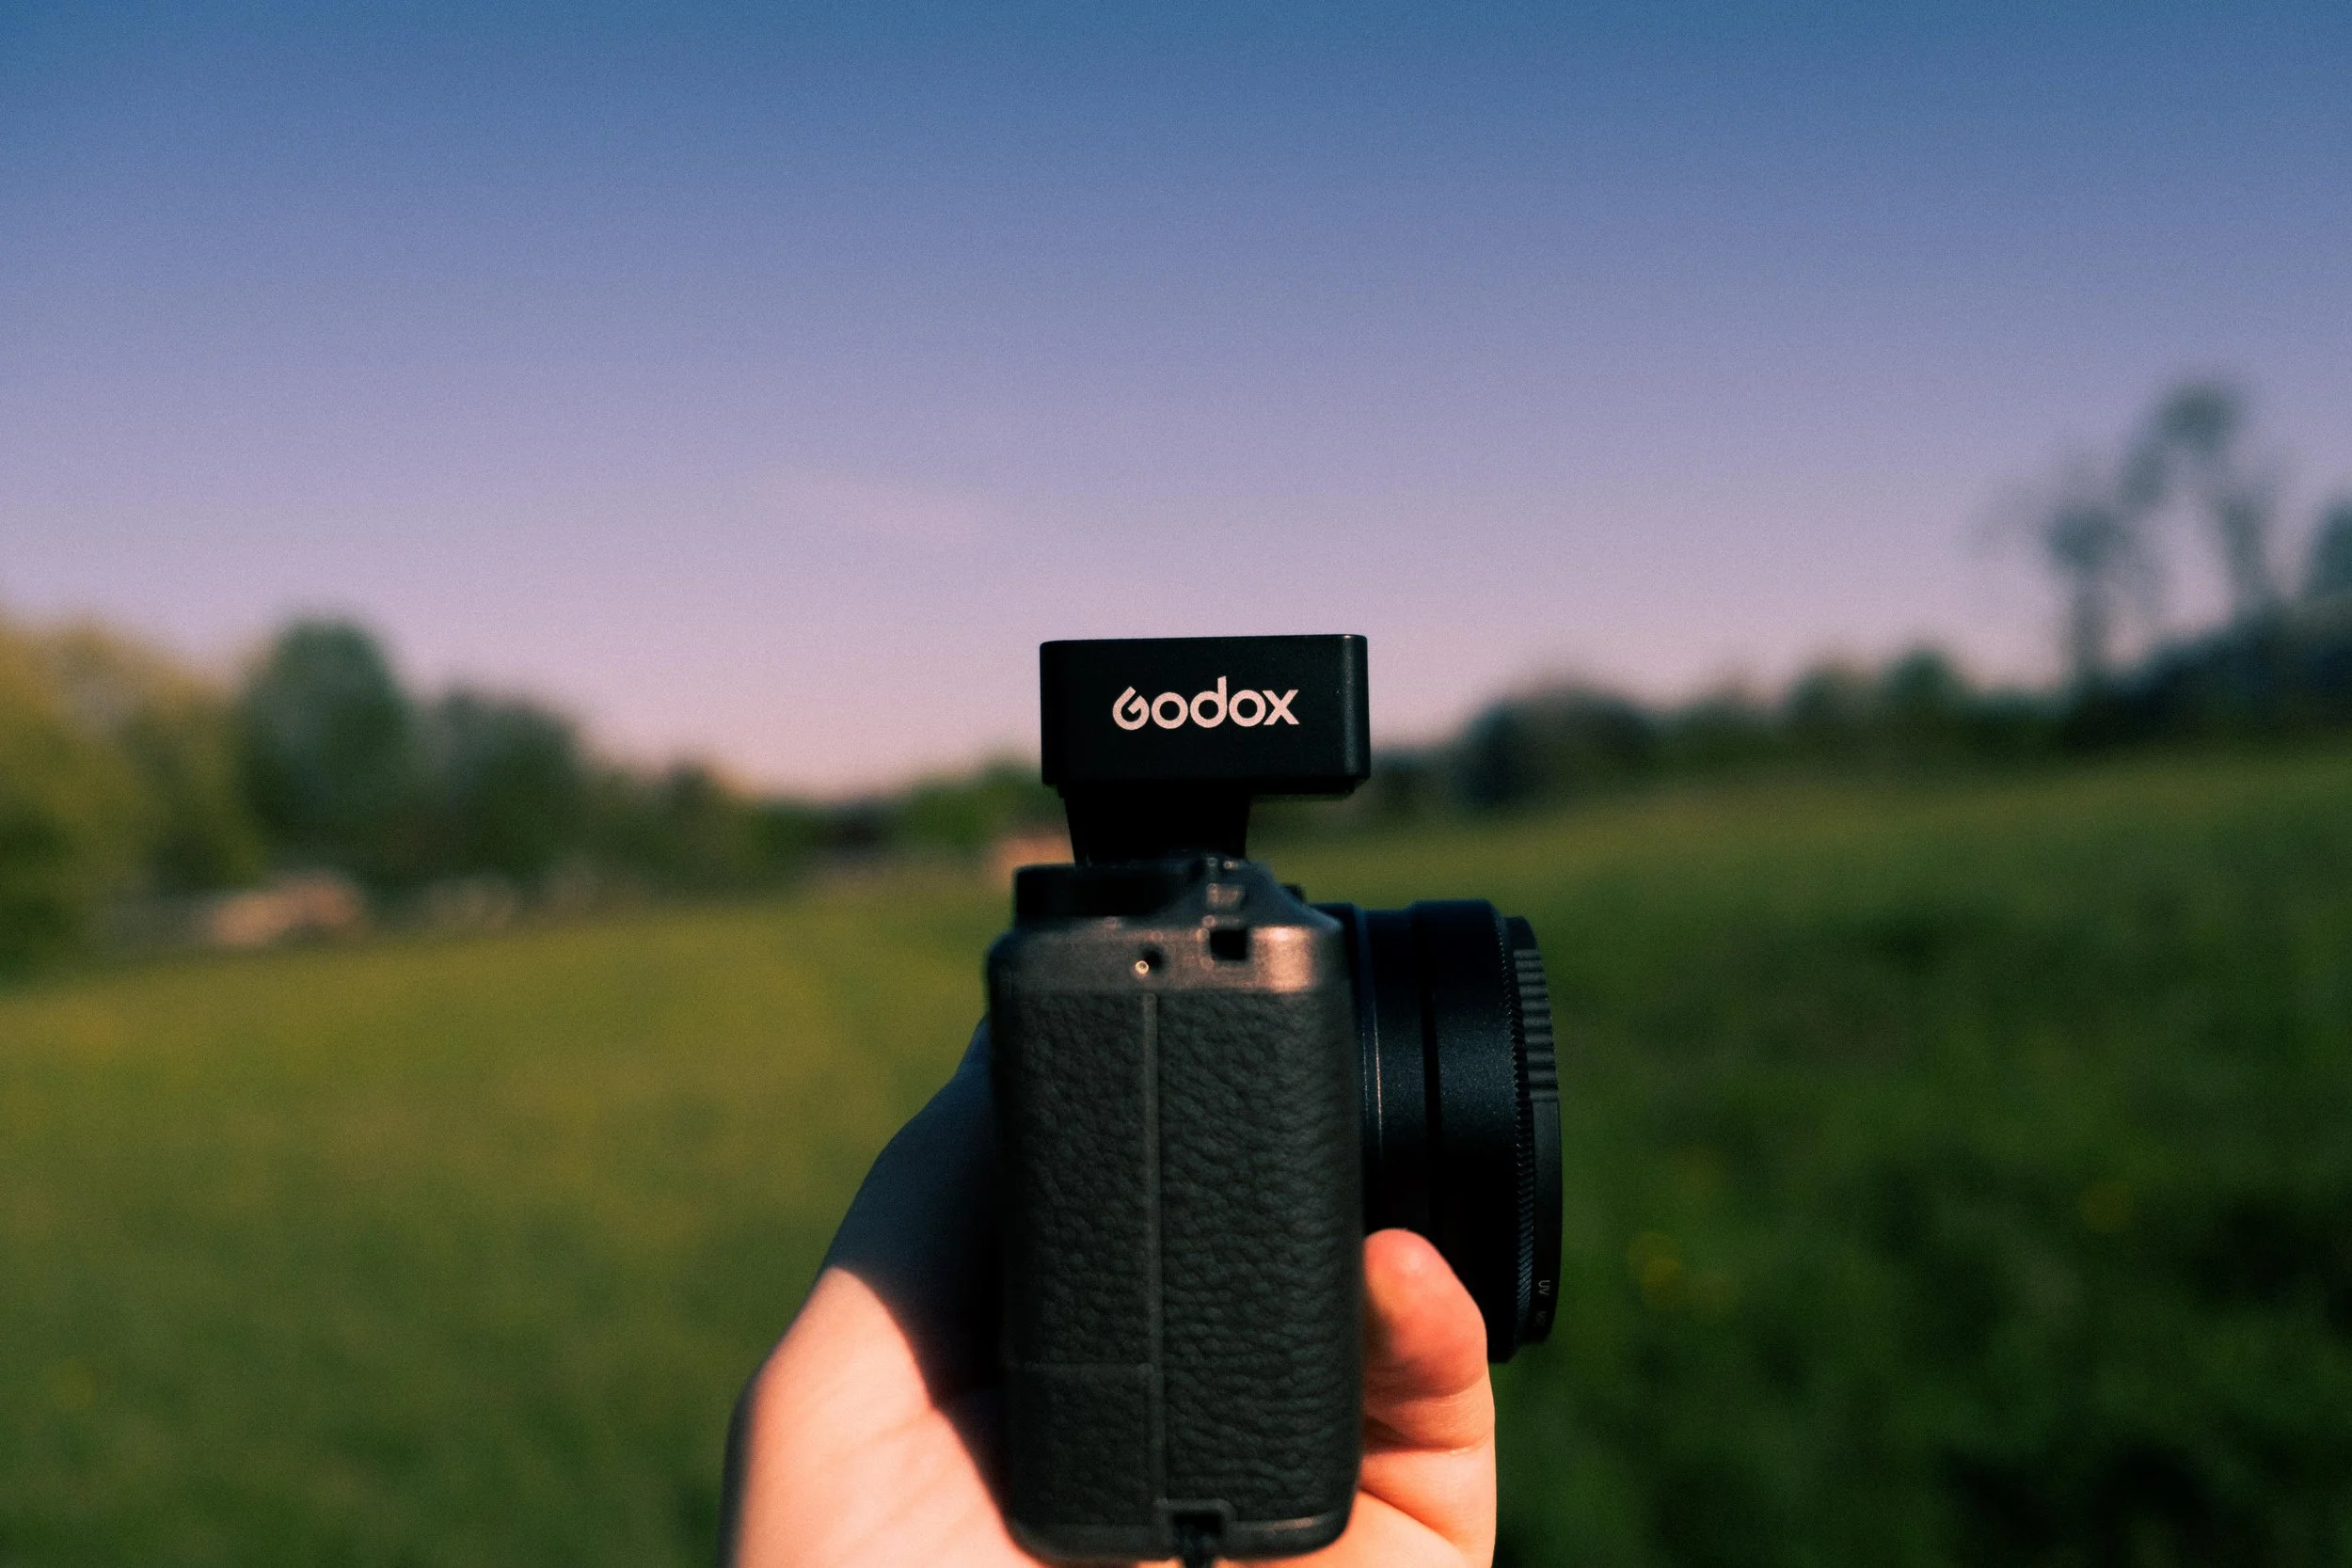
Since I’m not an expert, I went for a simple solution: a small, affordable flash. The Godox im20 Mini.
It keeps the setup compact and makes the GR feel almost like an old-school digicam with a built-in flash.
There are definitely better options, but this one was enough for me and I liked the look it produced.
PURCHASE IT HERE → AMAZON
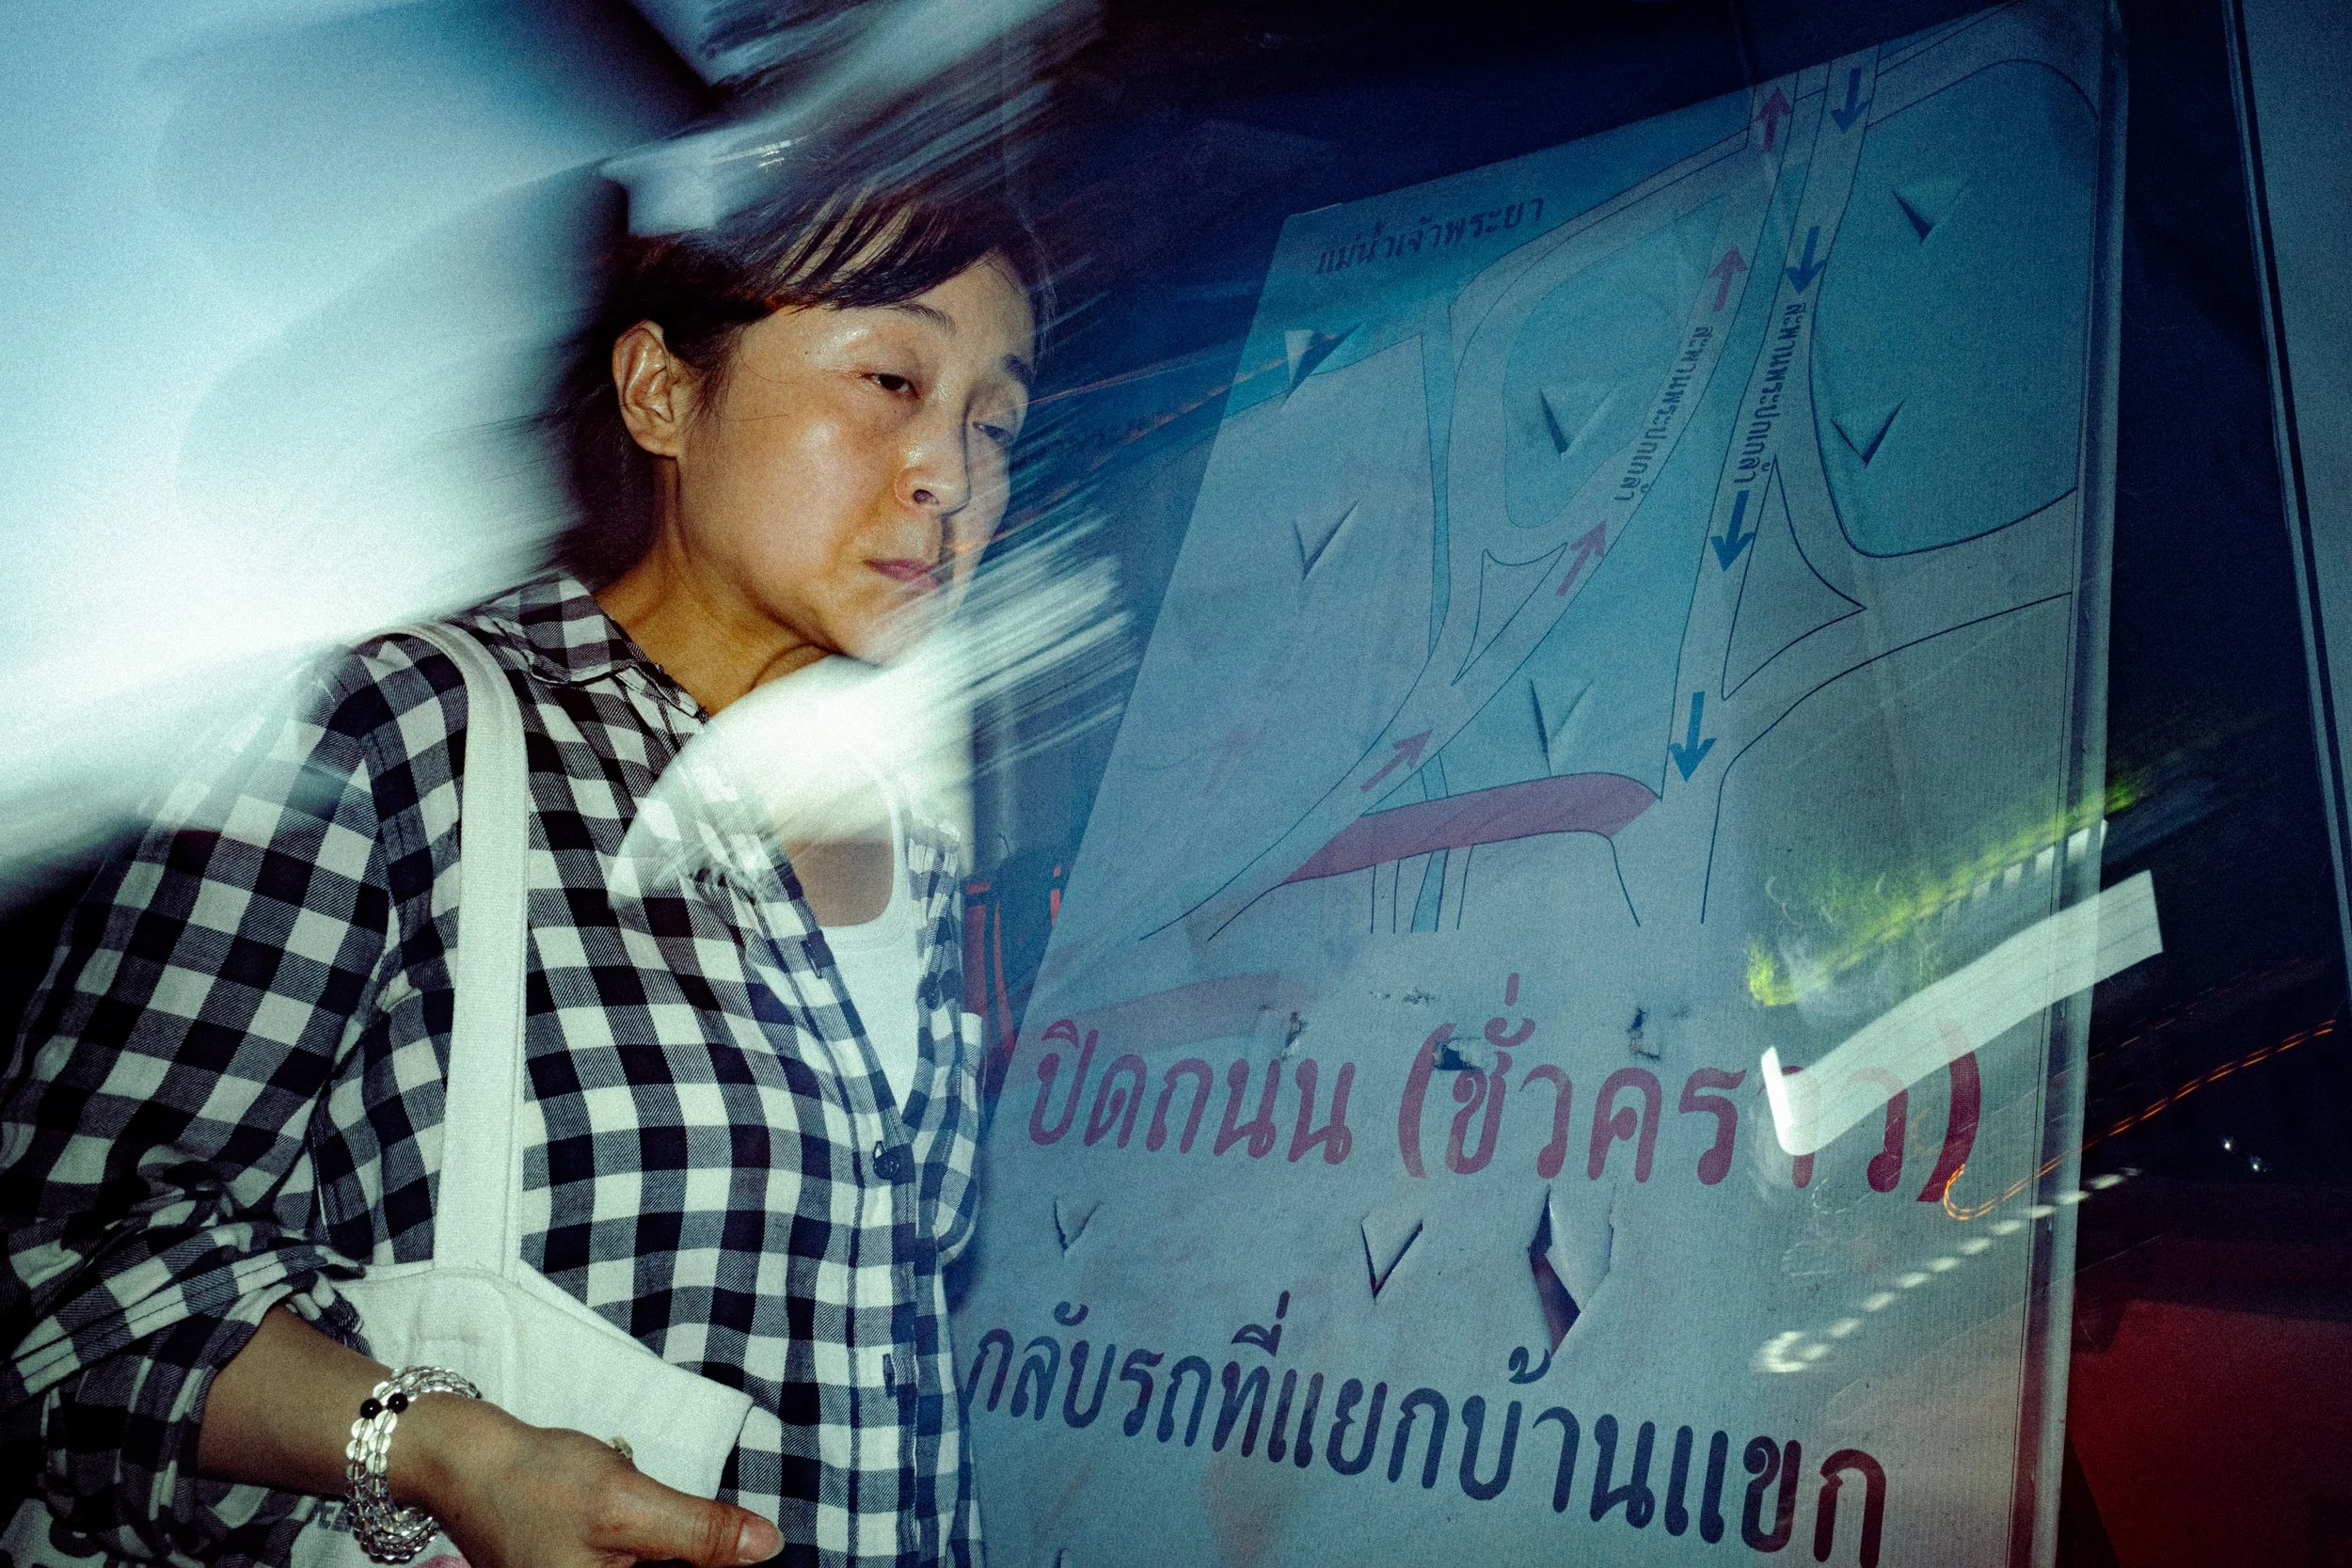
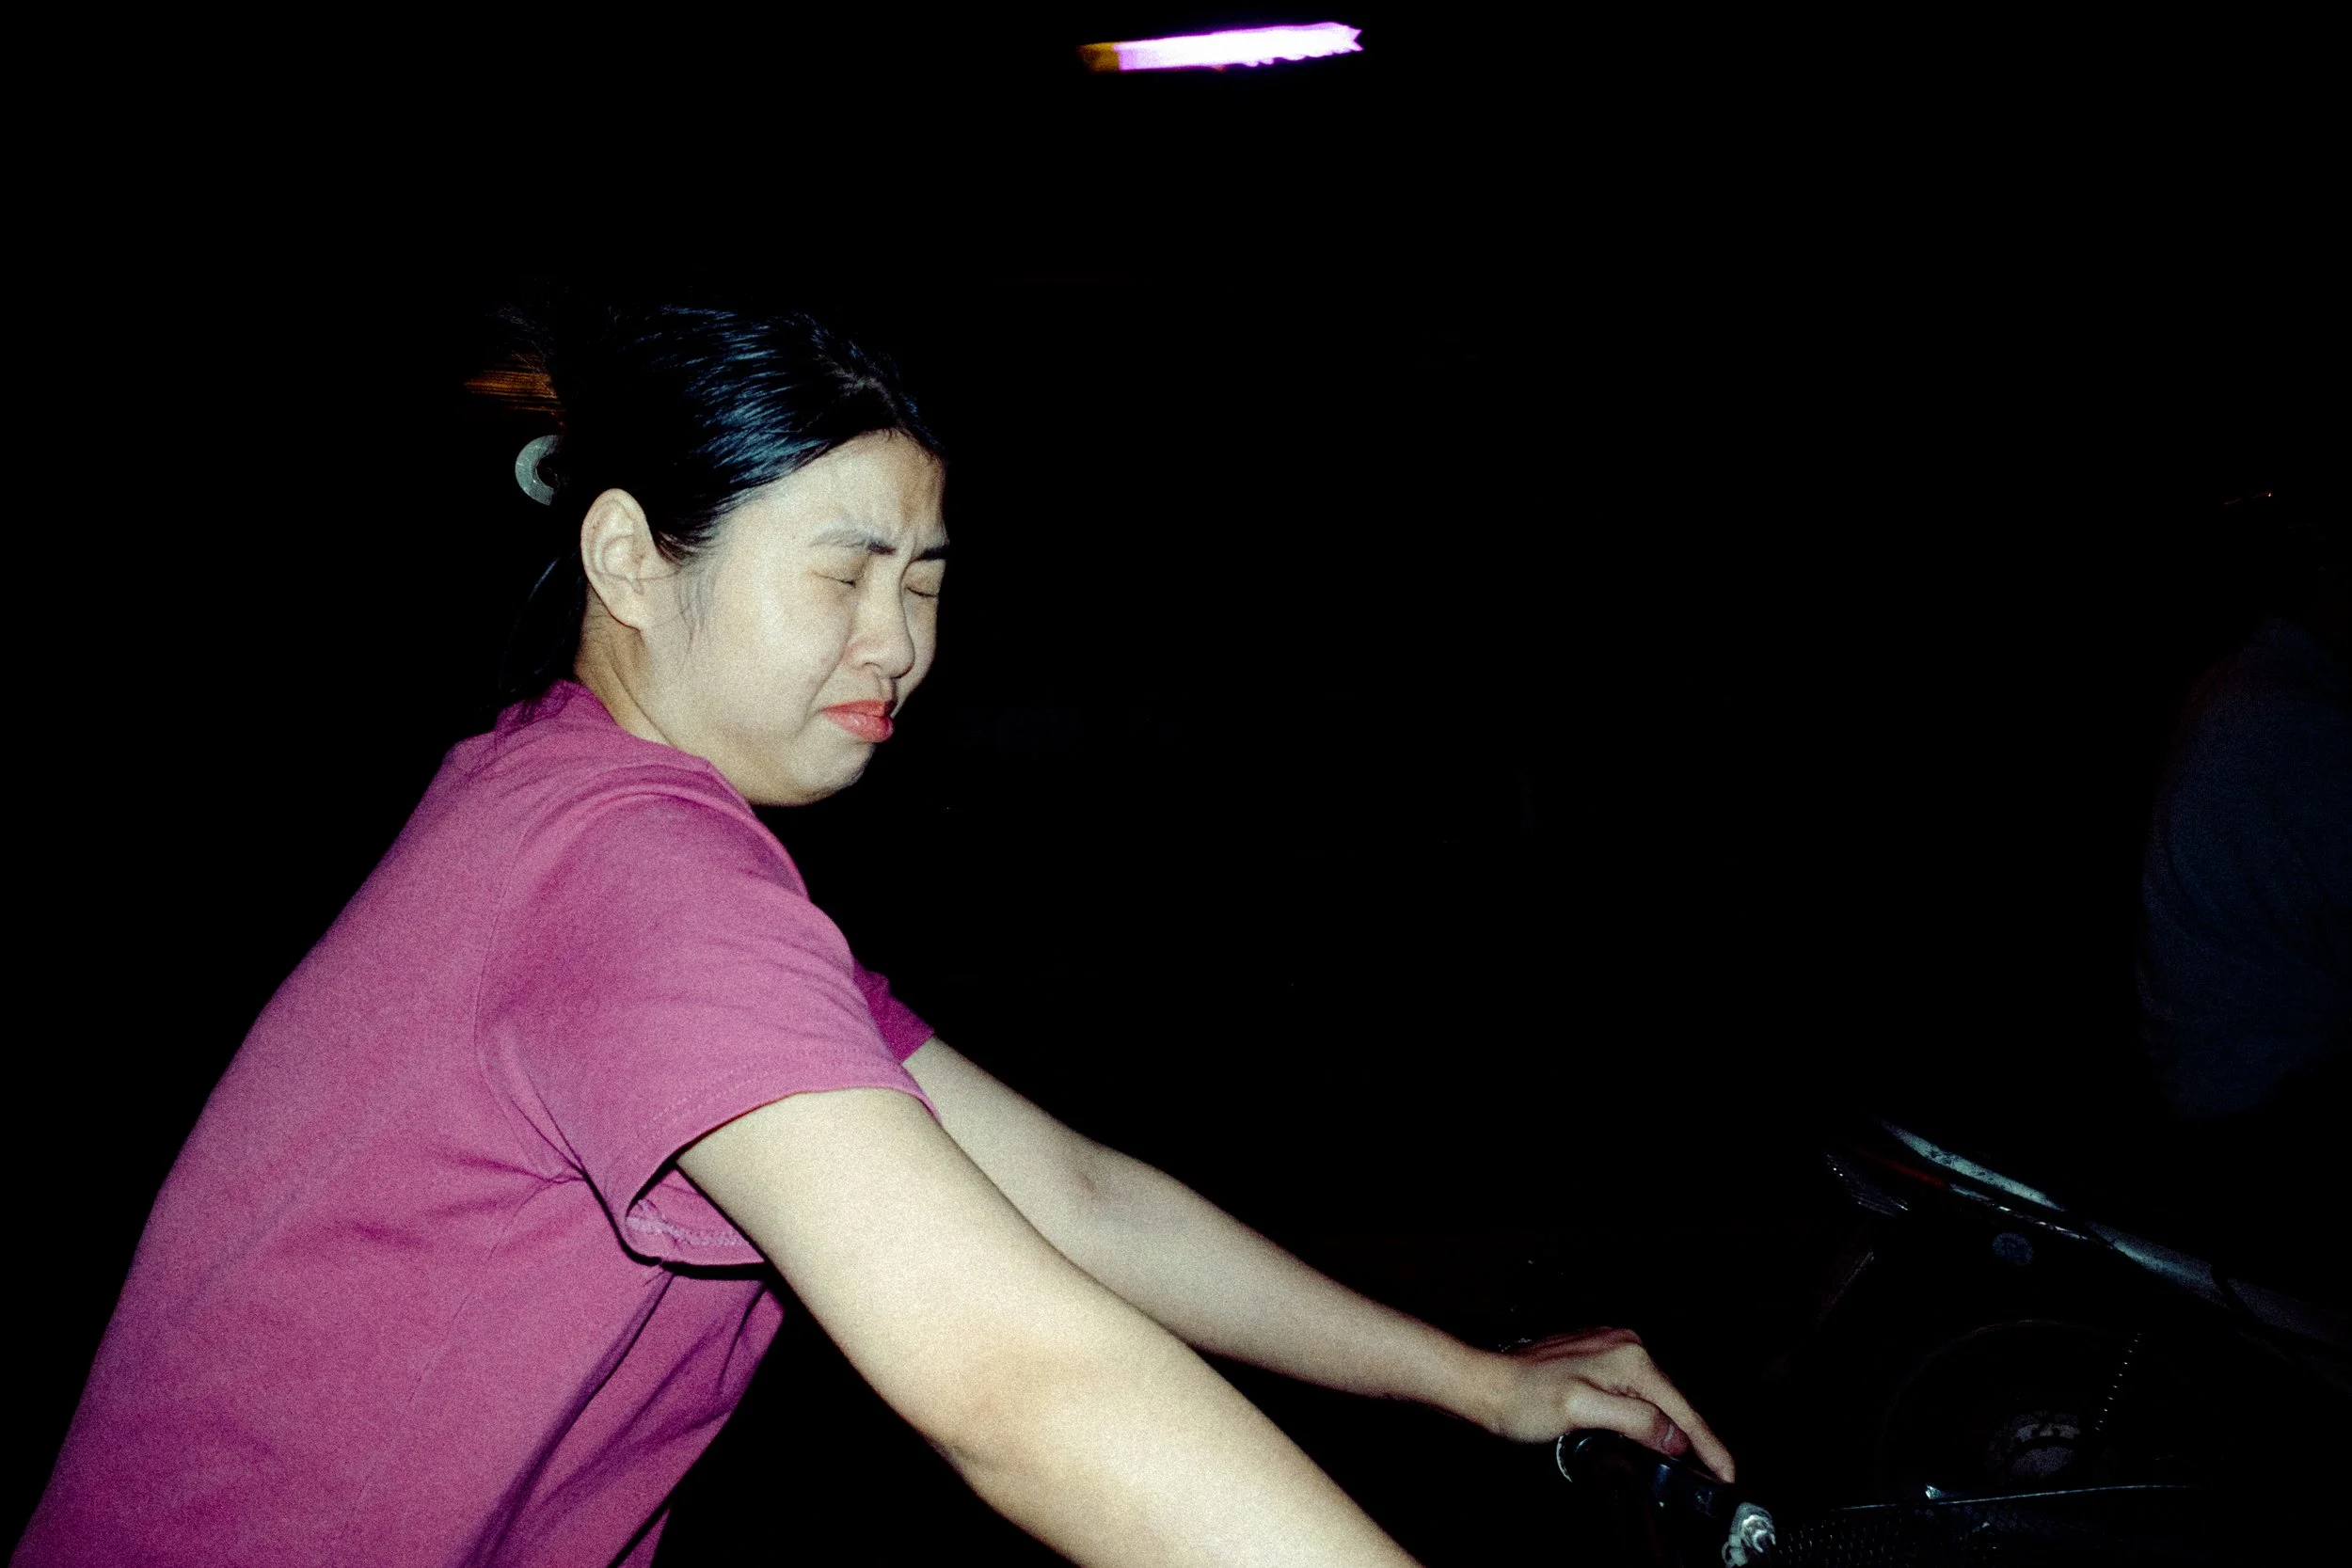



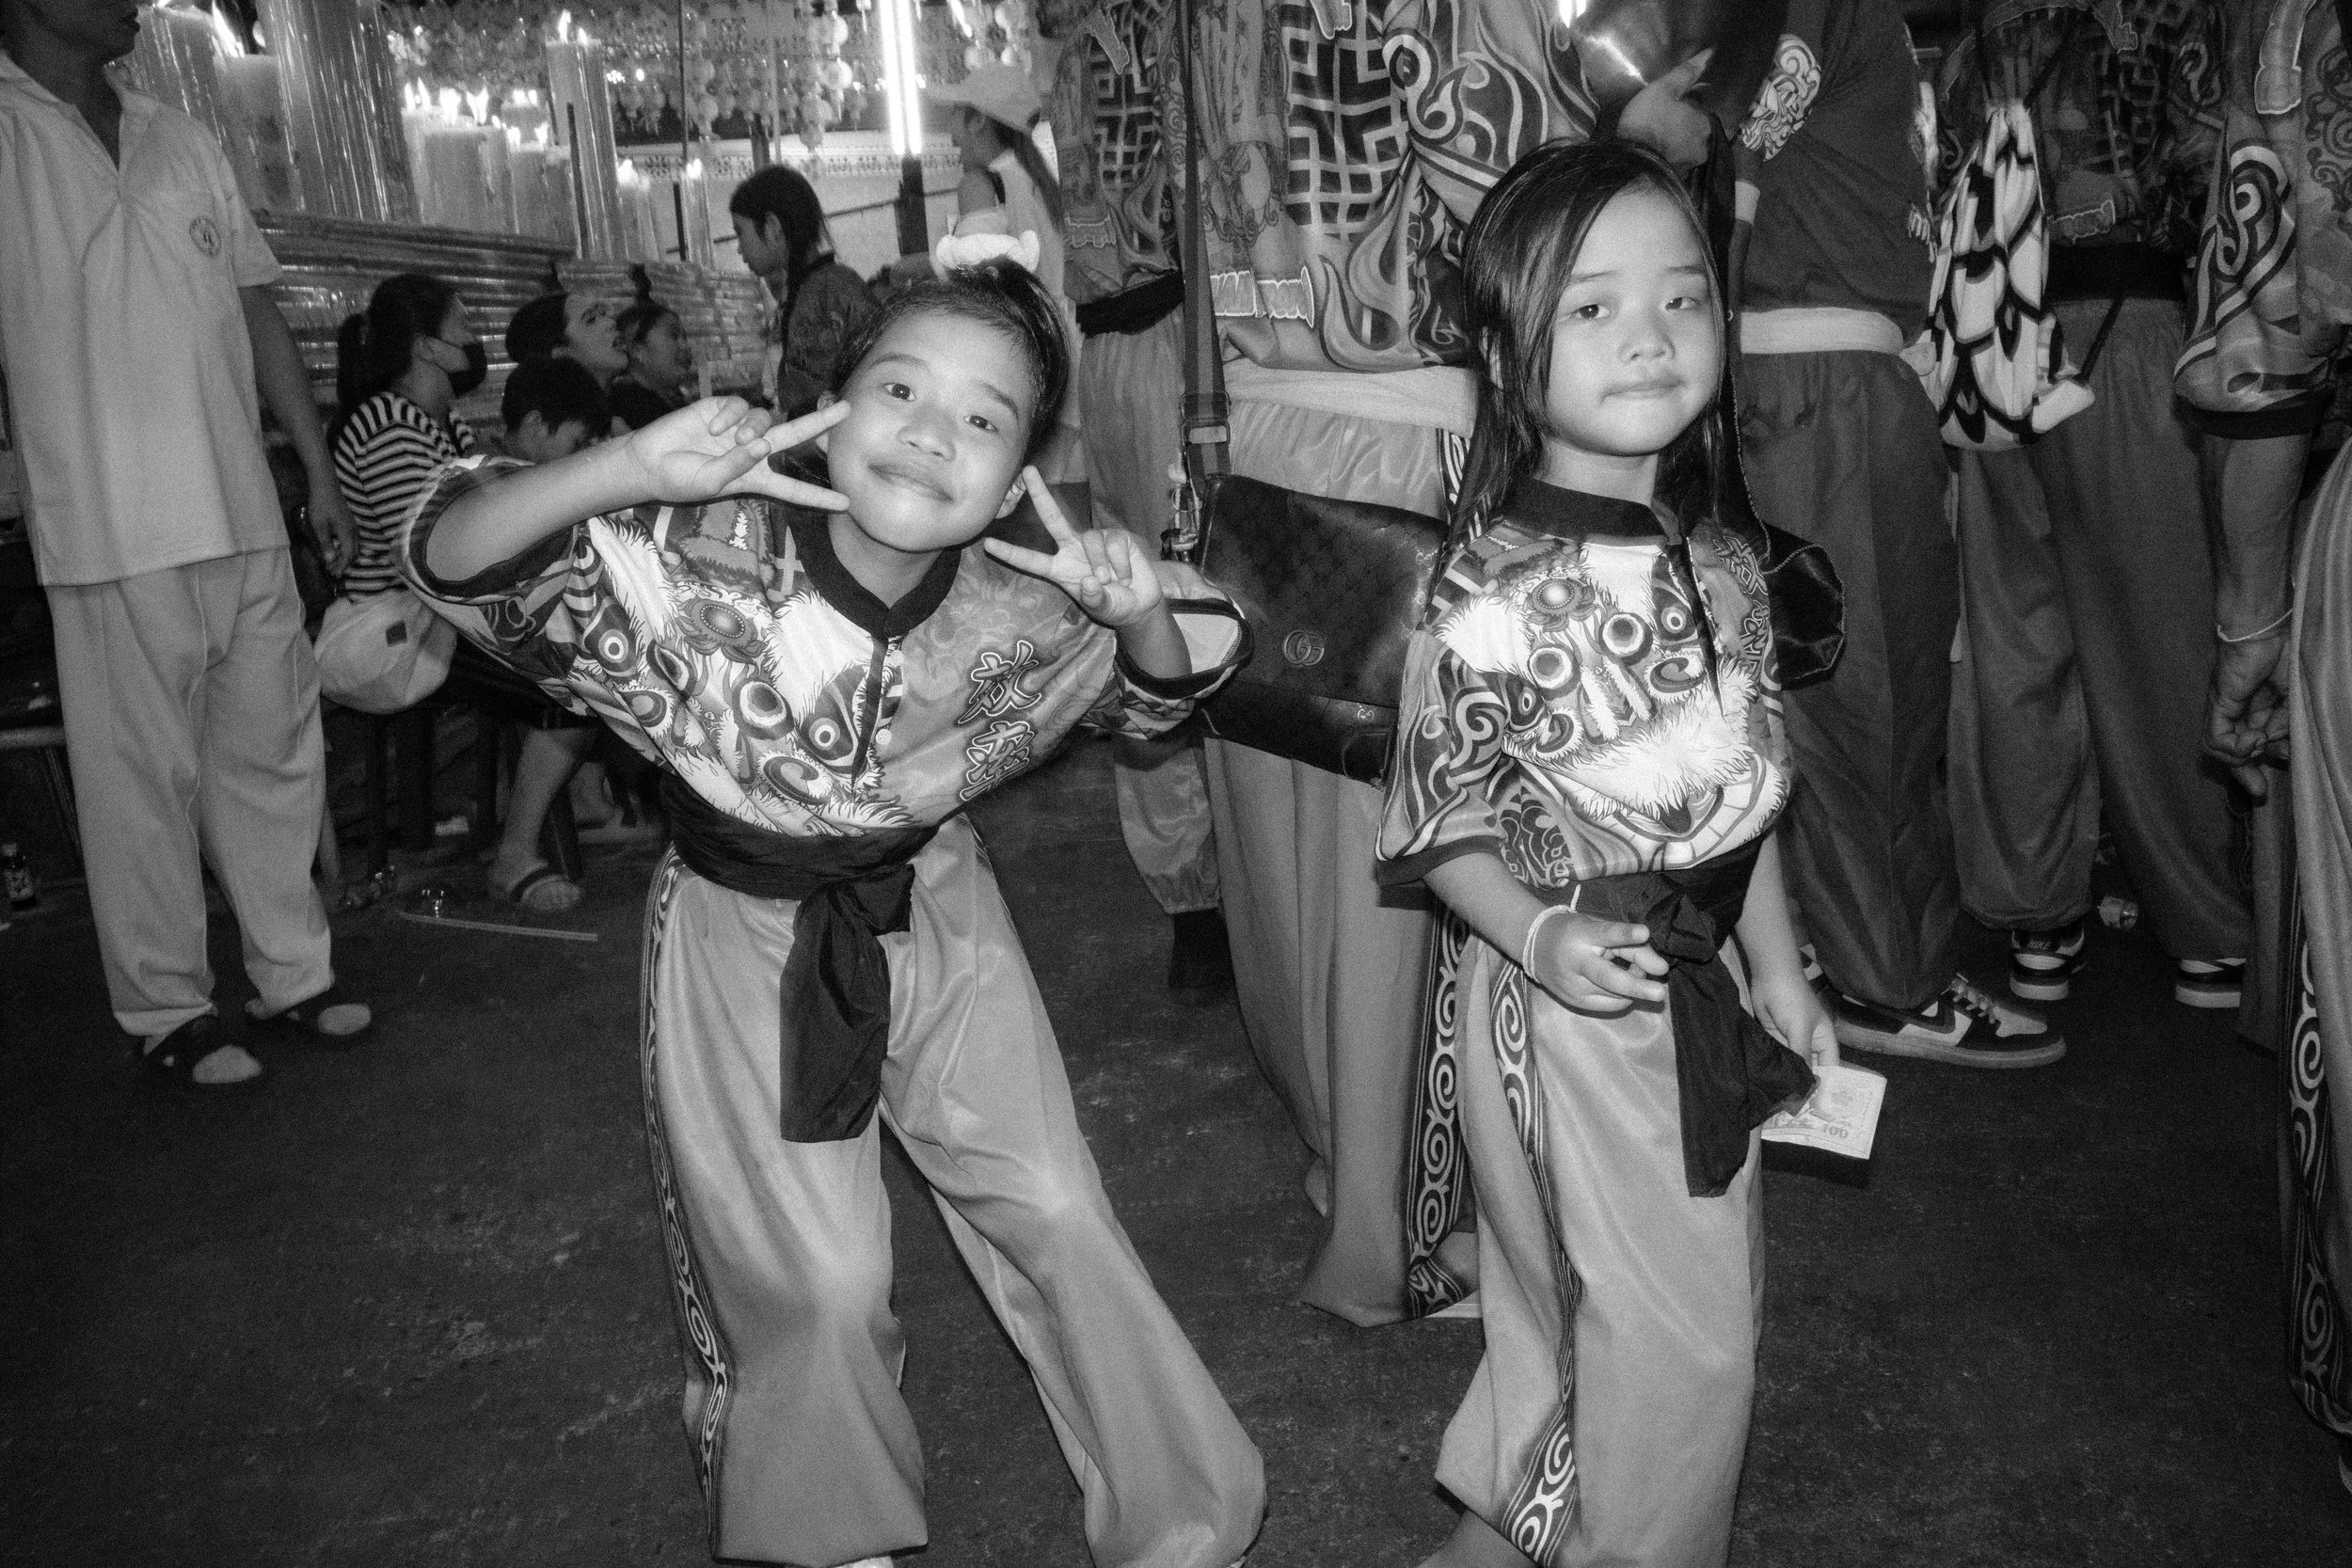


Few photos taken with flash.
Lens Caps
If you don’t want the “bulky” adapter + filter setup, you might still want to protect the lens.
Here are two options:
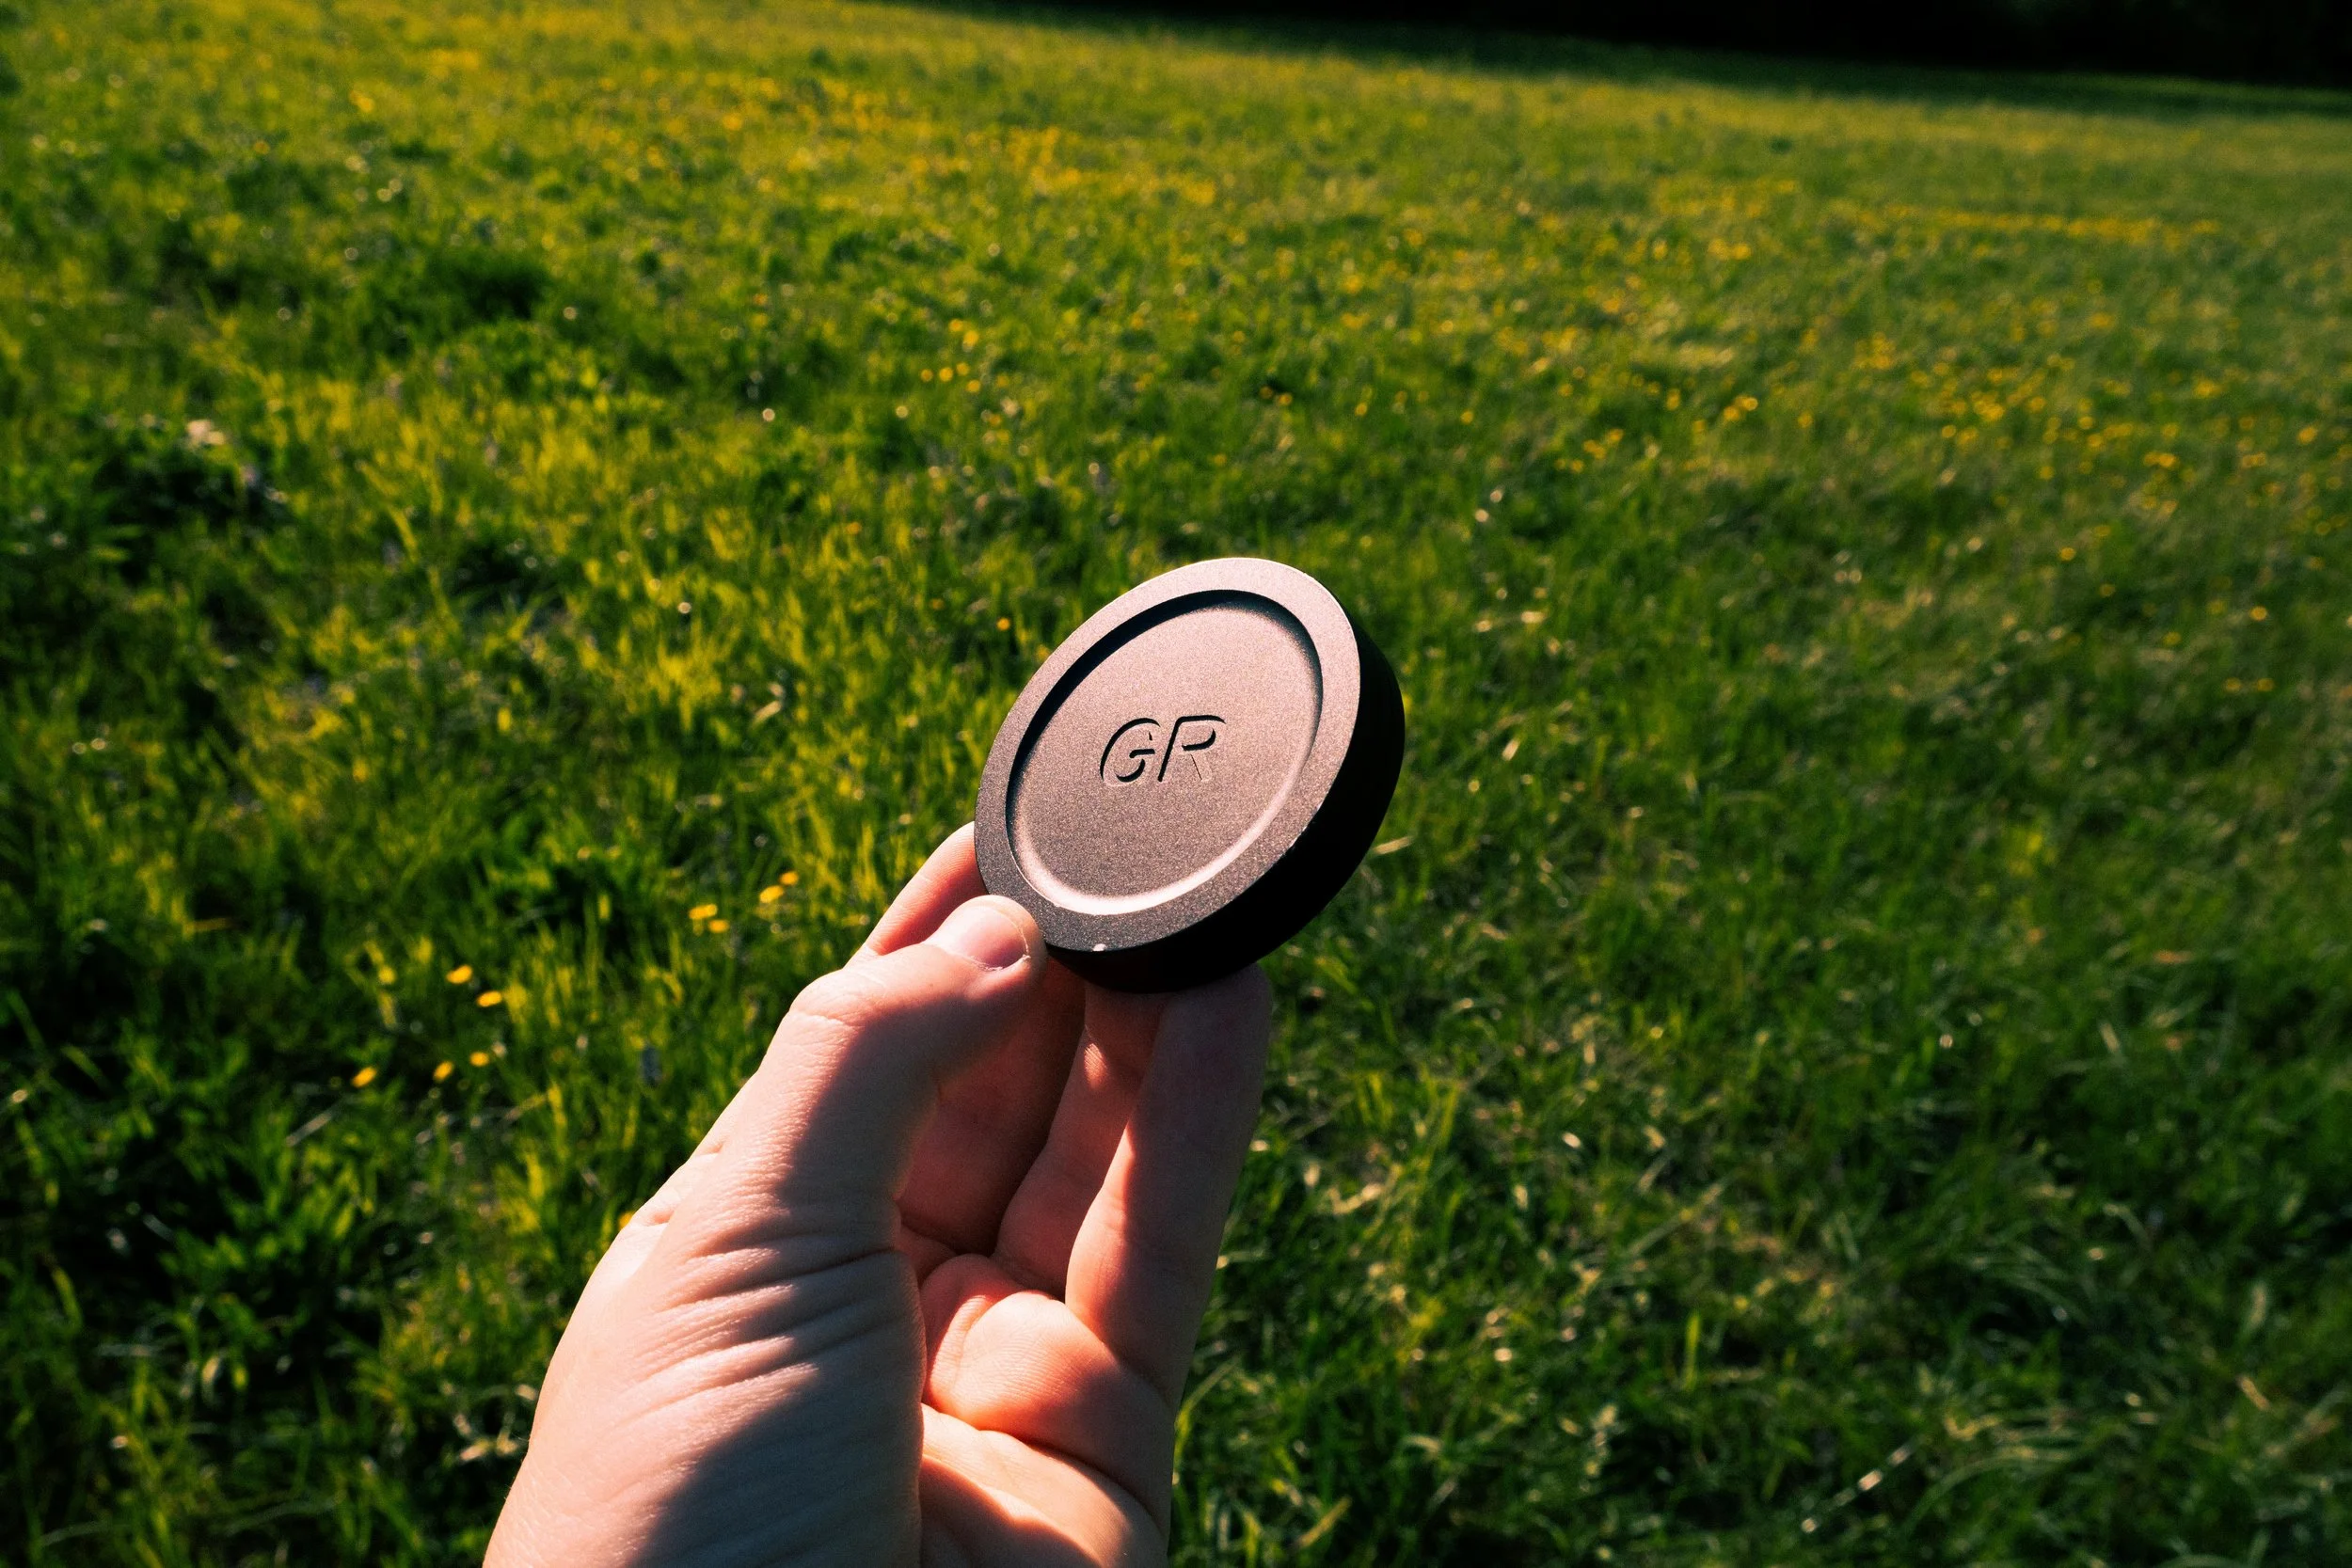
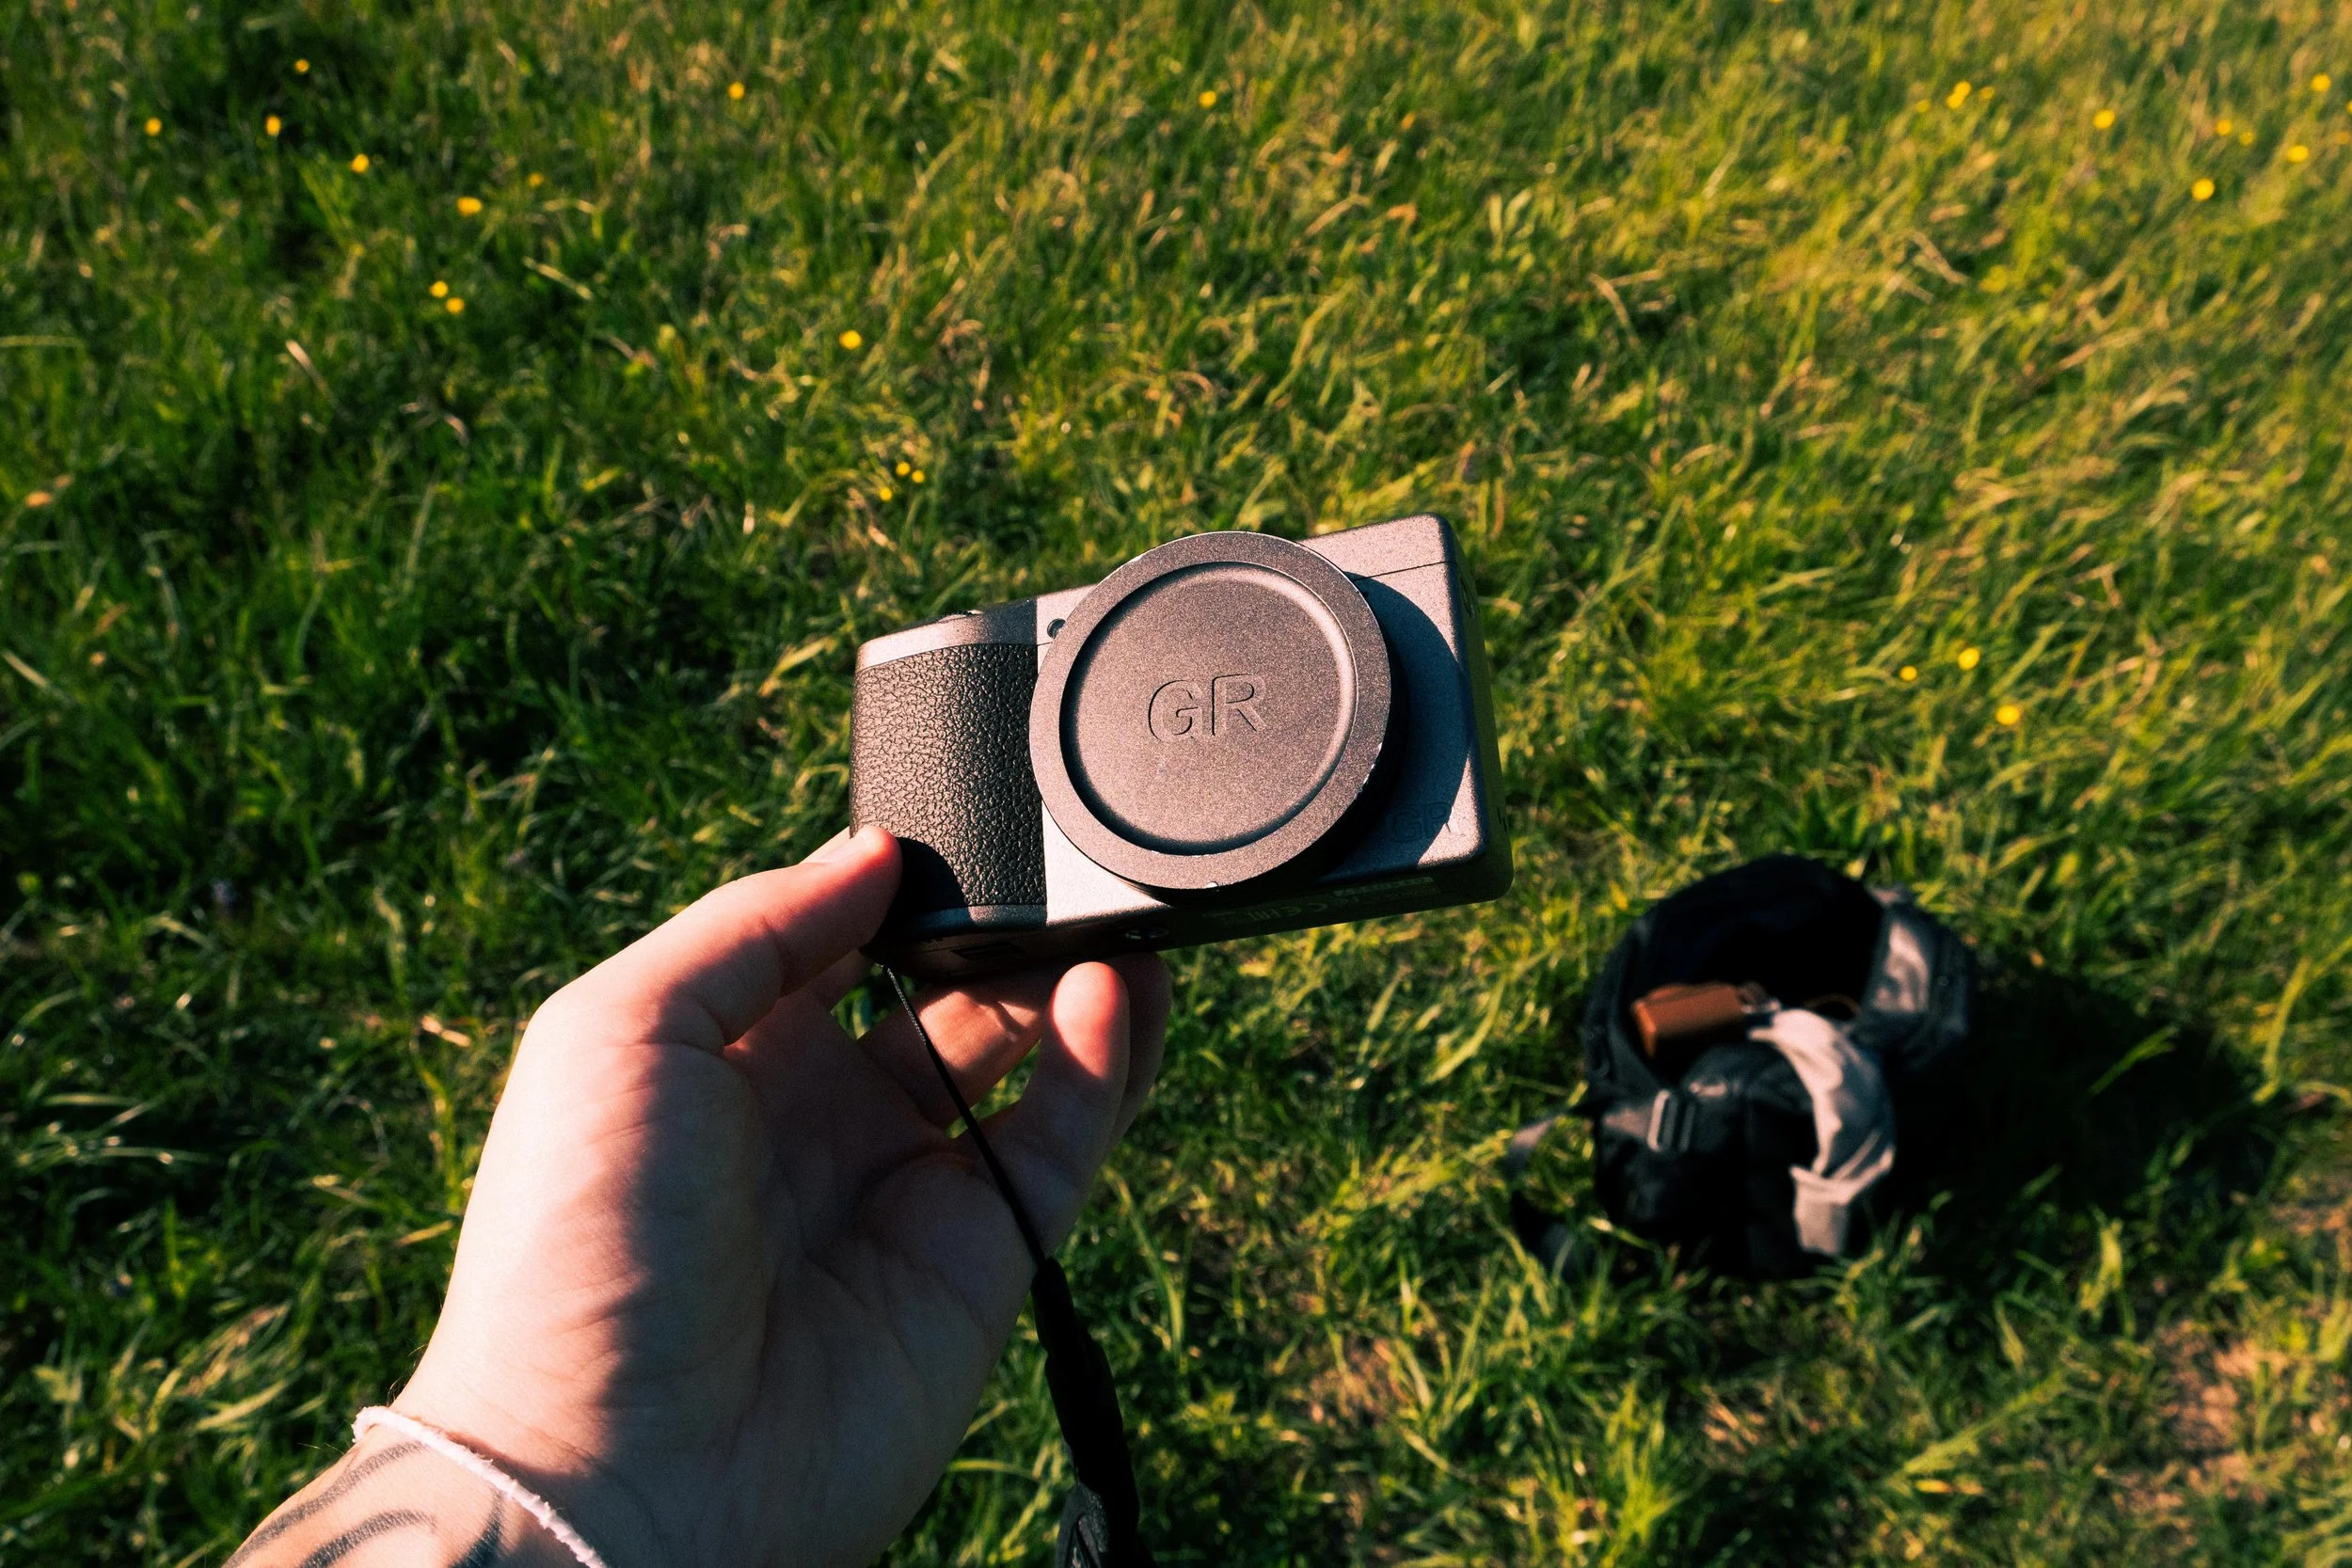
Aluminum lens cap:
Solid, but you need to remember to remove it before turning on the camera - or it will fall off. And yes… it will happen often.
PURCHASE IT HERE → AMAZON
Auto-opening lens cap:
More “fancy.” It has small blades that open like petals when the lens extends.
Downside? It makes the camera look… very serious. Almost futuristic to someone not used to it.
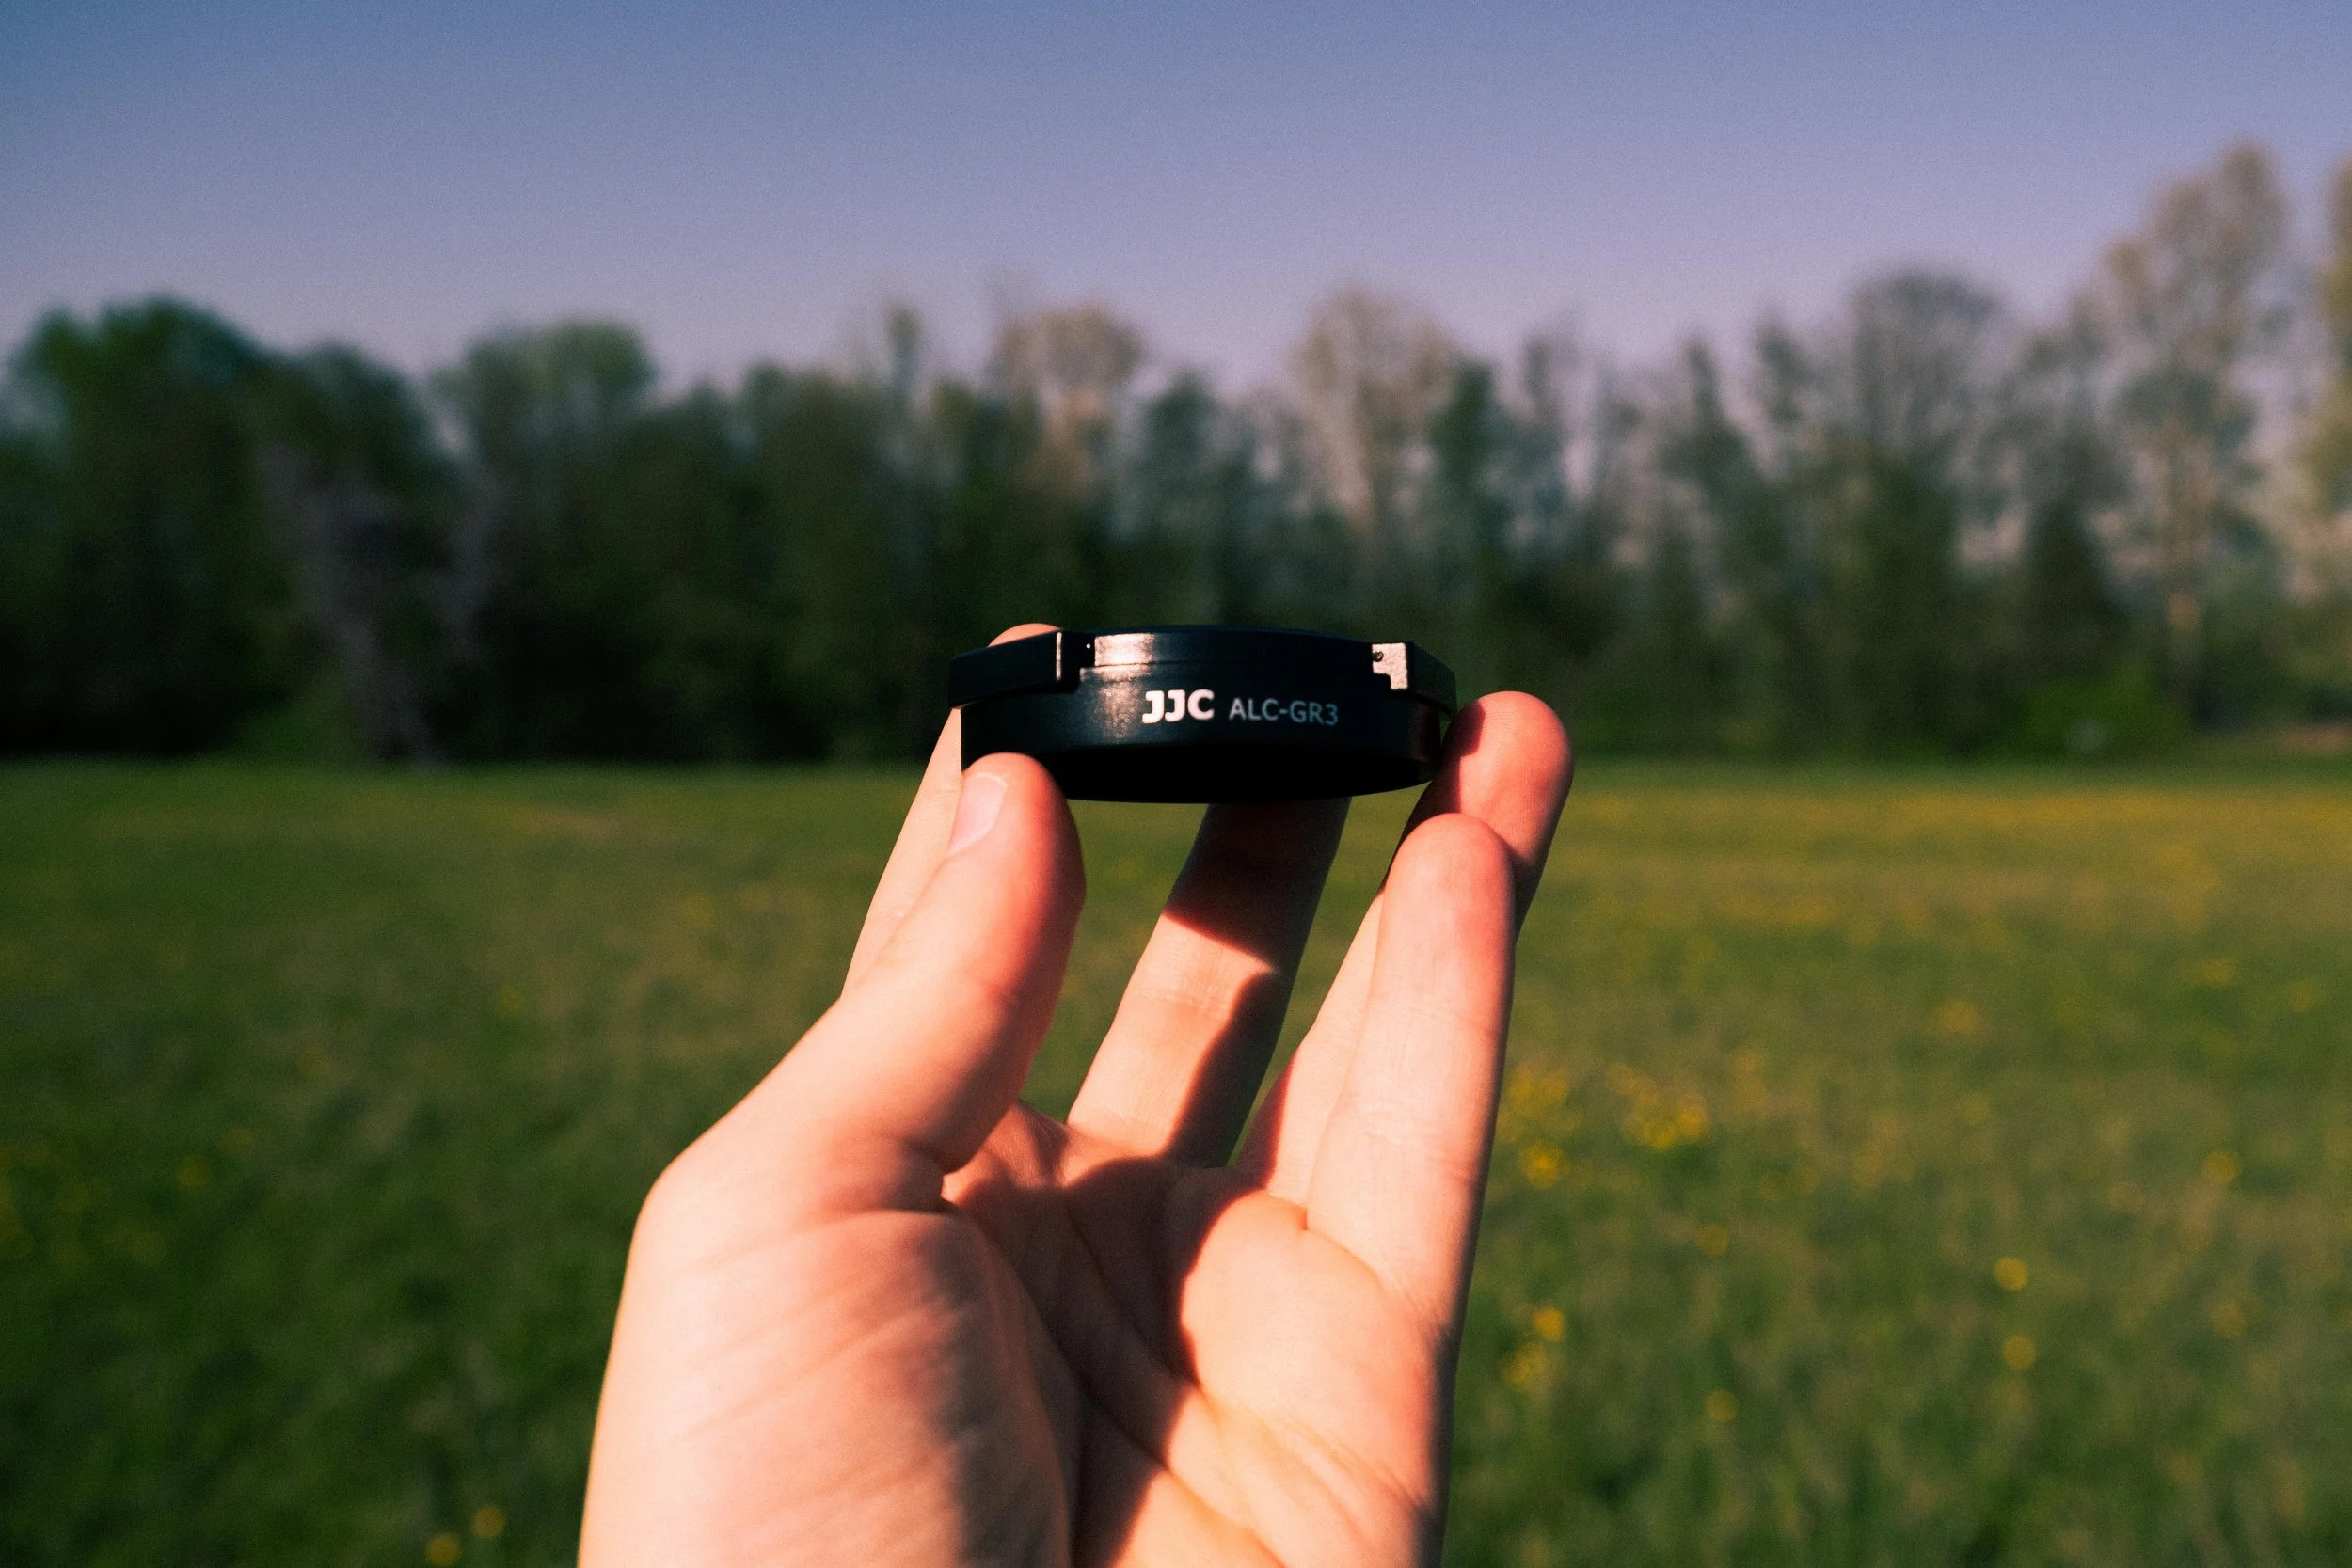
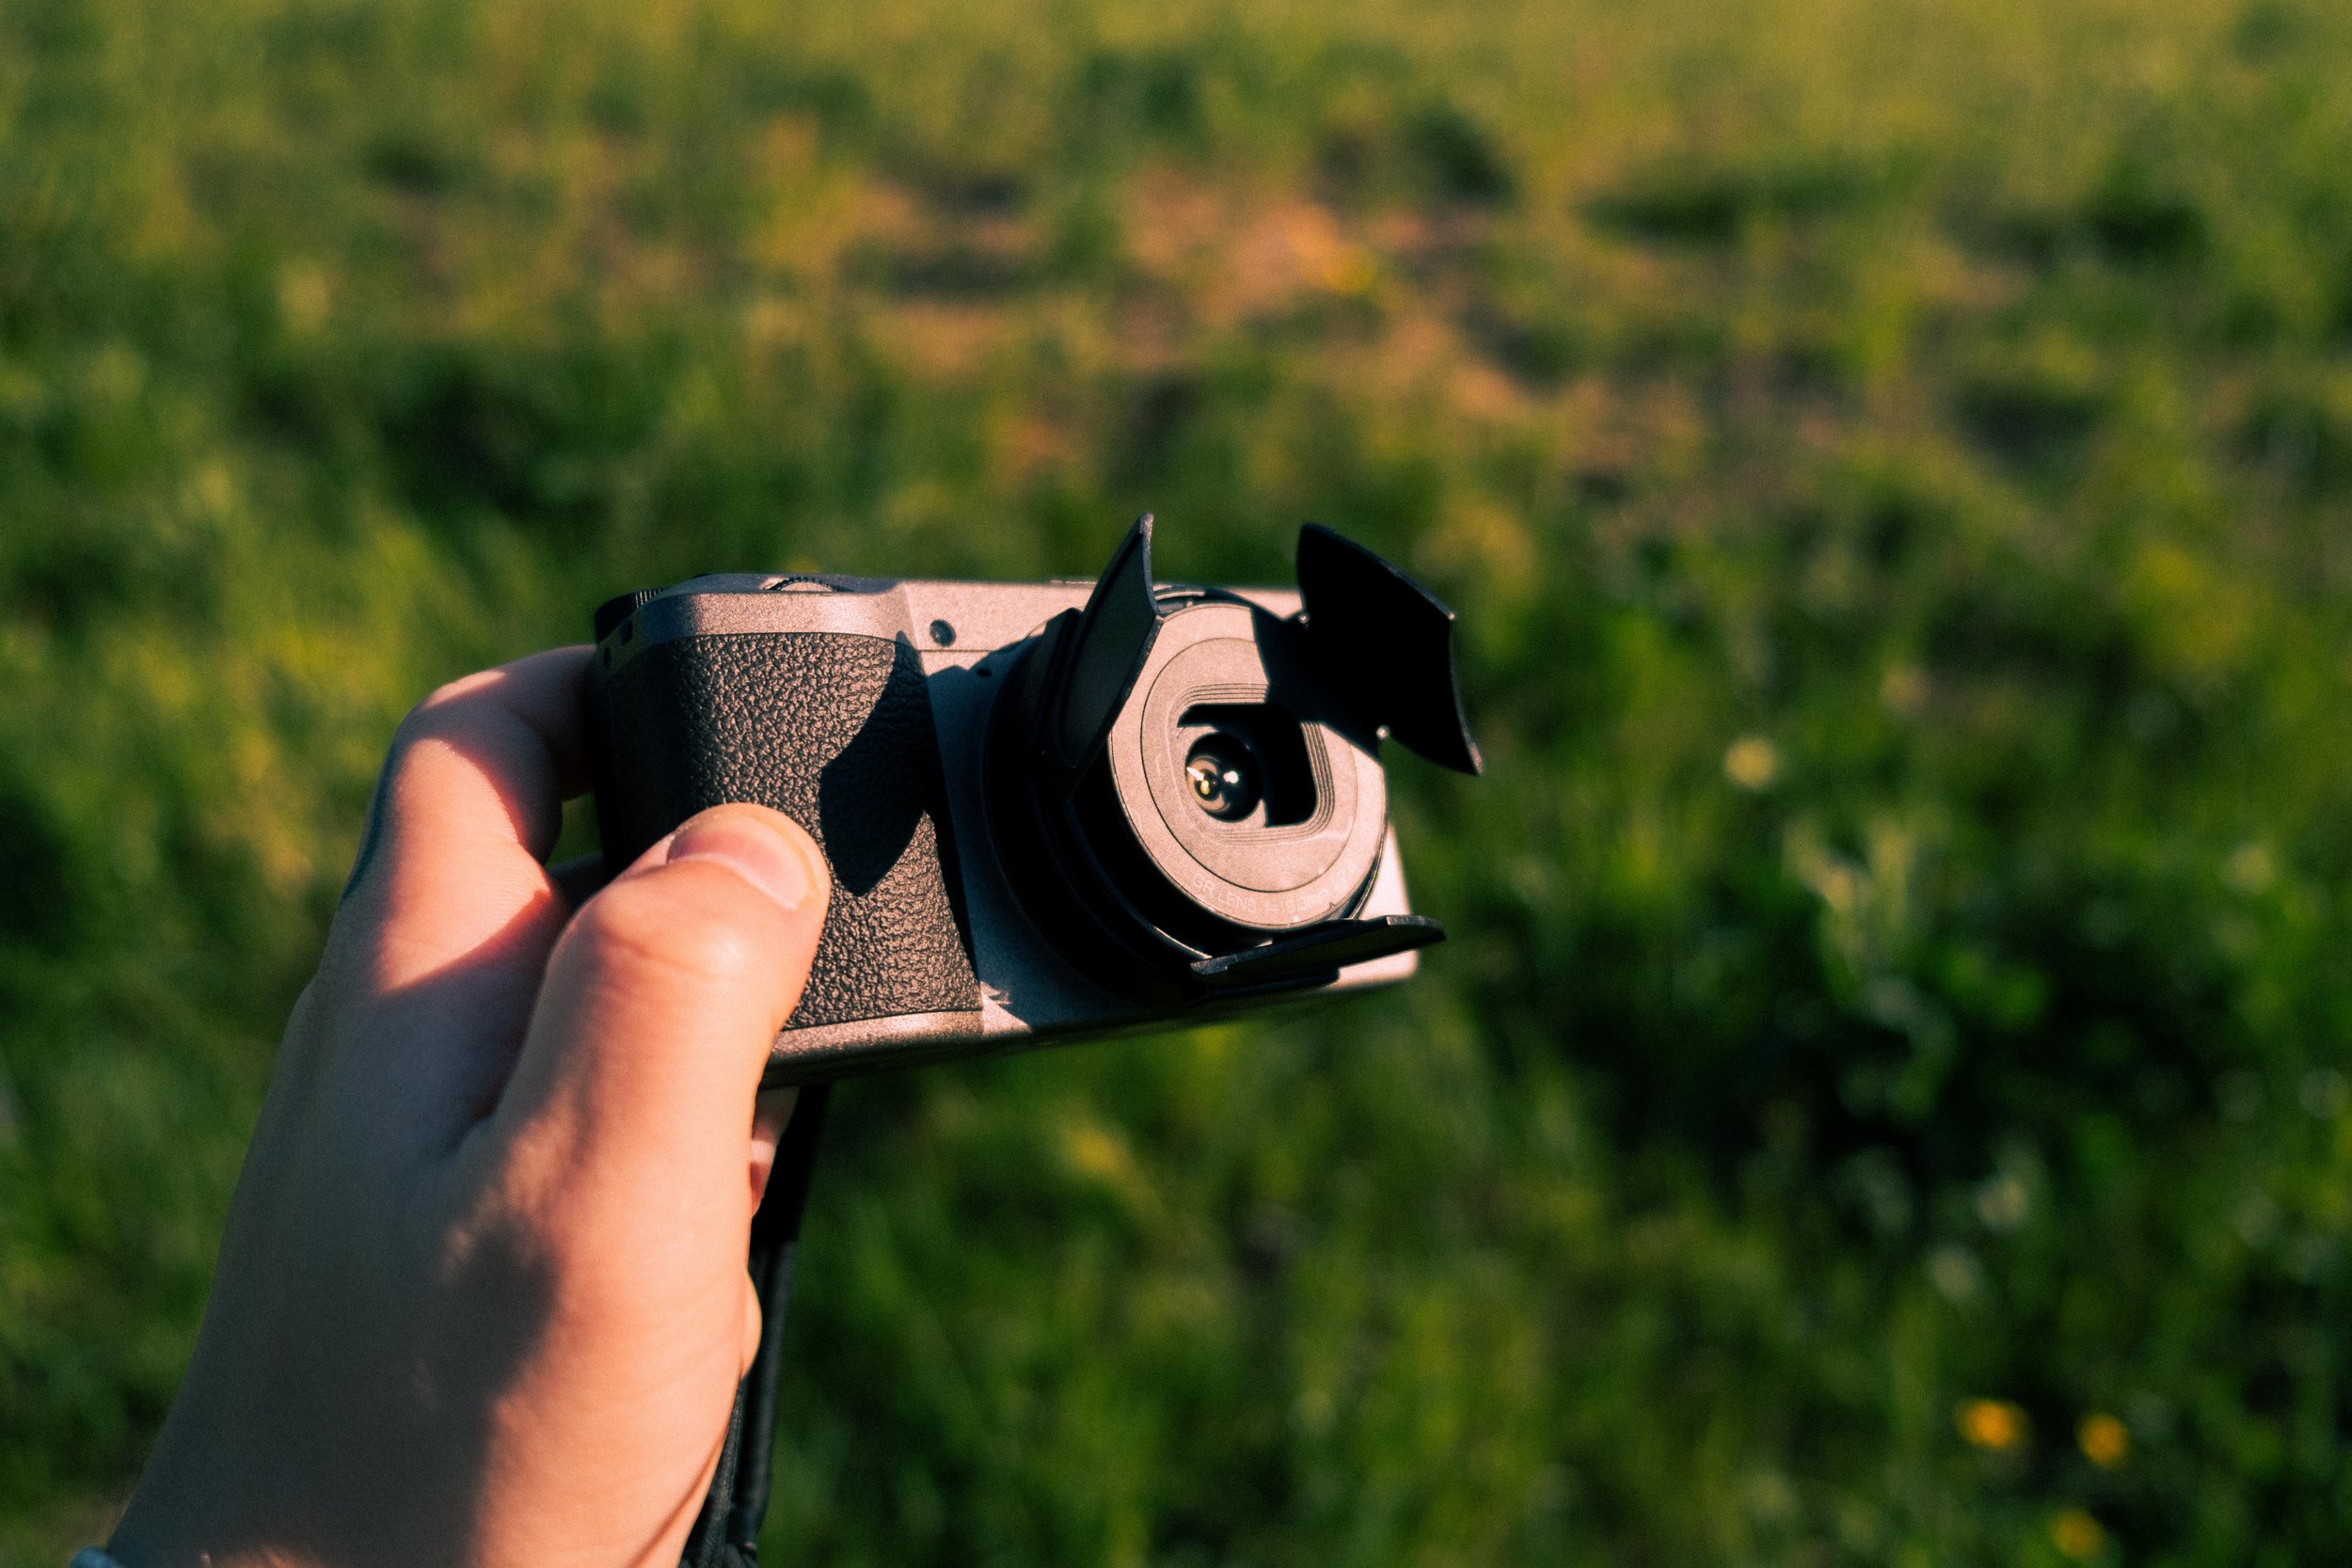
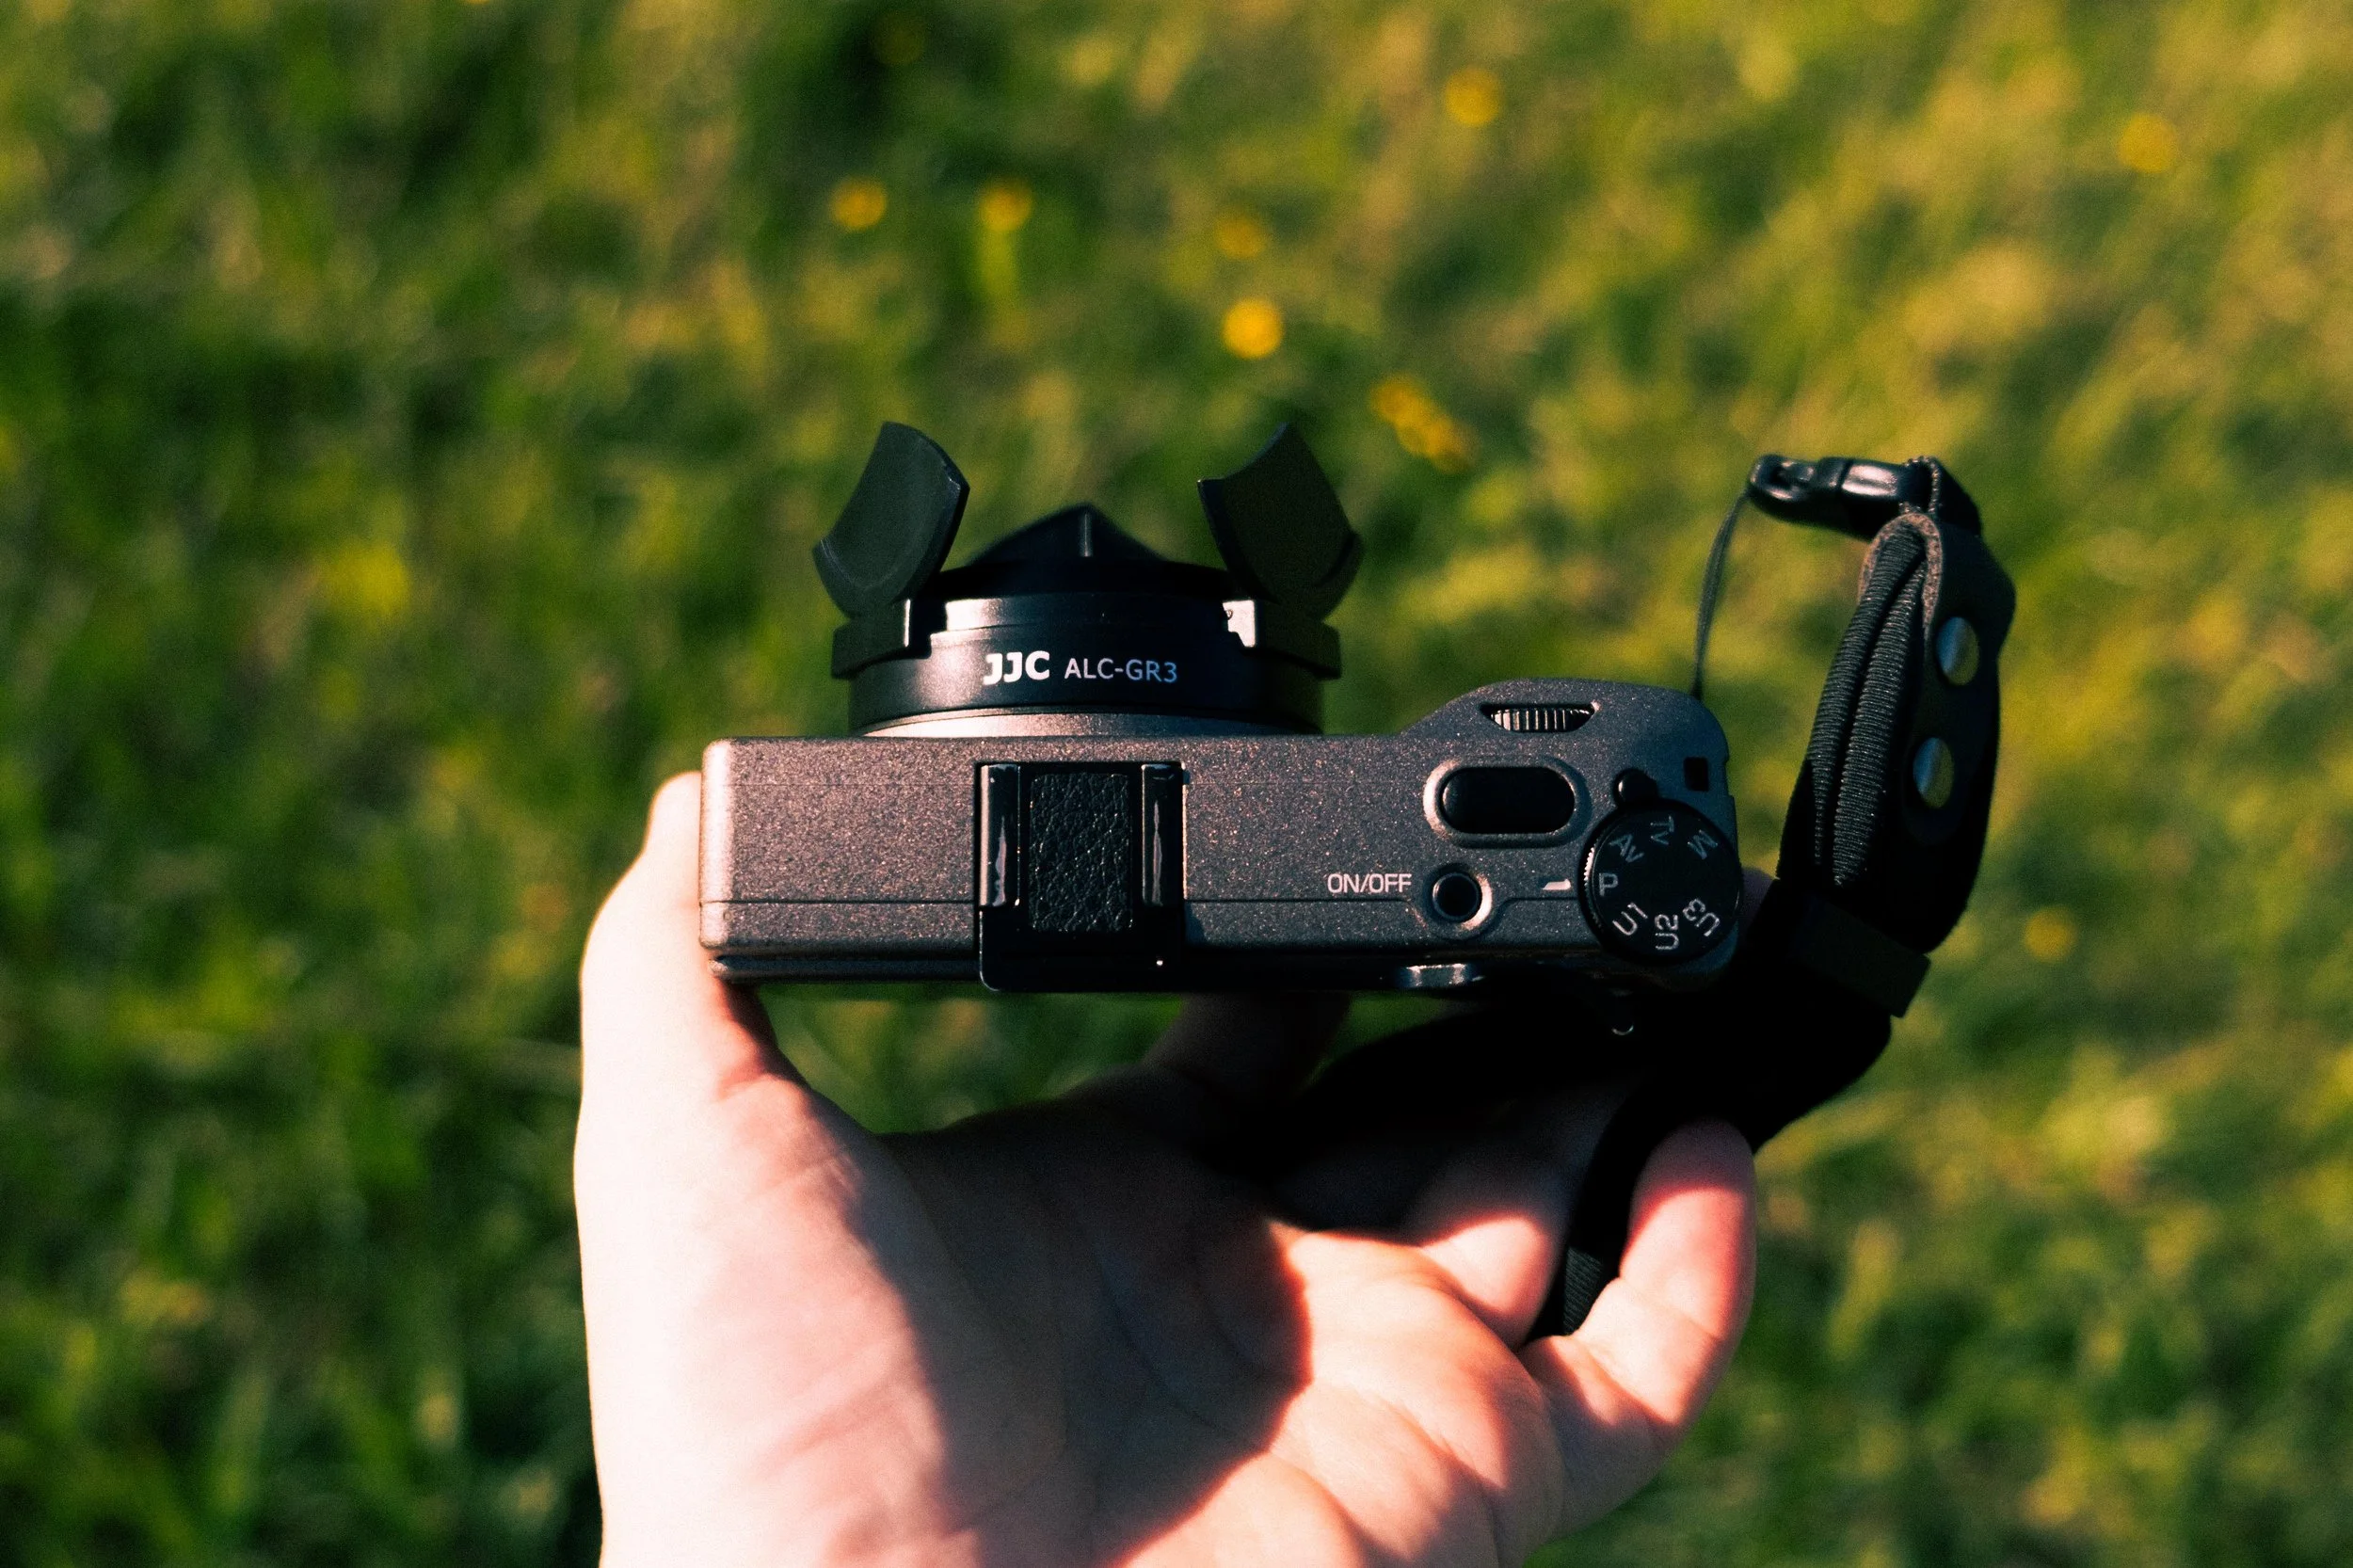
PURCHASE IT HERE → AMAZON
Batteries
One of the common criticisms for this camera is battery life. Personally, I’ve never found it that bad - considering the size of the camera and the batteries.
Still, here’s how I manage it:
Instead of turning the camera on and off, I use the display button to turn off the screen while keeping the camera ready to shoot. This saves a lot of battery.
And of course, I carry spare batteries.
Let’s be real: I can get a round-trip flight in Europe for €30–40, so spending €60+ on a single battery feels excessive.
I use third-party batteries, and they perform just as well as the original. I also use a charger that lets me charge three batteries at once - which is exactly how many I carry.
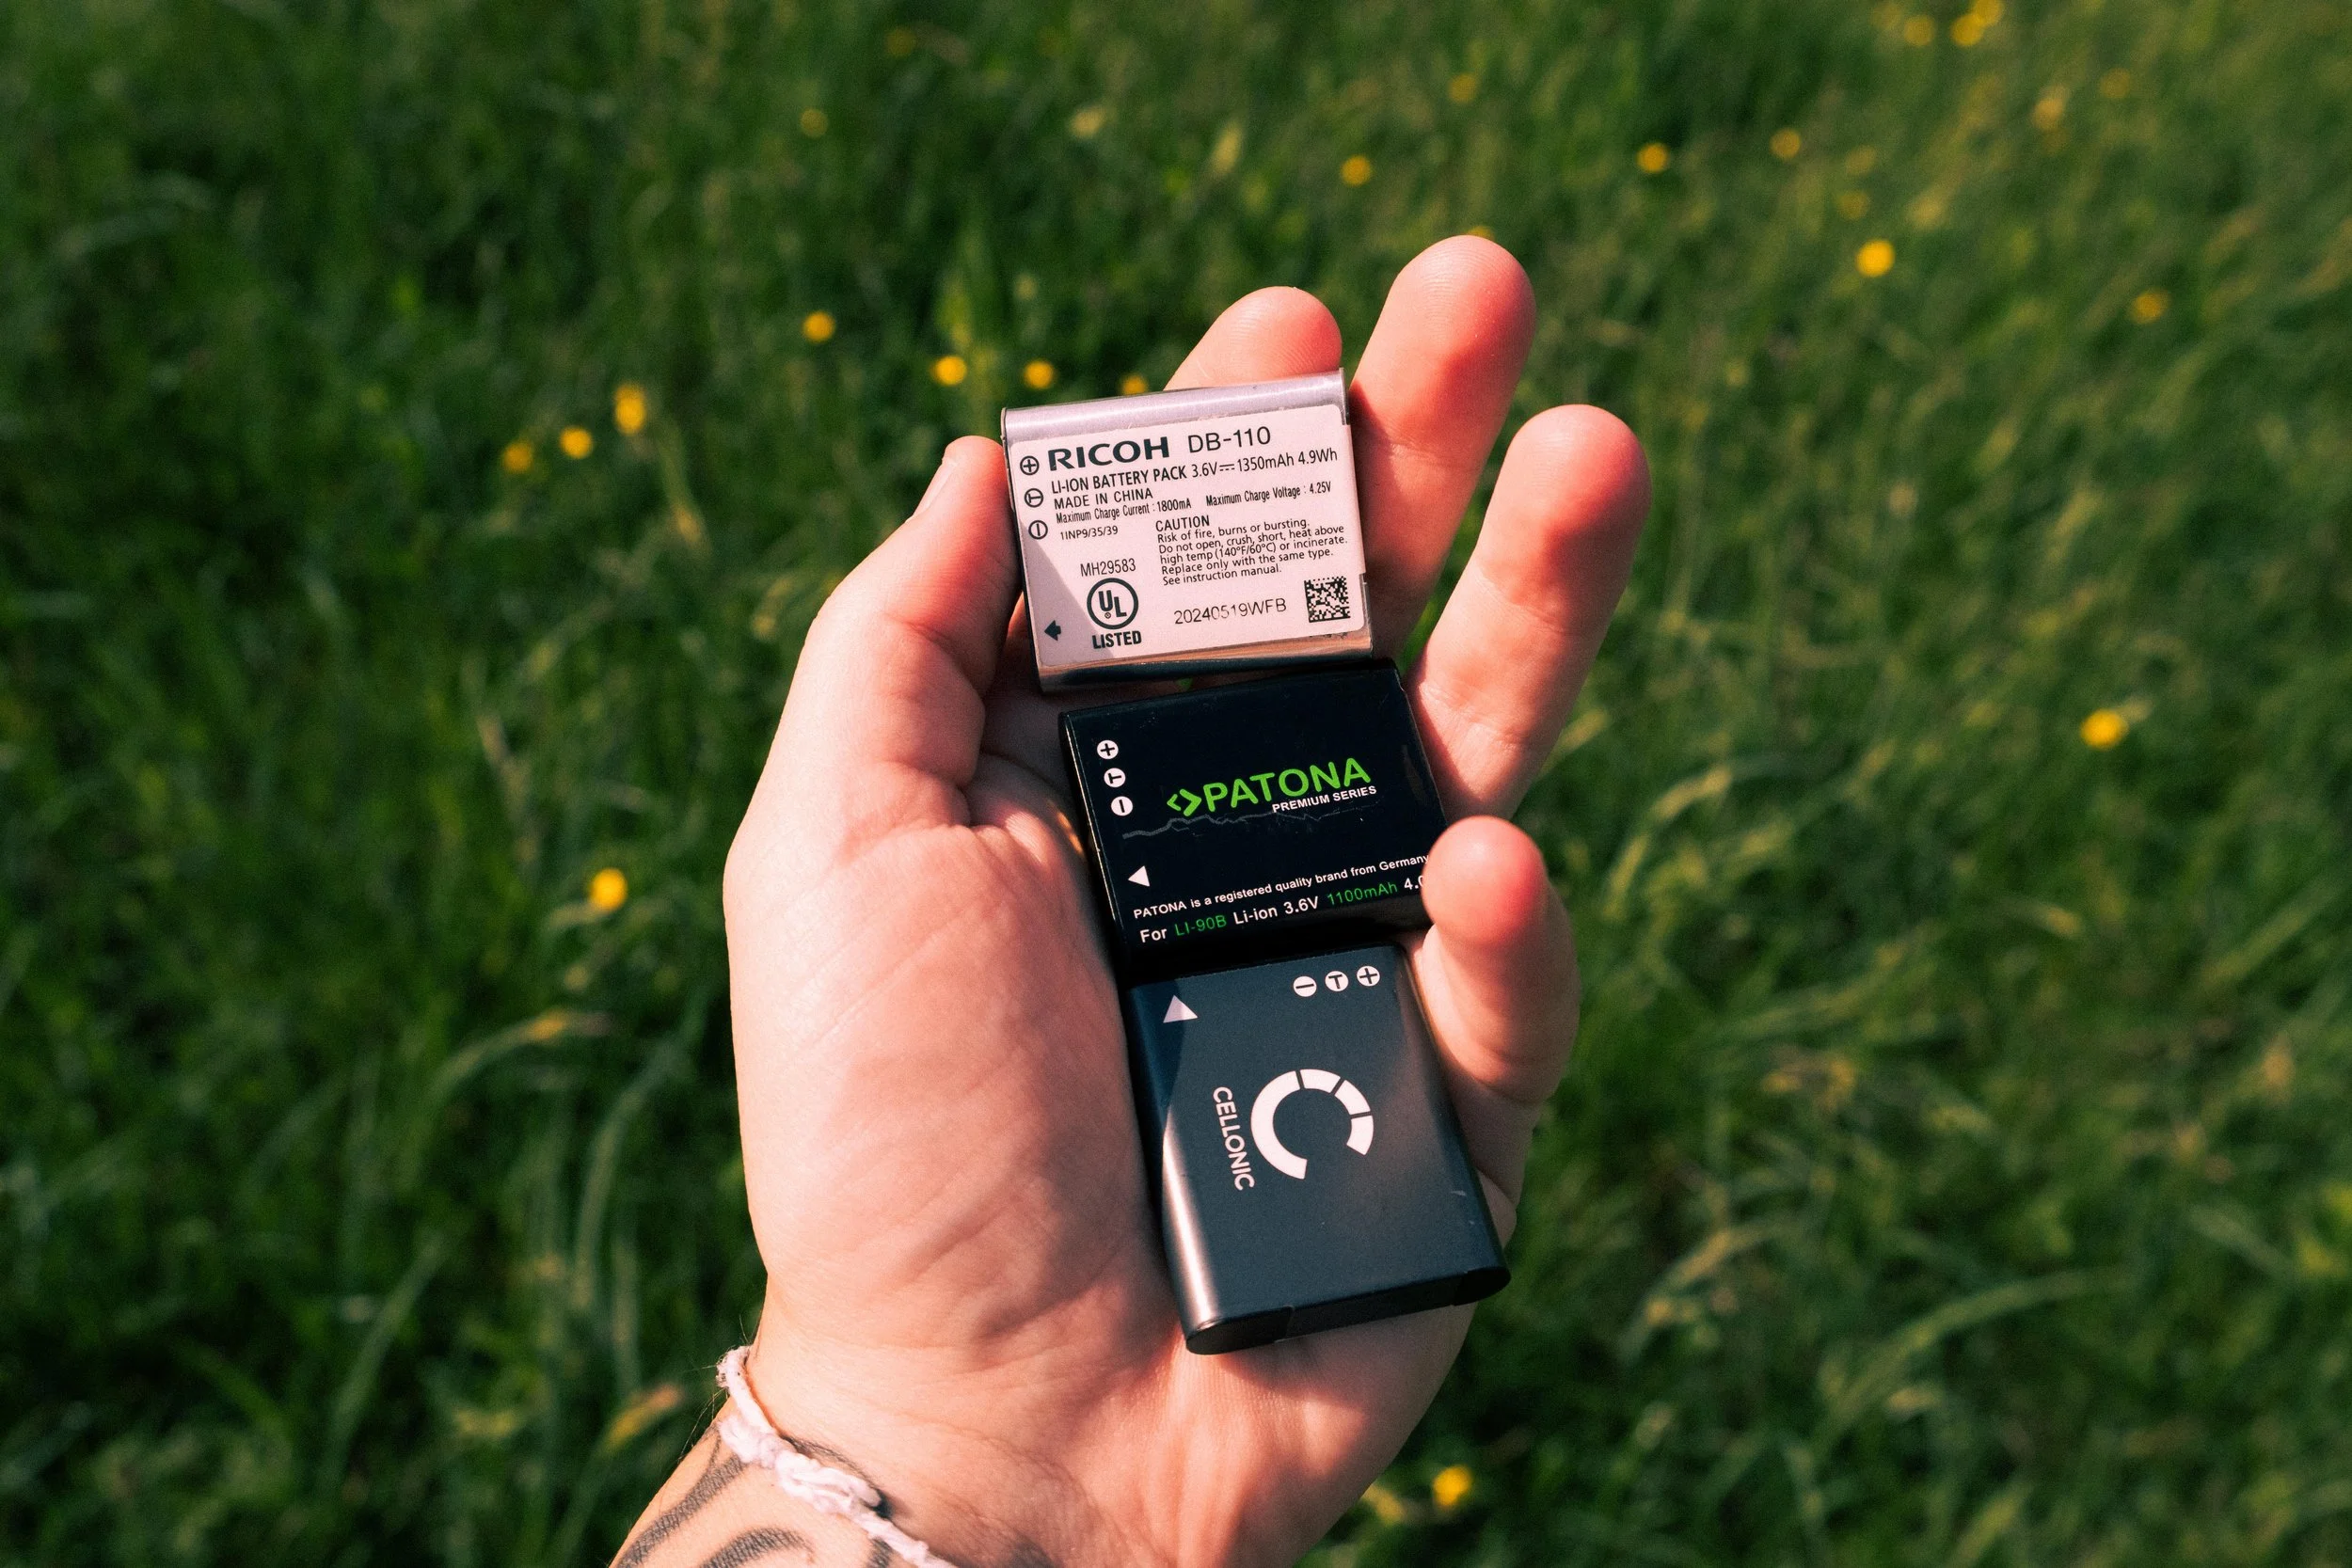
PURCHASE HERE → AMAZON
Small Bag
I don’t like keeping a camera in my pocket. Pulling it out can make it fall, and I don’t like the idea of the lens mechanism being exposed.
Also, with the UV filter and its adapter attached, it wouldn’t fit anyway.
So I use a small bag!
It allows me to carry the GR crossbody, always ready to shoot. No need for a backpack or sling bag - everything else (batteries, SD cards) fits in your pockets.
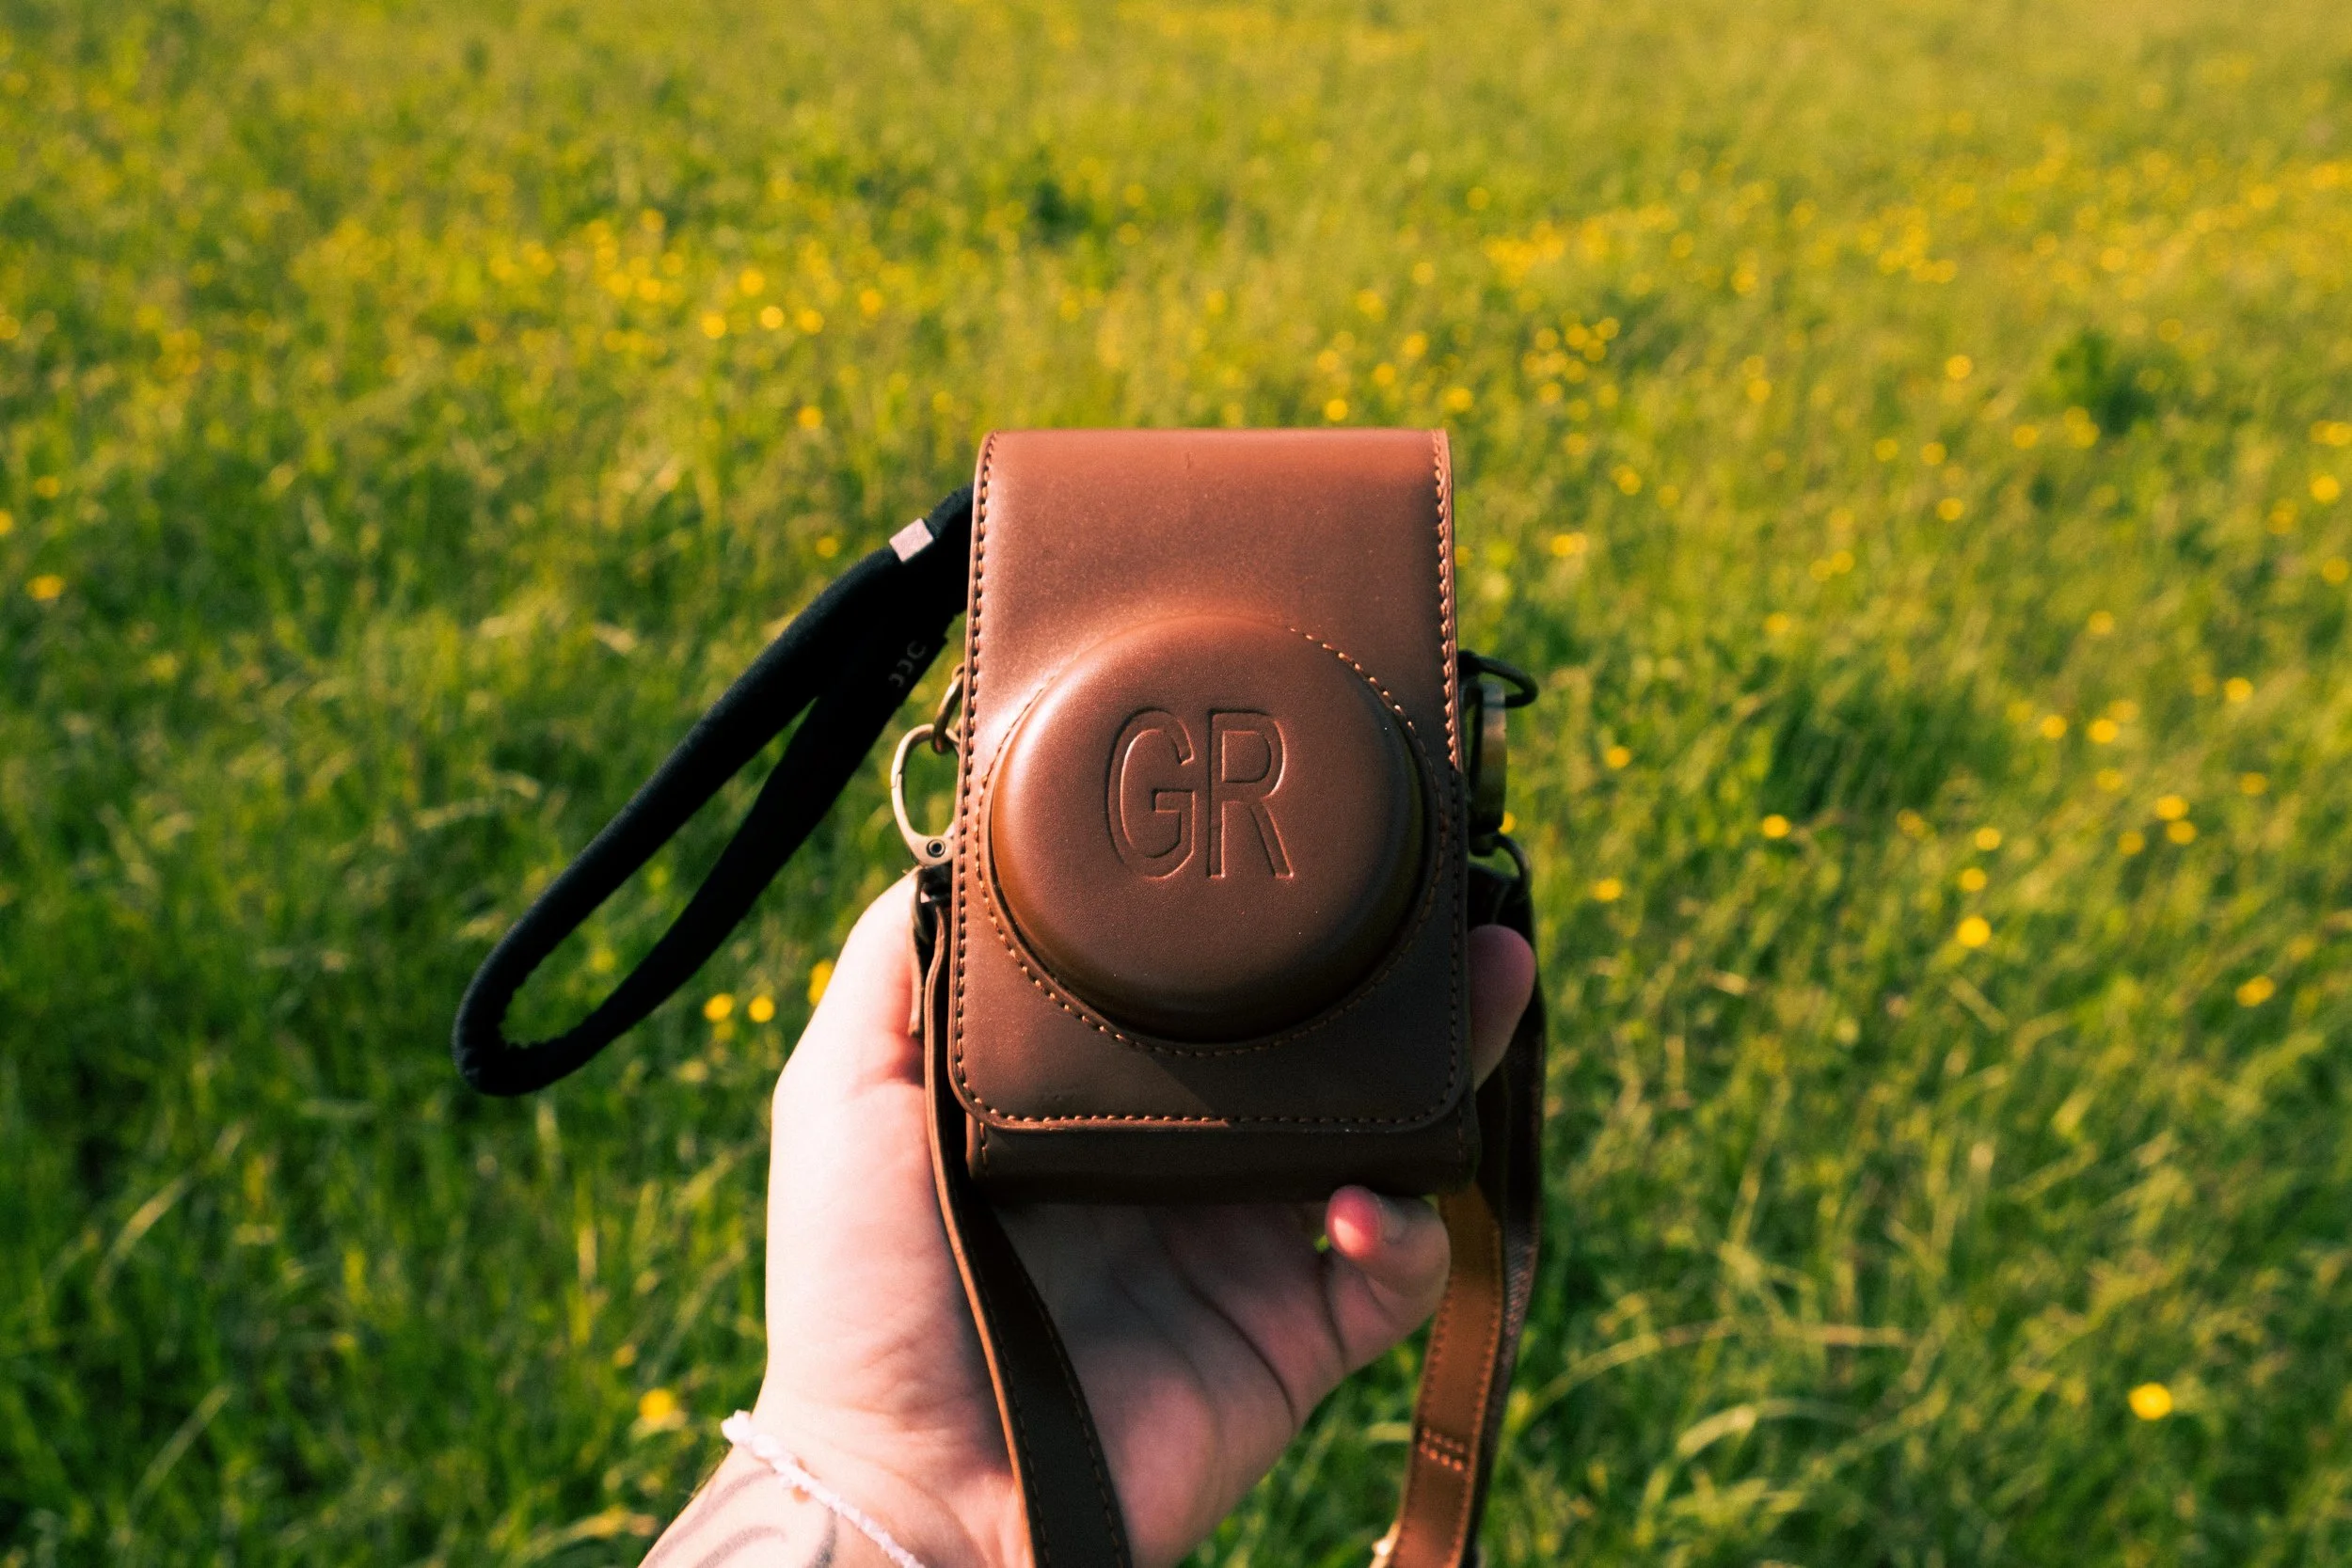
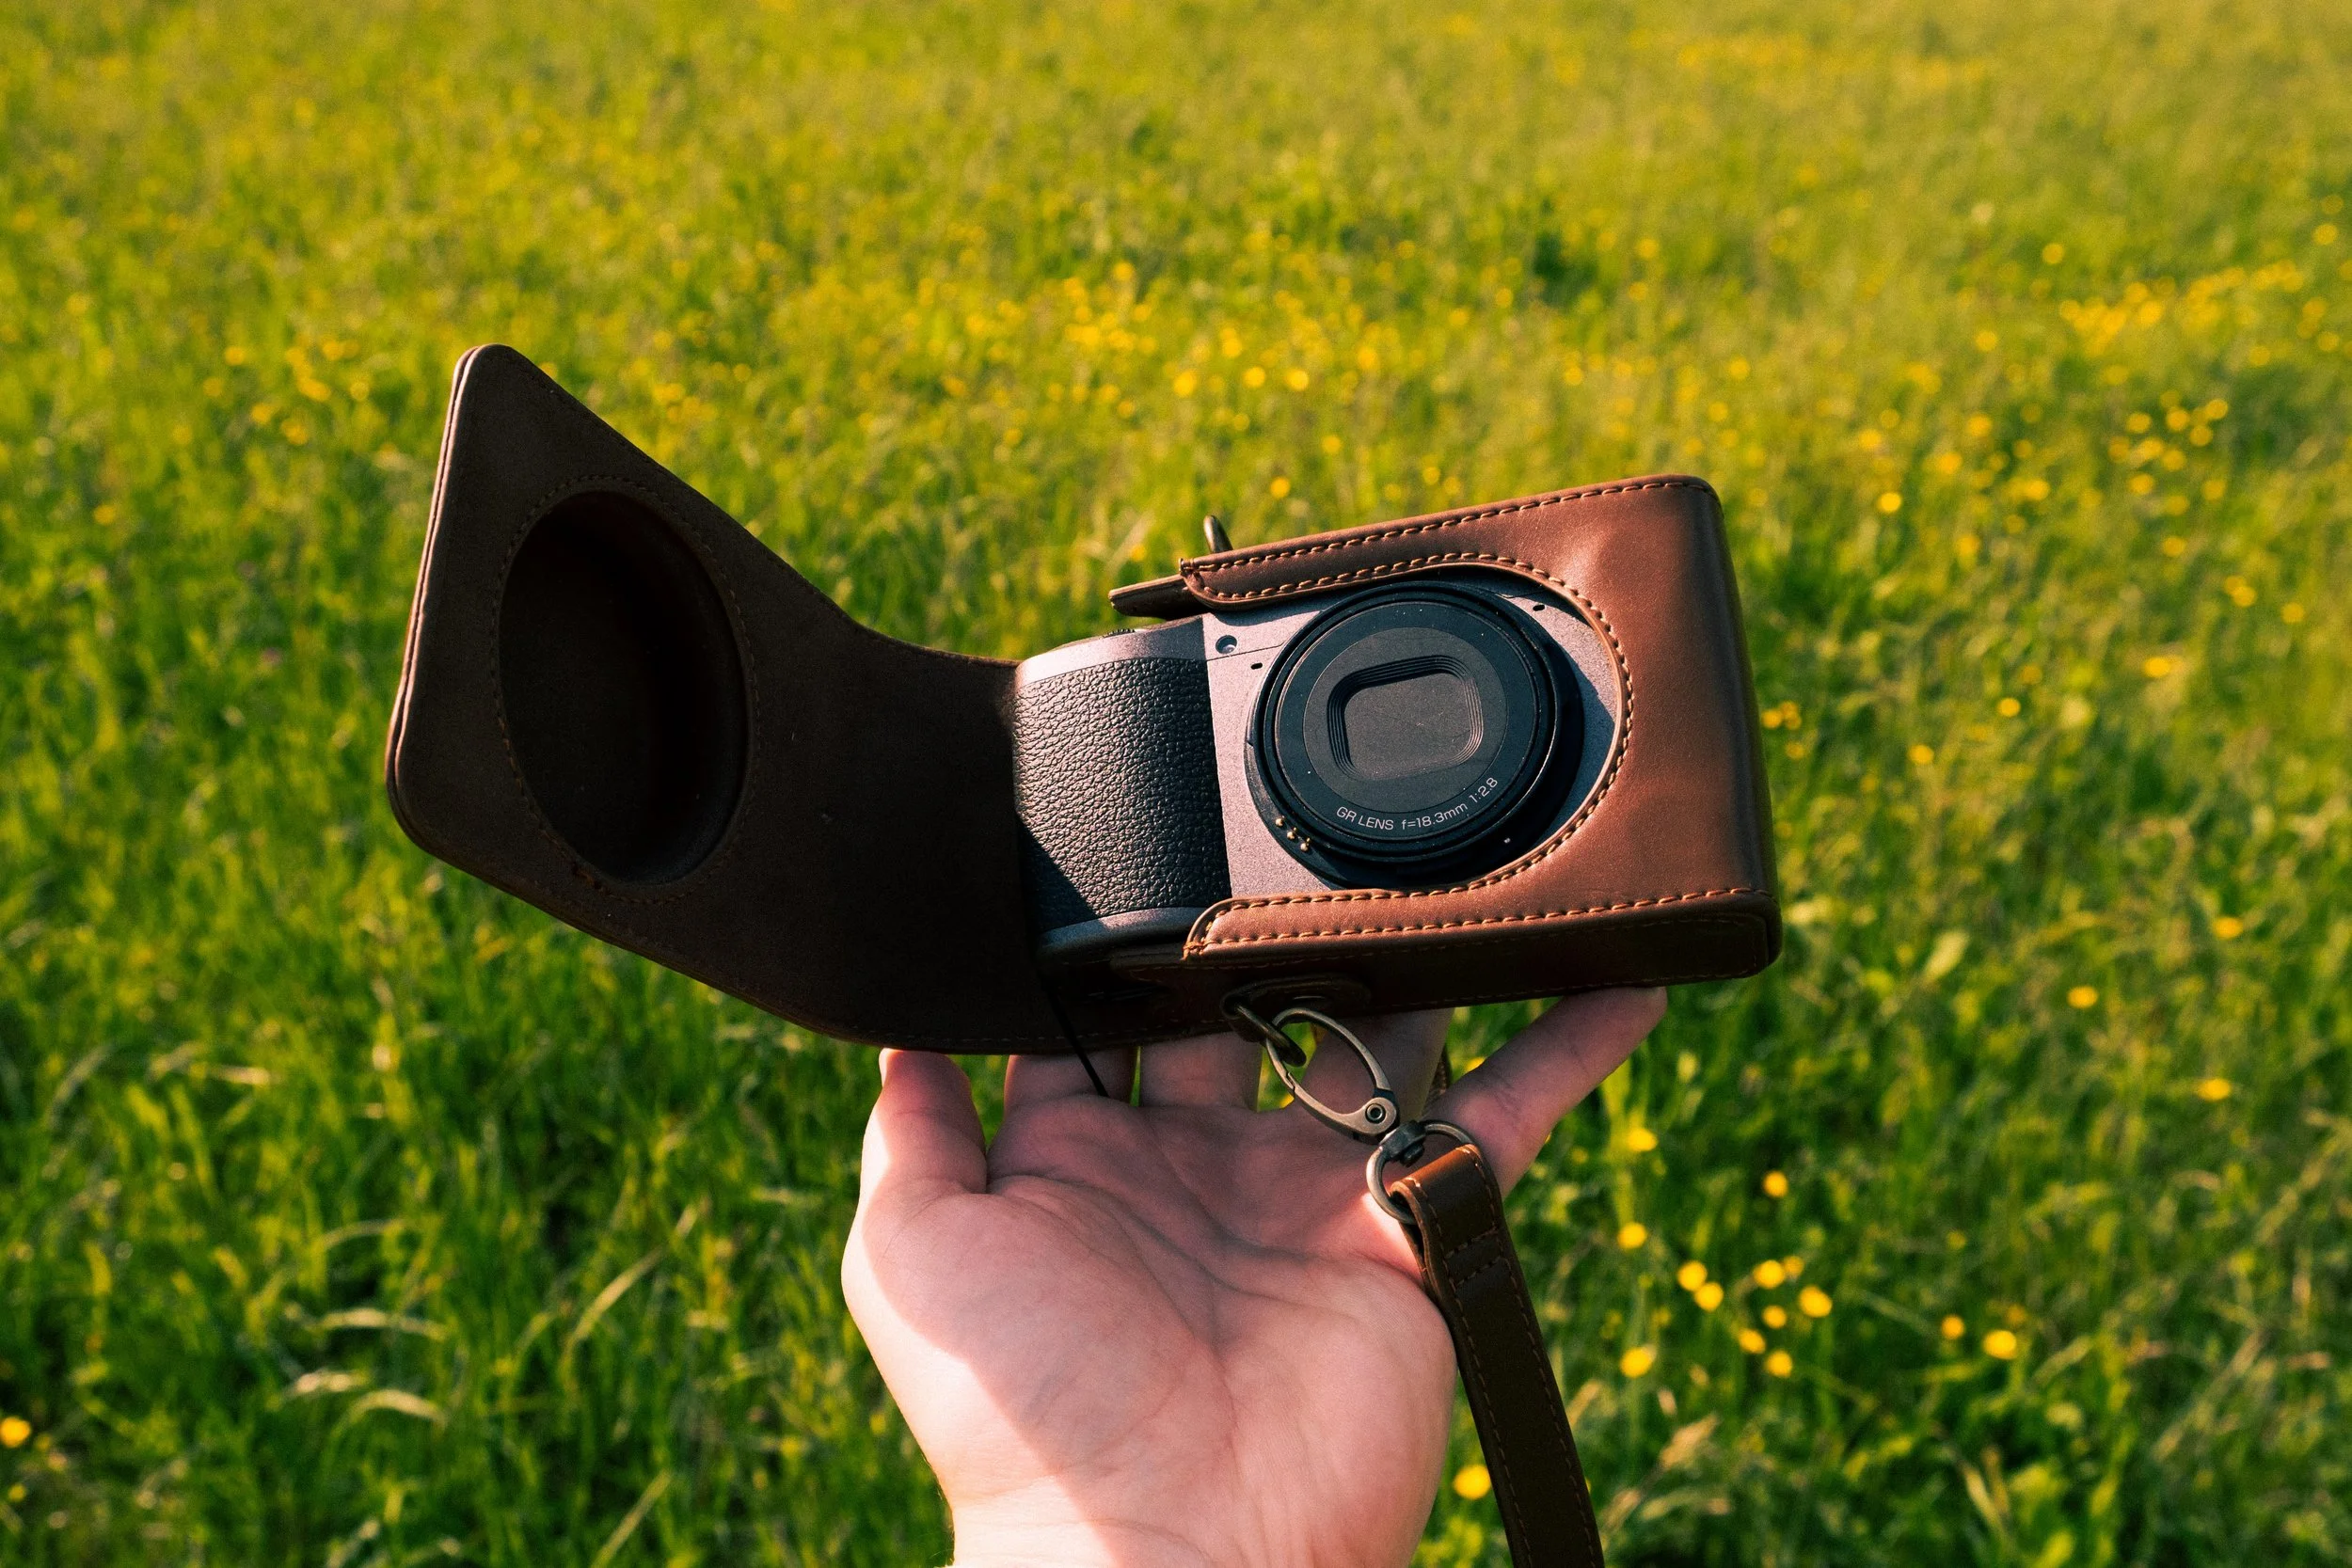
PURCHASE IT HERE → AMAZON
This blog will always remain ad-free.
If you enjoy my blog and would like to support my work, consider leaving a tip or visiting my shop, where you'll find my personal Lightroom presets, zines & camera guides.
Every bit of support goes directly back into creating new photography content, including YouTube videos, blog posts, camera guides, and, of course, more presets and zines, with the occasional freebie for everyone along the way.
Thank you for reading. <3
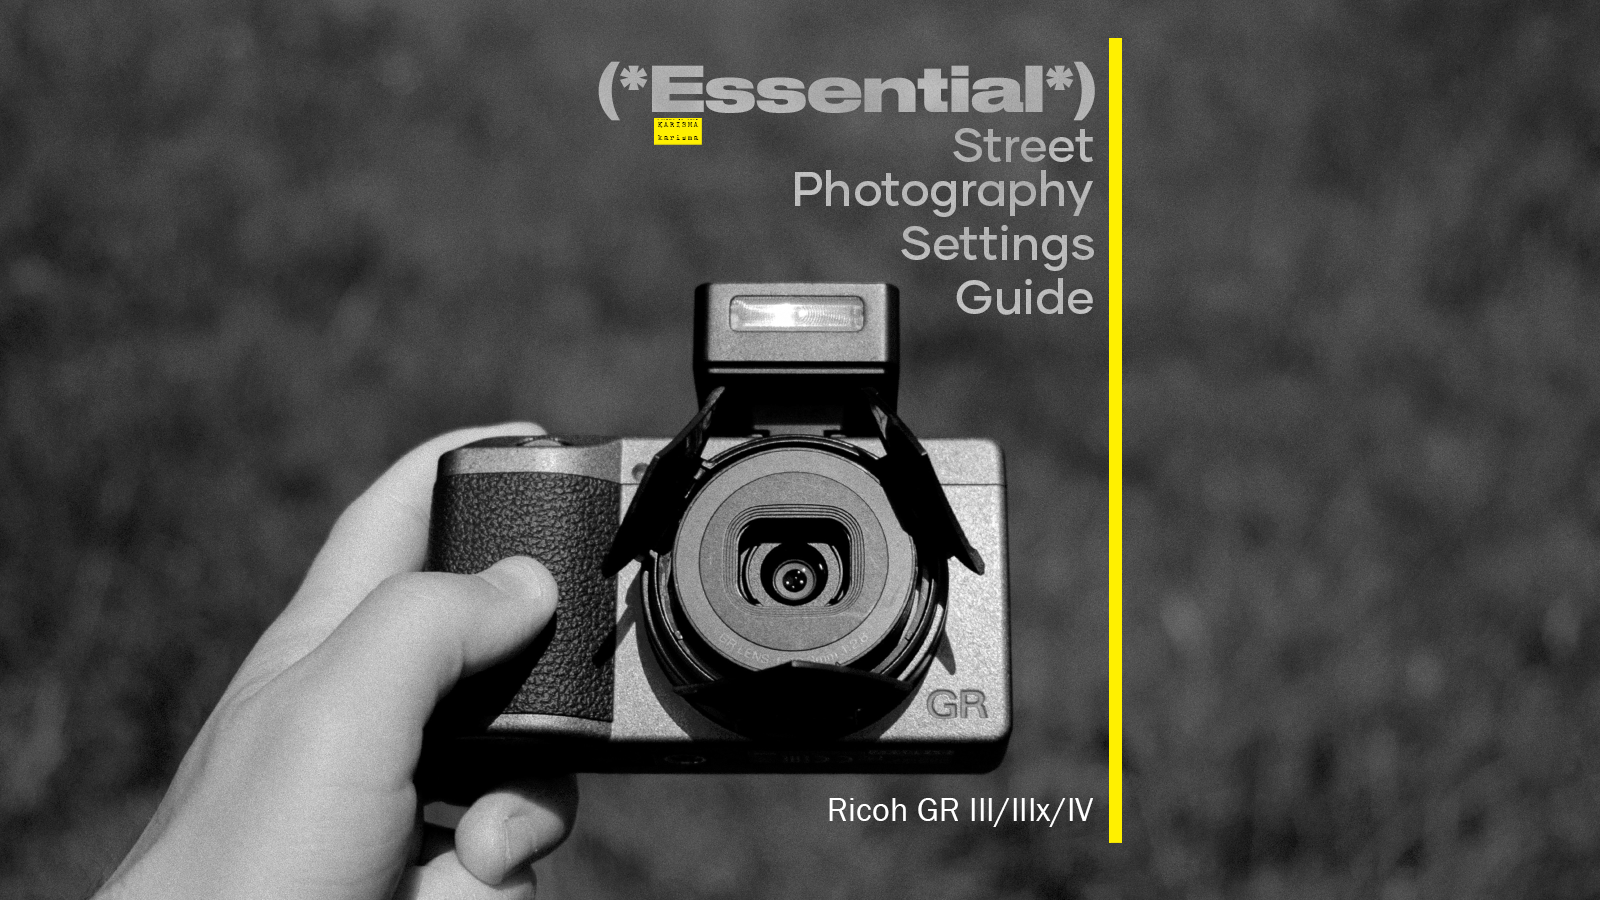
I created this guide to share my personal approach to street photography with the Fujifilm X-E4, breaking down the essence of how I use this camera and showing the settings that I consider truly essential, as well as the ones I believe can be ignored in order to achieve a faster, simpler and more intuitive shooting experience.
This was my first Fujifilm camera, and probably the only one I will never get rid of. I have dedicated a video and a blog post to explaining why, as well as another video and blog post where I go through the accessories that made this camera so versatile that it became the only Fujifilm camera that has truly convinced me so far.
Before we begin, there is something important to clarify.
This is not meant to be a complete Fujifilm X-E4 manual.
The settings I will show you are not necessarily the ones that will perfectly match your style, habits, or creative process.
They are simply the choices that, after spending a significant amount of time with this camera, have become essential to my own workflow.
Think of this as a personal recipe rather than a universal instruction manual.
Take what works for you, ignore what does not.
⚠️ As this is a digital product, refunds are not available. However, if you have any questions or experience any issues with your purchase, feel free to email me at karisma.business.inquiries@gmail.com. I'll get back to you as soon as possible!
🌱 Thank you for considering a purchase. Every bit of support goes directly back into creating new photography content, including YouTube videos, blog posts, camera guides, and, of course, more presets and zines, with the occasional freebie for everyone along the way.
I genuinely appreciate your support. Thank you for being part of the journey.